
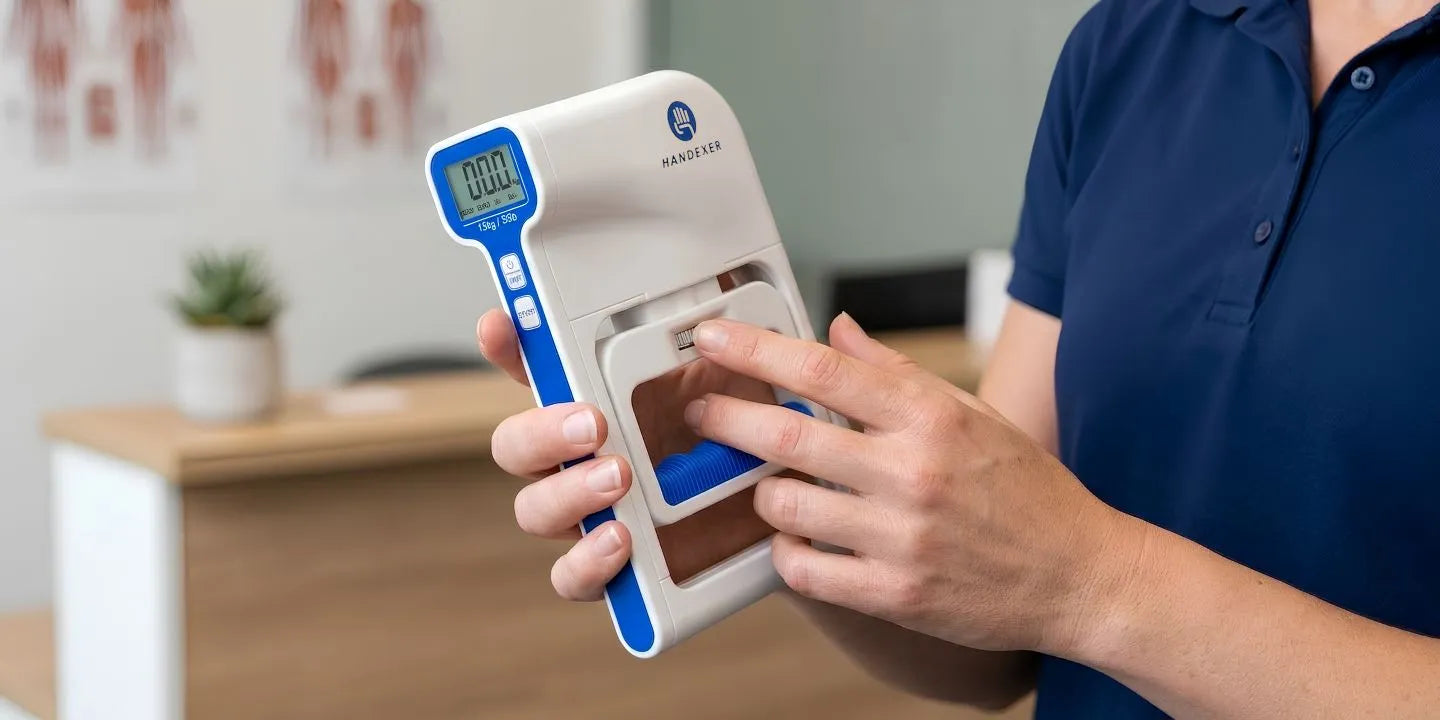
Grip strength often declines after a hand, wrist, or arm injury, especially when movement is restricted by a cast, splint, or brace. Reduced muscle use, changes in nervous system activation, joint stiffness, and altered movement patterns can all contribute to this loss.
Why Does Grip Strength Drop After an Injury?
A noticeable decrease in grip strength after an injury can be frustrating. Even when the injury appears to be healing, opening a jar, holding a cup, or carrying a bag may feel more difficult than before.
Several factors can contribute to this change.
Reduced Muscle Use
When a hand or wrist is immobilized, the muscles involved in gripping and controlling the fingers may be used much less than usual. Over time, reduced activity can contribute to muscle weakness and a lower tolerance for everyday tasks.
The longer movement is restricted, the more important it becomes to follow an appropriate plan for restoring function once movement is permitted.
Changes in Nervous System Activation
Grip strength depends on more than muscle size. Your nervous system coordinates the muscles and determines how much force they produce.
After an injury, pain, swelling, and protective movement patterns can affect how contidently and effectively you use your hand. As movement and function improve, coordination between your nervous system and muscles can also improve.
Joint Stiffness and Reduced Mobility
A period of immobilization may leave the fingers, wrist, or surrounding tissues feeling stiff. Limited movement makes it harder to form a fist, spread your fingers, or position your hand comfortably around an object.
This can affect grip performance even when muscle weakness is not the only issue.
Changes in Everyday Movement
After an injury, you may unconsciously rely more heavily on your uninjured hand or avoid certain movements with the affected hand.
Although these adjustments can protect an injured area when necessary, prolonged avoidance may make it harder to return to normal activities. Gradually restoring appropriate movement and function is an important part of recovery.
What Does Grip Strength Recovery Look Like?
Recovery varies depending on the type and severity of the injury, the duration of immobilization, and when movement and strengthening are permitted.
Generally, recovery progresses from protecting the injured area to restoring comfortable movement, rebuilding muscle control and grip strength, and gradually returning to everyday activities. These stages may overlap, and progress differs from person to person. Minor injuries may allow an earlier return to movement, while fractures, tendon repairs, and complex surgeries may require longer restrictions.
Protection & Rest
Immobilization and protecting healing tissues.
Comfortable Movement
Regaining range of motion and initial mobility.
Muscle Control
Isometric activation and coordination drills.
Everyday Function
Progressive loading and daily functional tasks.
How to Restore Hand Function in Four Steps
Recovering hand function after an injury may require restoring comfortable movement, improving finger coordination, rebuilding muscle control, and gradually returning to everyday activities.
The following four steps illustrate a general progression, not a universal rehabilitation program. Some exercises may be inappropriate for particular fractures, tendon injuries, surgical repairs, or other conditions.
Restore Comfortable Finger Movement
After a period of immobilization, the initial goal is to regain comfortable movement without forcing stiff joints.
Once movement is permitted, the following exercises may help you practice basic finger mobility:
- Finger opening and closing: Slowly straighten your fingers, then curl them into a relaxed fist. Repeat 5–10 times.
- Gentle finger extension: Straighten your fingers within a comfortable, permitted range. Hold for 5 seconds, then relax. Repeat 3–5 times.
- Tendon gliding: If approved for your injury, move through a relaxed straight hand, hook fist, and full fist, returning to a comfortable open-hand position between movements. Complete 3–5 cycles.
Move slowly and avoid forcing your fingers into positions they cannot comfortably reach.
The appropriate range of movement depends on the structures involved in your injury. Tendon repairs and certain fractures may require specific movement restrictions or a prescribed splint.
Improve Finger Coordination and Thumb Mobility
Once basic finger movement is comfortable and your clinician permits these exercises, gentle coordination practice can help you work on controlling individual fingers and using your thumb.
Try the following movements if they are appropriate for your injury:
- Finger lifts: Rest your hand on a flat surface and gently lift one finger at a time. Repeat 5–8 times per finger.
- Thumb-to-finger touches: Touch your thumb to each fingertip in sequence, then return to the starting position. Complete 5–10 rounds.
- Thumb extension: Gently move your thumb away from your palm, then return it to a comfortable resting position. Repeat 5–10 times.
Keep the movements controlled rather than trying to achieve the largest possible range. If you cannot comfortably complete a movement, do not force it.
Reintroduce Gentle Muscle Activation
Once your healthcare professional has cleared you for muscle activation, you can begin practicing light contractions. This helps bridge the gap between moving your hand and using it for everyday activities.
One possible exercise is a gentle isometric contraction:
- Support your hand in a comfortable position.
- Lightly activate the muscles of your hand without forcing the fingers to move.
- Hold for 3–5 seconds, then fully relax.
- Repeat 5 times if this is appropriate for your injury.
Keep the effort light and controlled. Do not squeeze as hard as possible or push through pain.
Gradually Rebuild Grip Strength and Everyday Function
Once resisted gripping has been approved, you can gradually introduce light resistance and functional tasks. The goal is to rebuild useful strength without placing more demand on your hand than it can currently tolerate.
Depending on your rehabilitation plan, options may include:
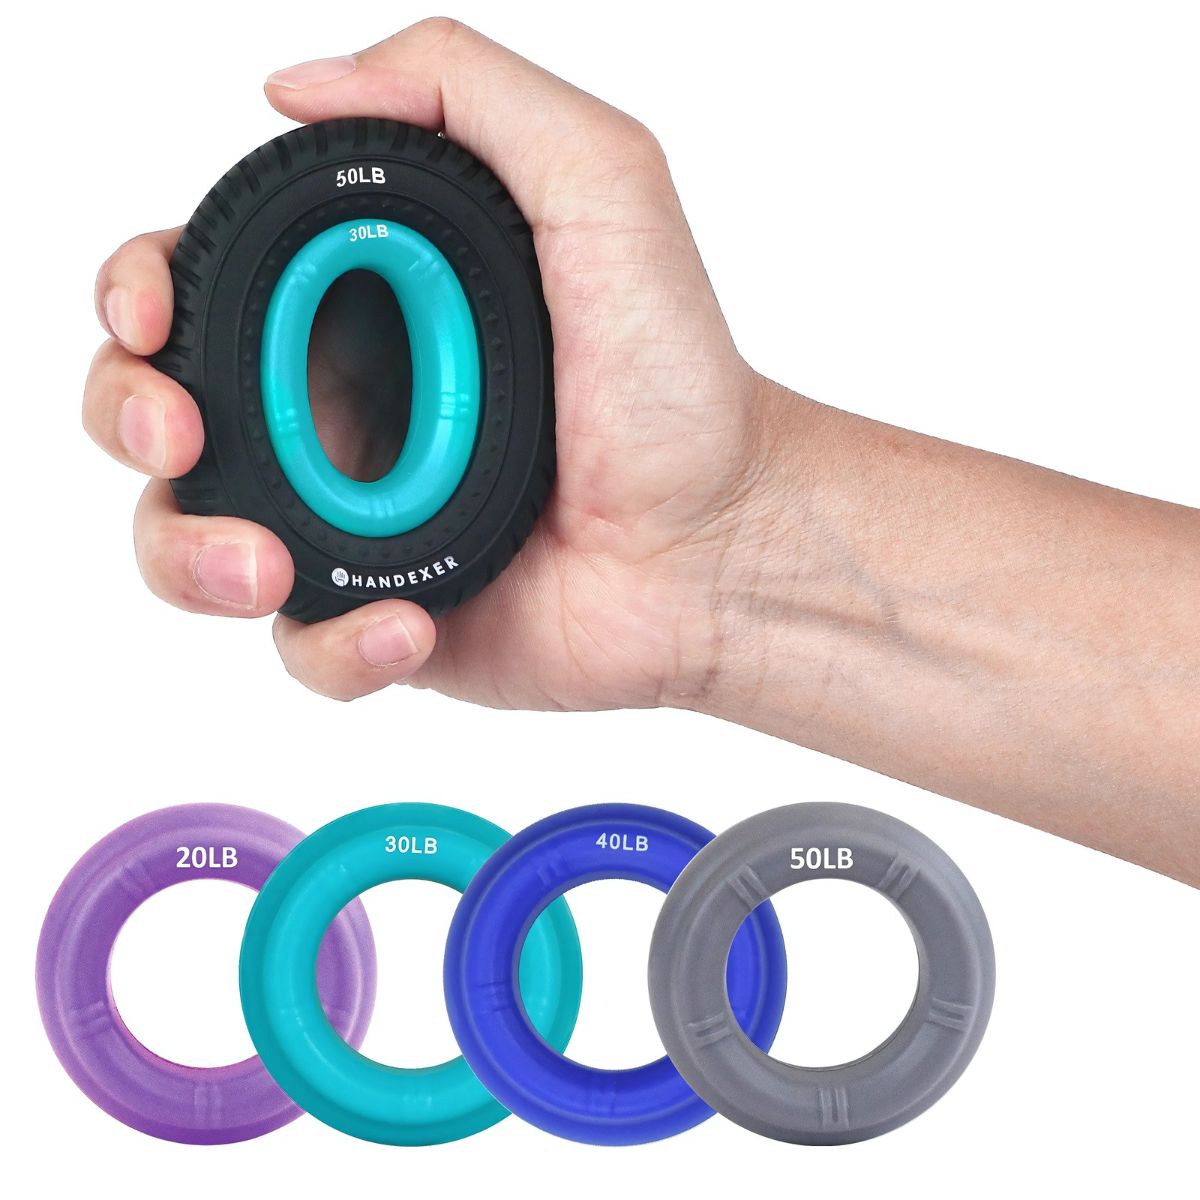
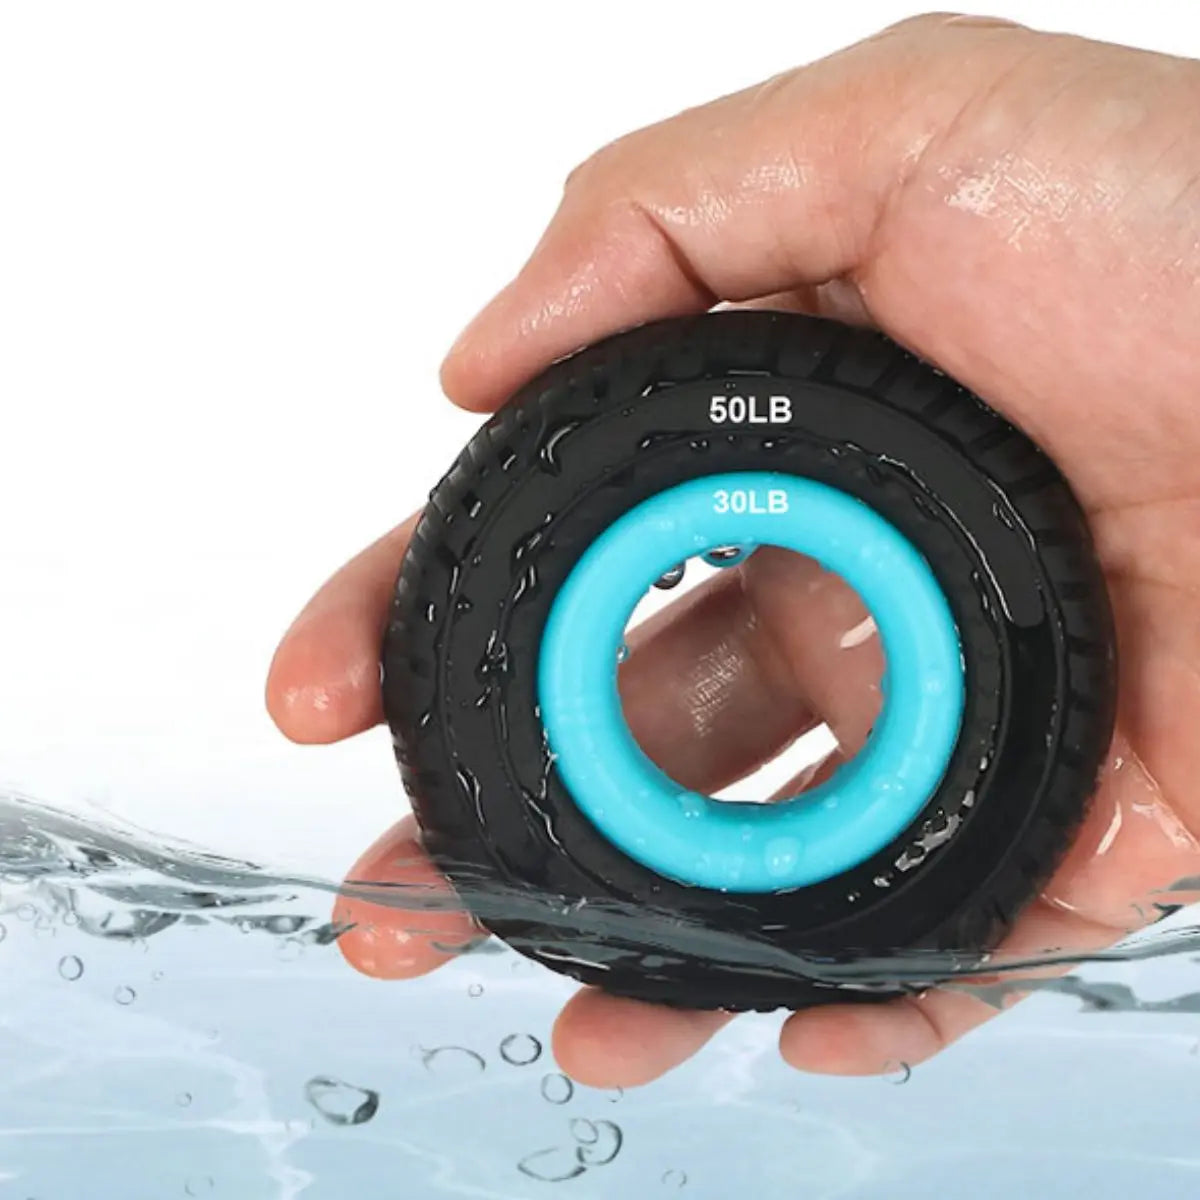
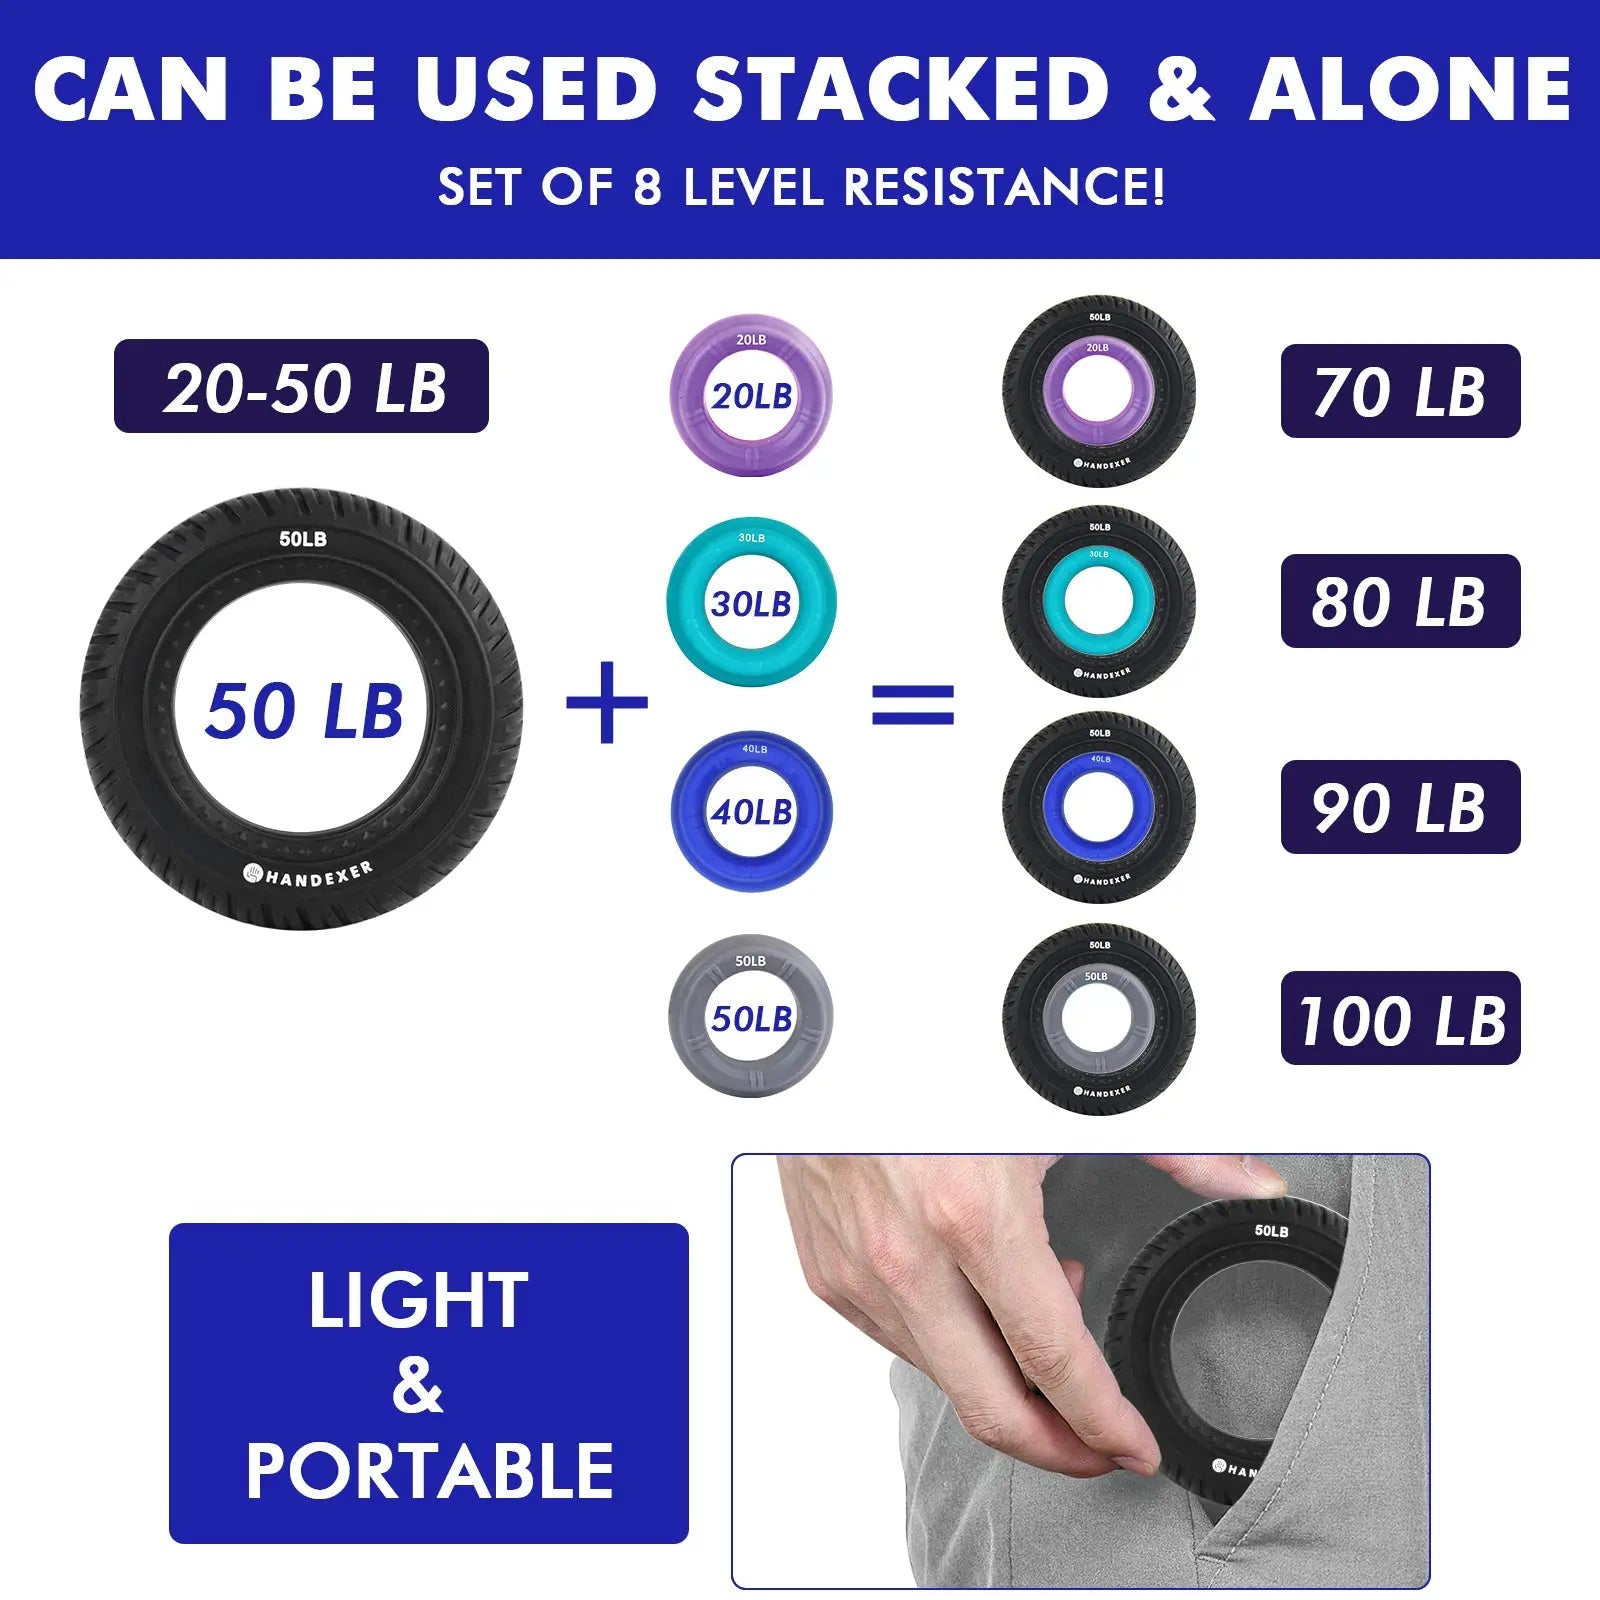
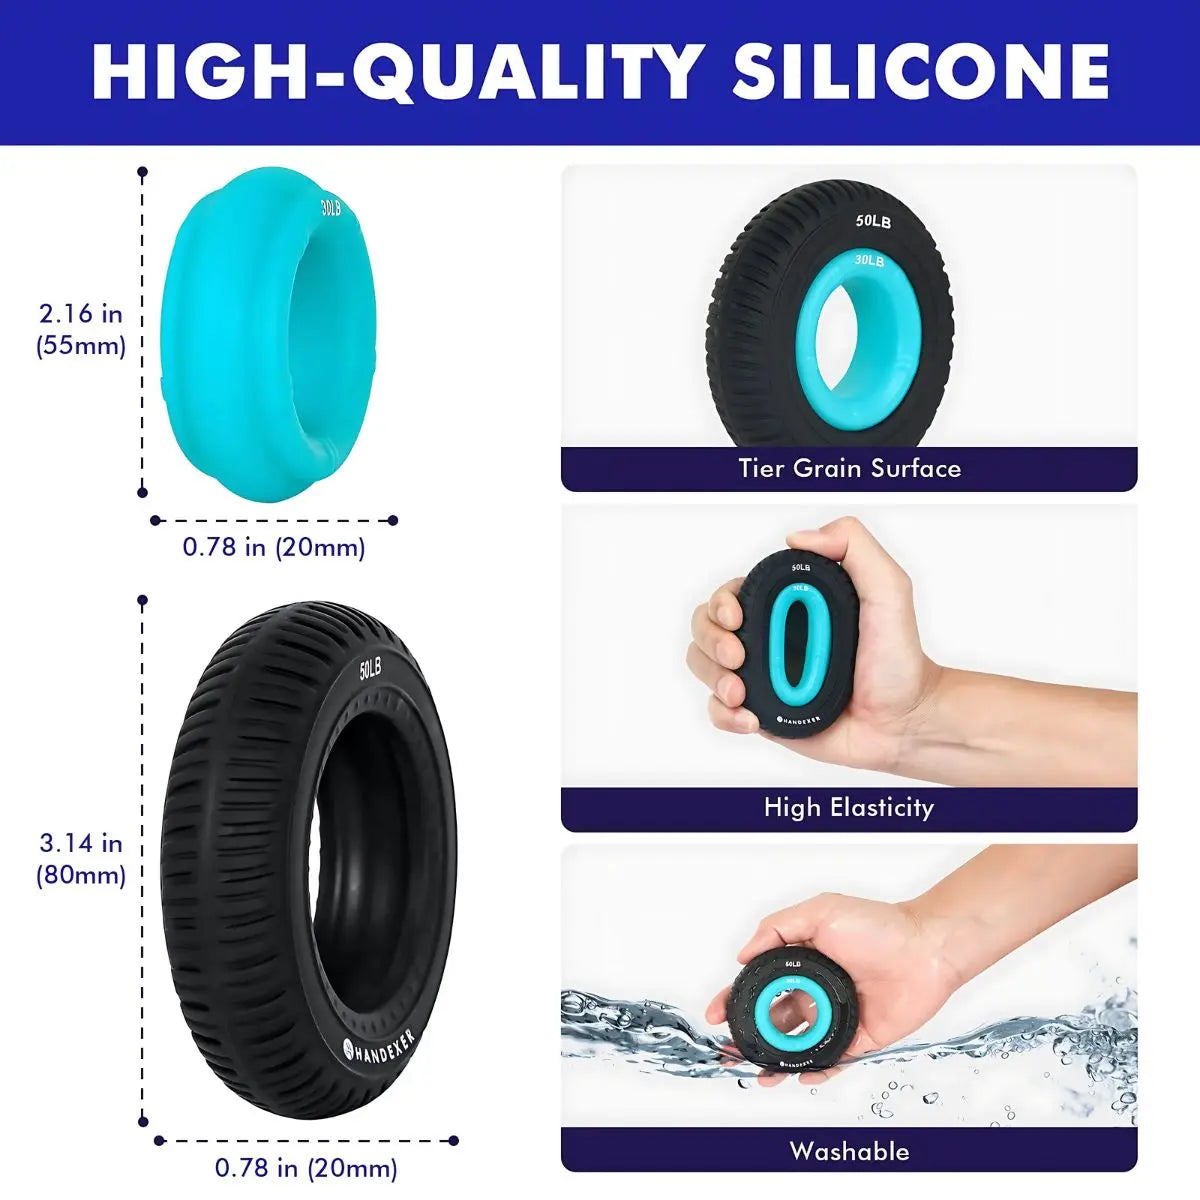
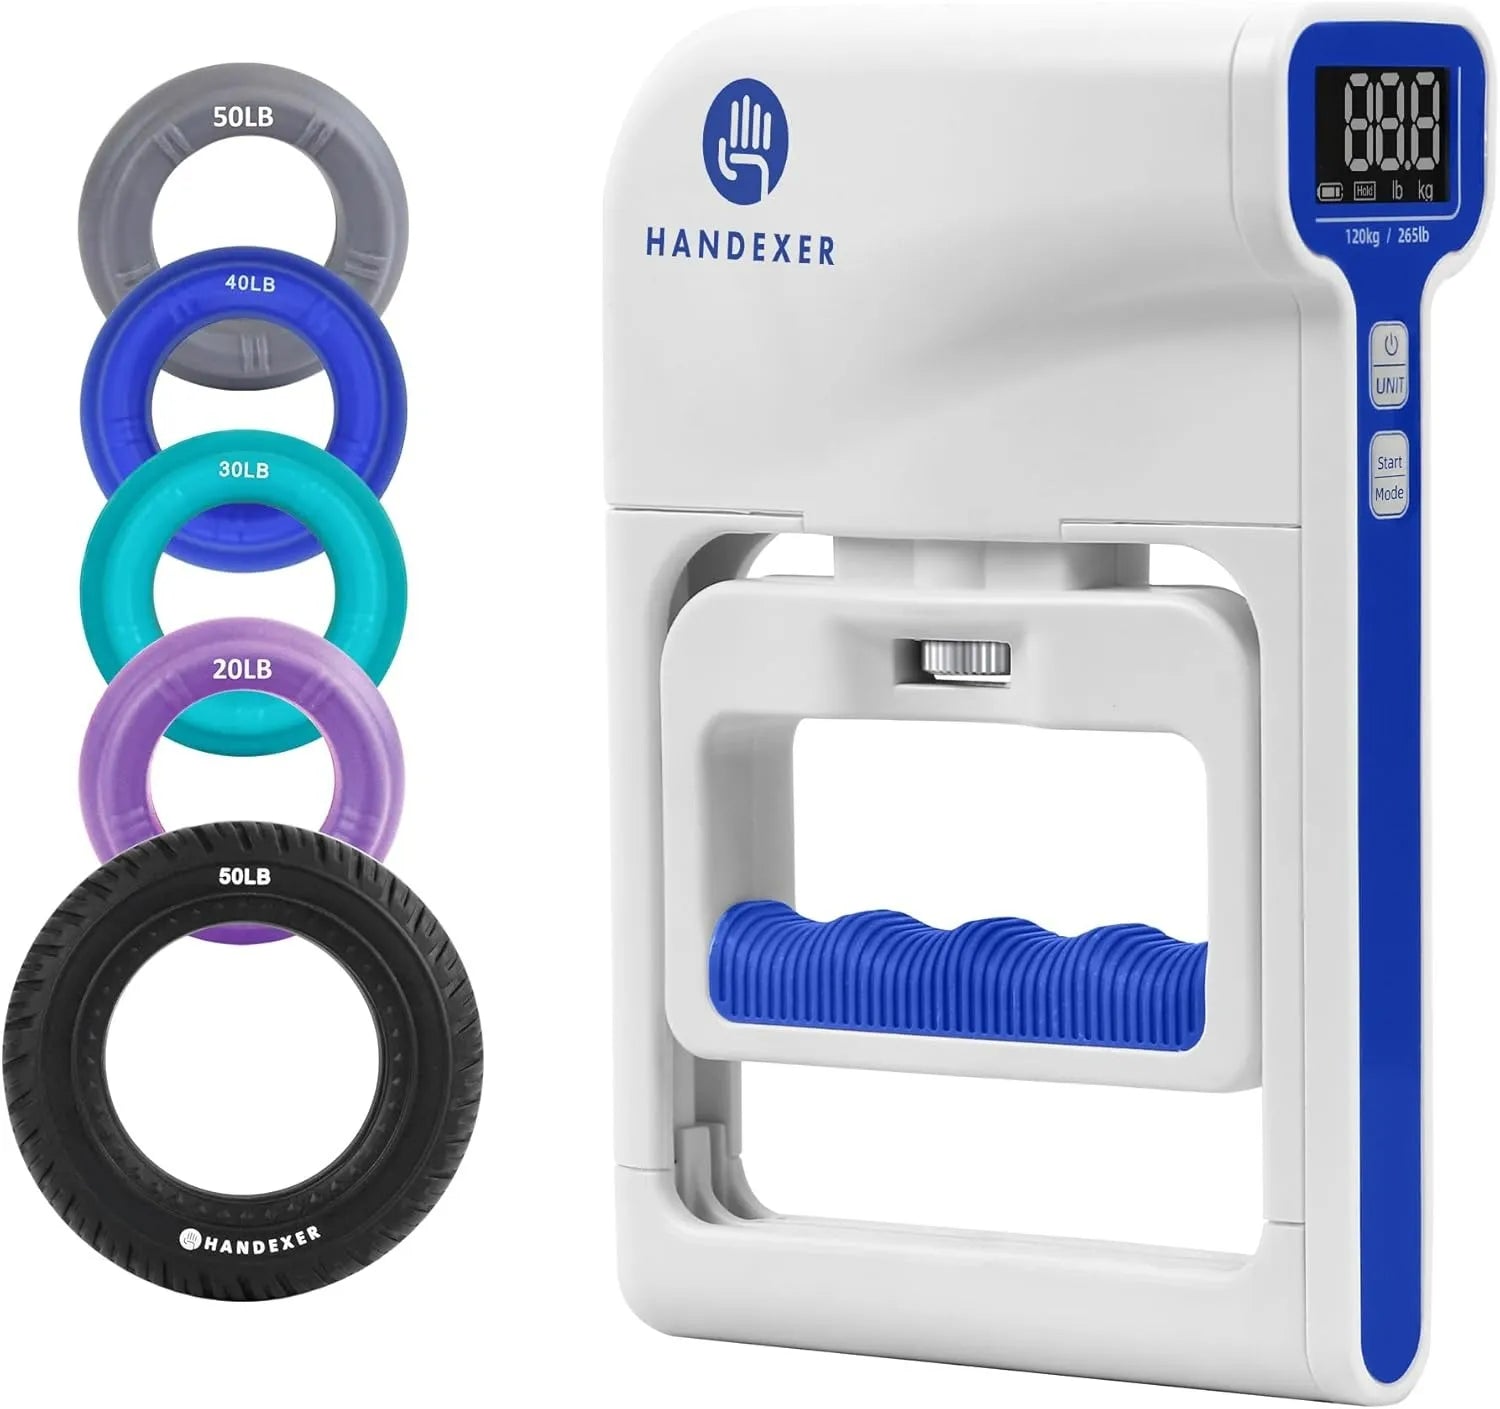
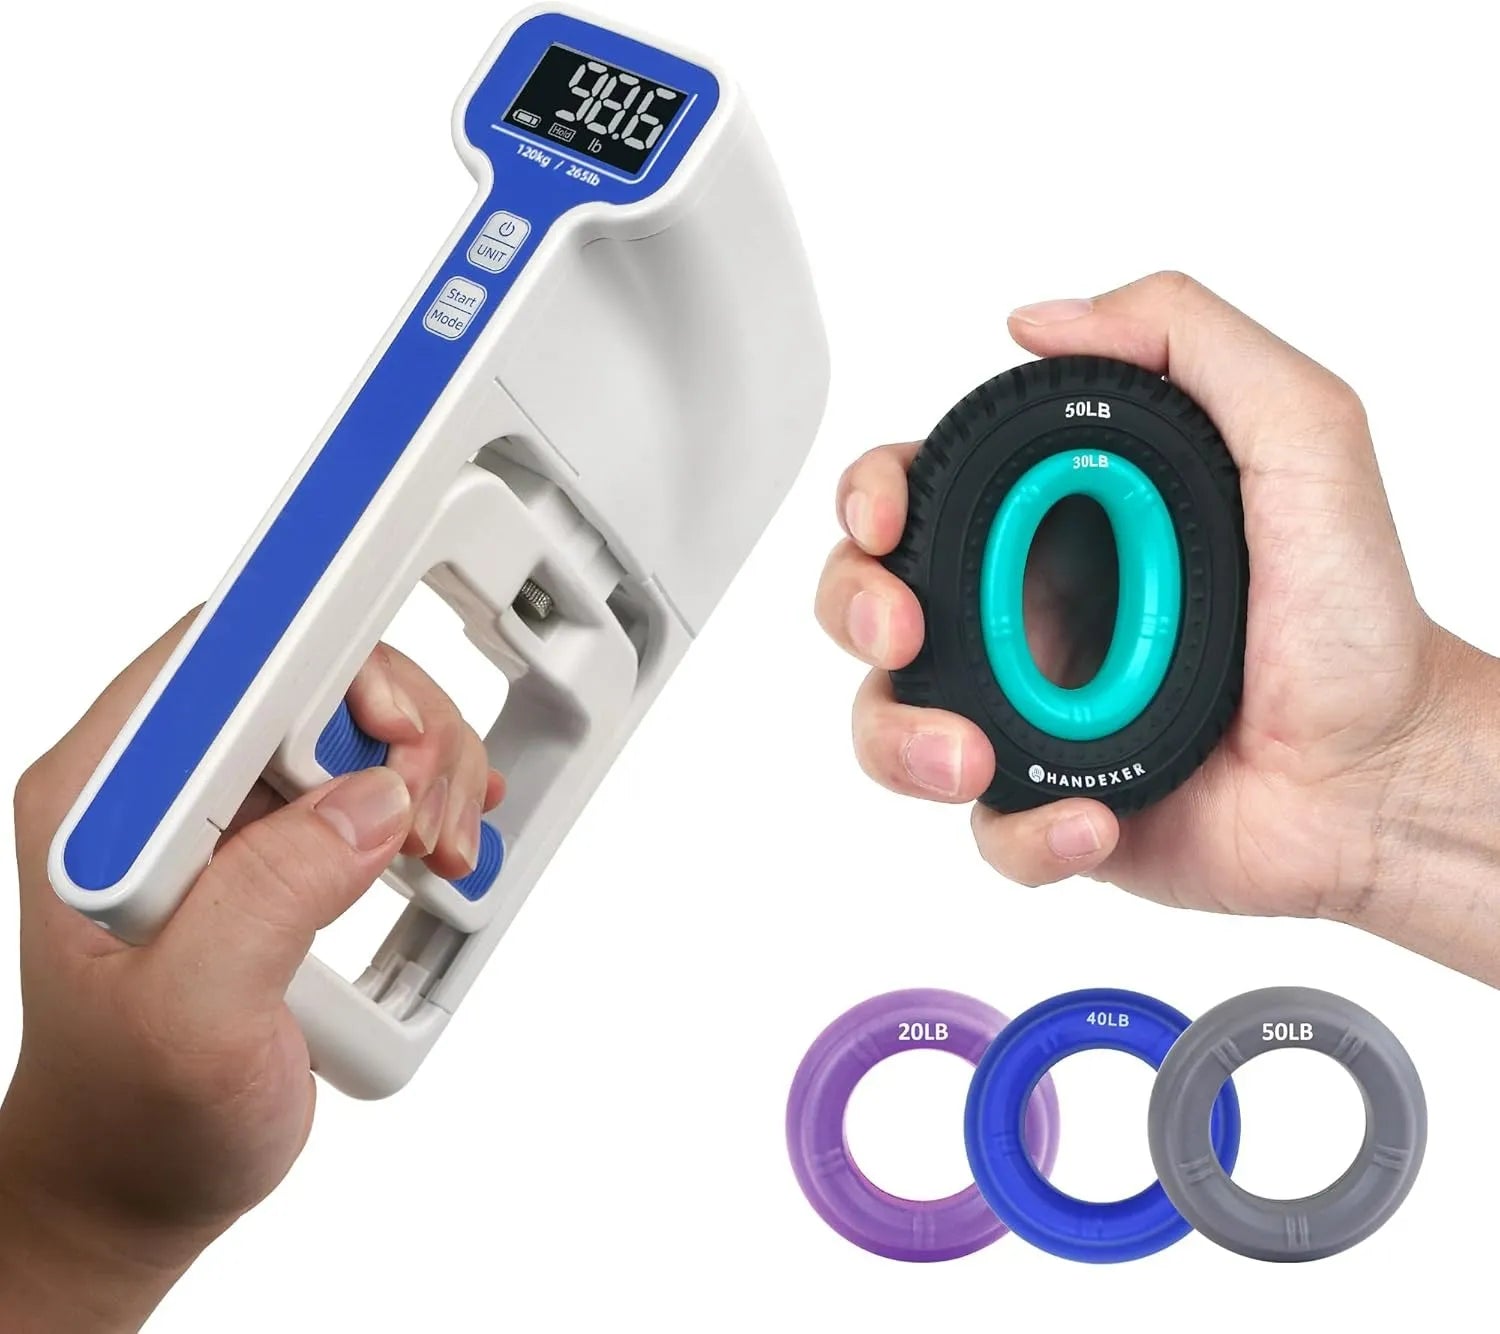
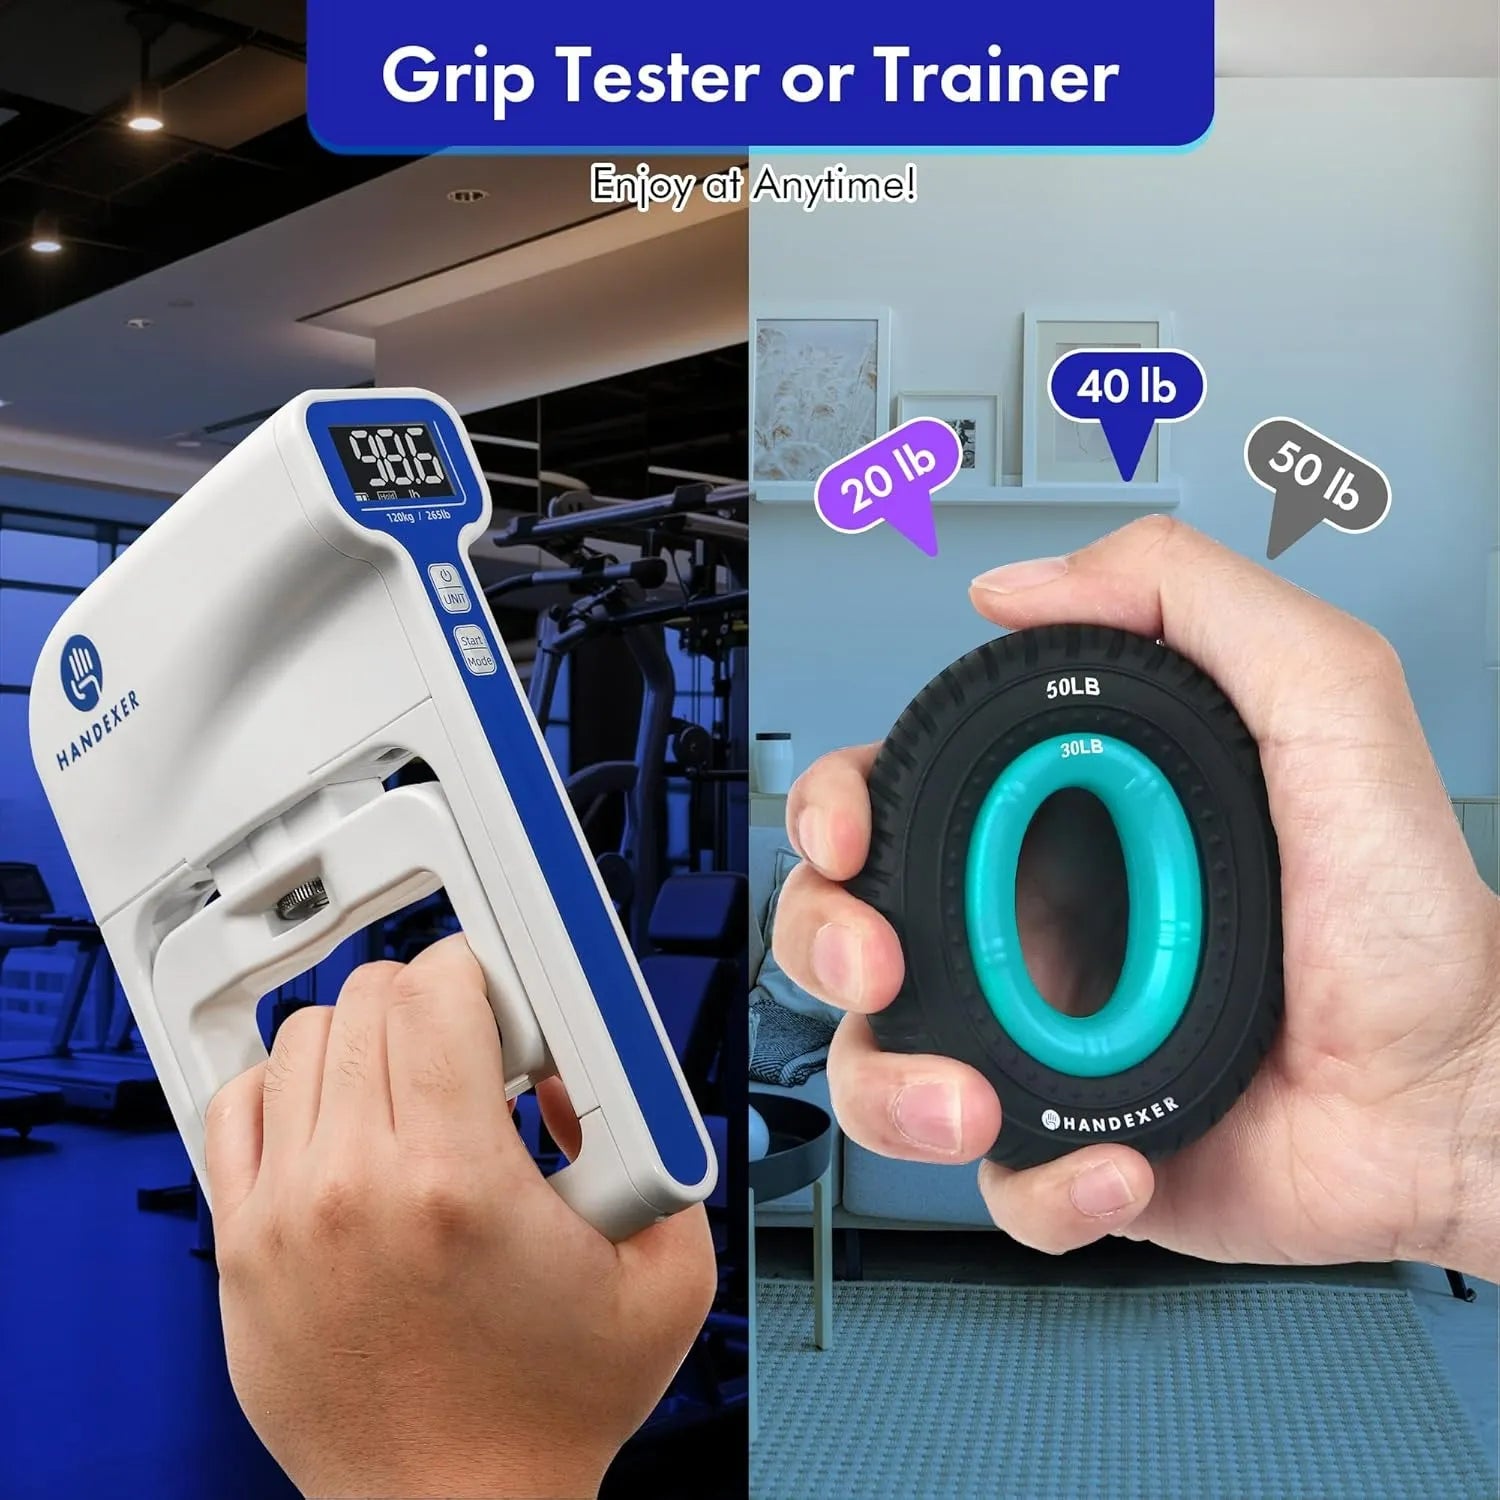
Handexer Silicone Grip Strength Rings
Handexer Silicone Grip Strength Rings may be an option for grip exercises once resisted gripping is appropriate for your injury. They are exercise tools, not substitutes for injury-specific rehabilitation or professional guidance.
Follow the practice schedule recommended by your healthcare professional. Shorter, manageable sessions may be easier to tolerate than doing a large number of repetitions at once. Increase the workload only when your current routine is well tolerated and your treatment plan allows it.
How to Track Your Grip Strength as You Recover
As your hand function improves, tracking grip strength can help you understand whether your ability to produce force is changing over time. However, grip strength is only one part of recovery and should be considered alongside comfort, mobility, coordination, and everyday function.
● Establish a Baseline When Testing Is Permitted
Once your healthcare professional confirms that grip testing is appropriate, record an initial measurement. This gives you a reference point for comparing future results.
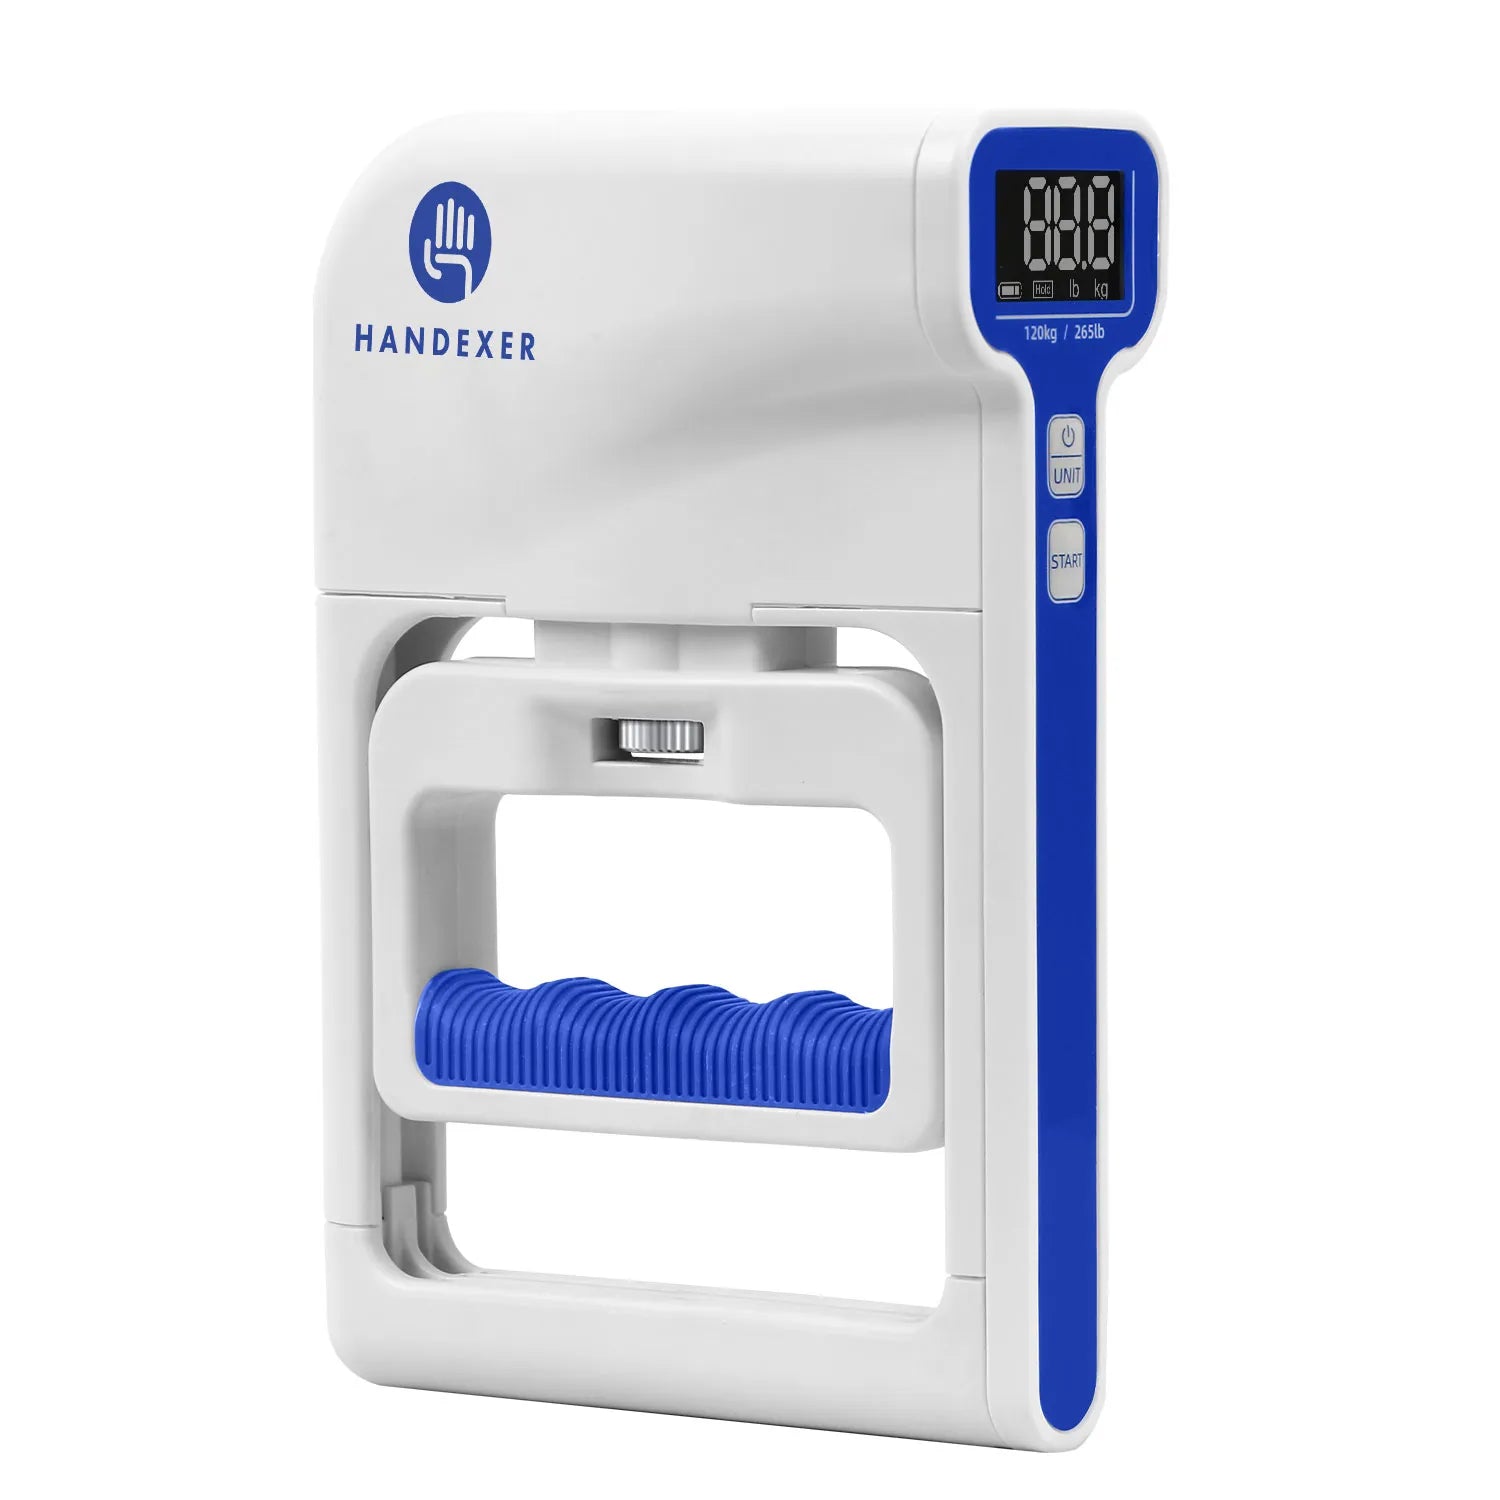
A digital hand dynamometer measures grip force and can help you monitor changes over time. To make your results more useful, keep a simple record of:
Date
When the measurement was taken.
Hand tested
Right, left, or both, as appropriate.
Grip measurement
The reading displayed by the device.
Testing conditions
Your position and testing method.
Functional changes
Whether everyday tasks, such as holding a cup or carrying a light object, feel easier.
For step-by-step guidance on measuring grip strength consistently, visit the Handexer Grip Strength Test Guide →
● Keep Your Measurements Consistent
For more useful comparisons:
● Use Measurements to Understand Your Progress
Imagine that your healthcare professional has cleared you to test your grip after a wrist injury. You record your grip strength under the same testing conditions at each approved session and note how everyday tasks feel between measurements.
Over several sessions, you may notice that your readings are gradually changing and that holding a light cup or carrying a small object feels more comfortable. You can share these records and observations with your therapist to discuss your progress and whether your rehabilitation plan needs adjusting.
A single reading or a specific percentage increase does not determine whether your hand has recovered. Measurements are most useful when considered alongside symptoms, movement, everyday function, and your healthcare professional's assessment.
For more context on how grip measurements compare with reference values, see the Handexer Grip Strength Dynamometer Norms Guide. Remember that general reference values are not a substitute for injury-specific clinical assessment.
Choosing a Grip Strength Measurement Tool
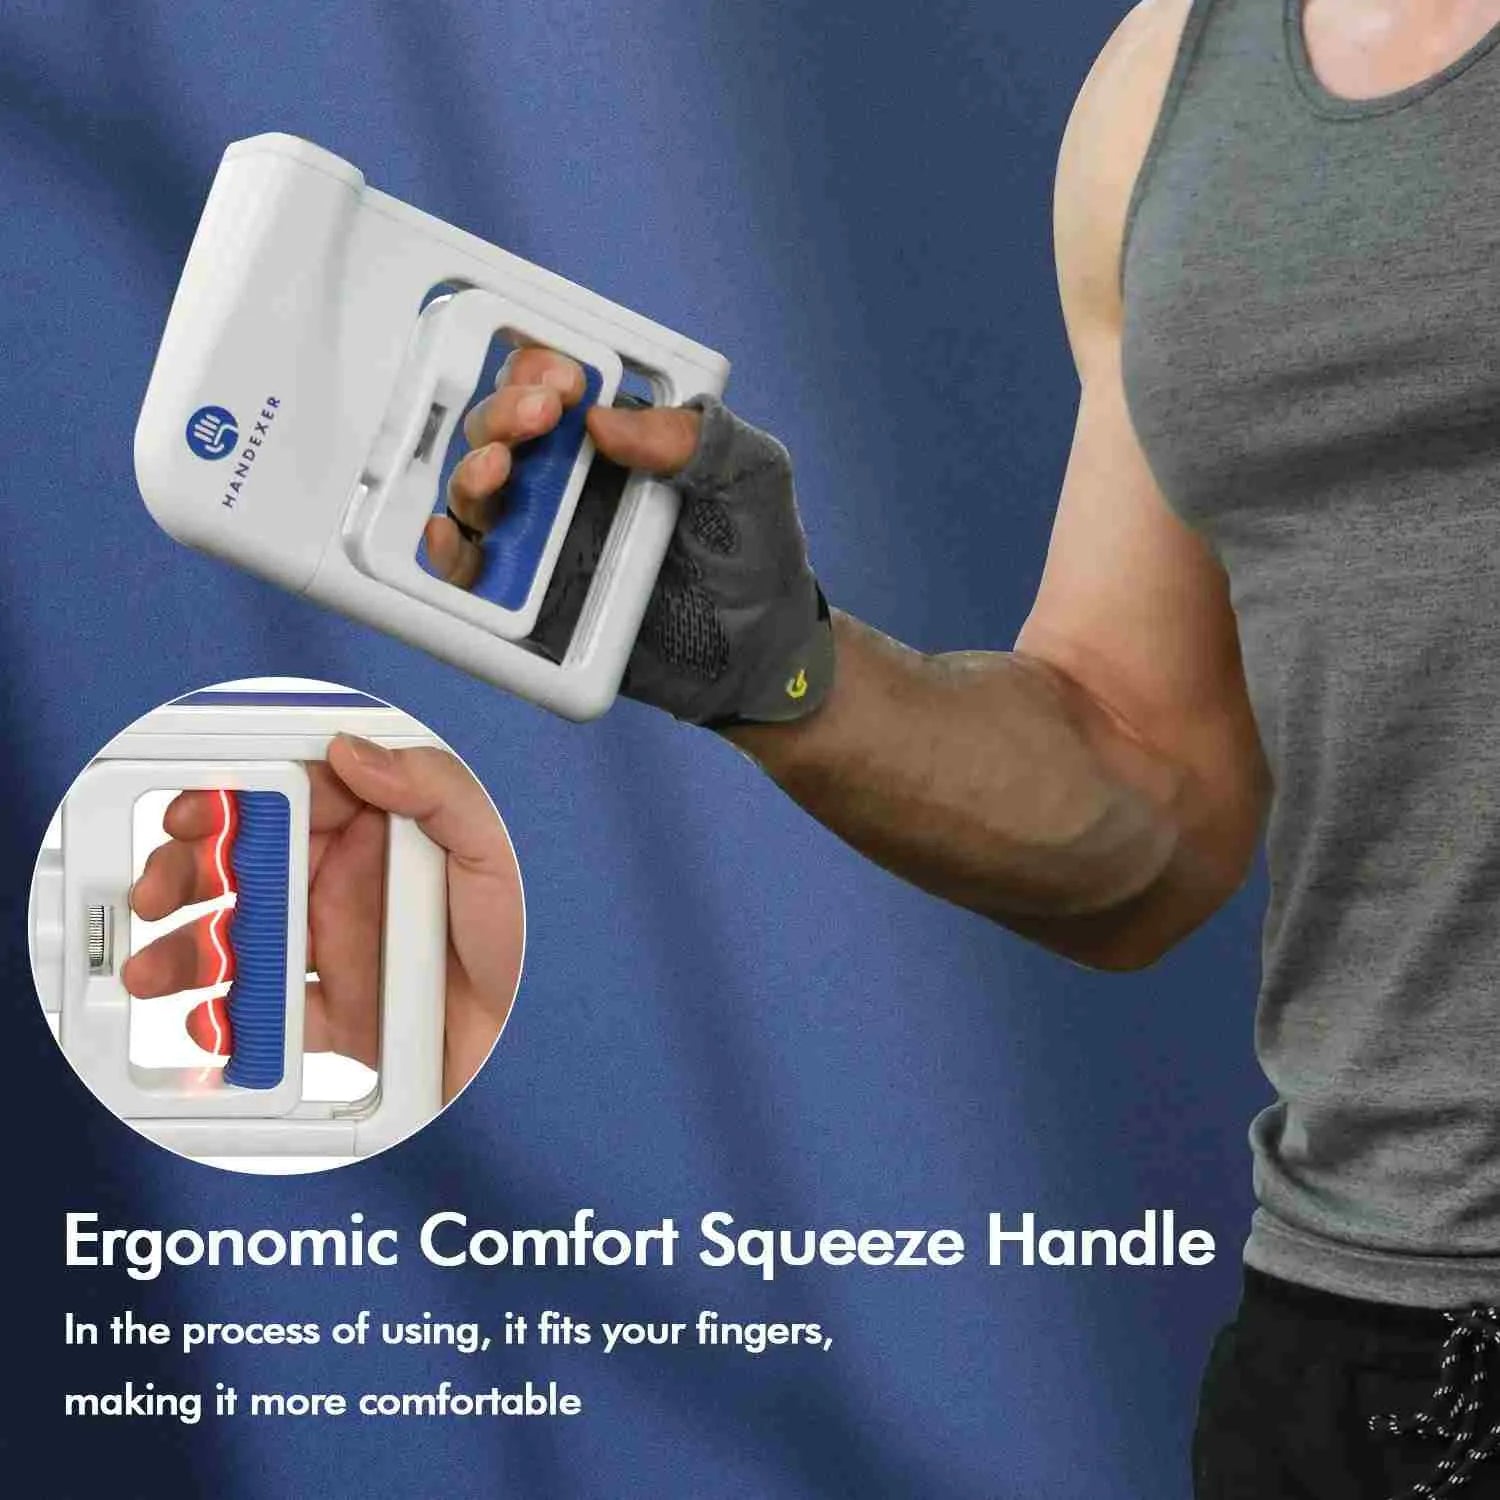
Once testing is permitted, a digital hand dynamometer can help you record grip force under consistent conditions and compare results over time.
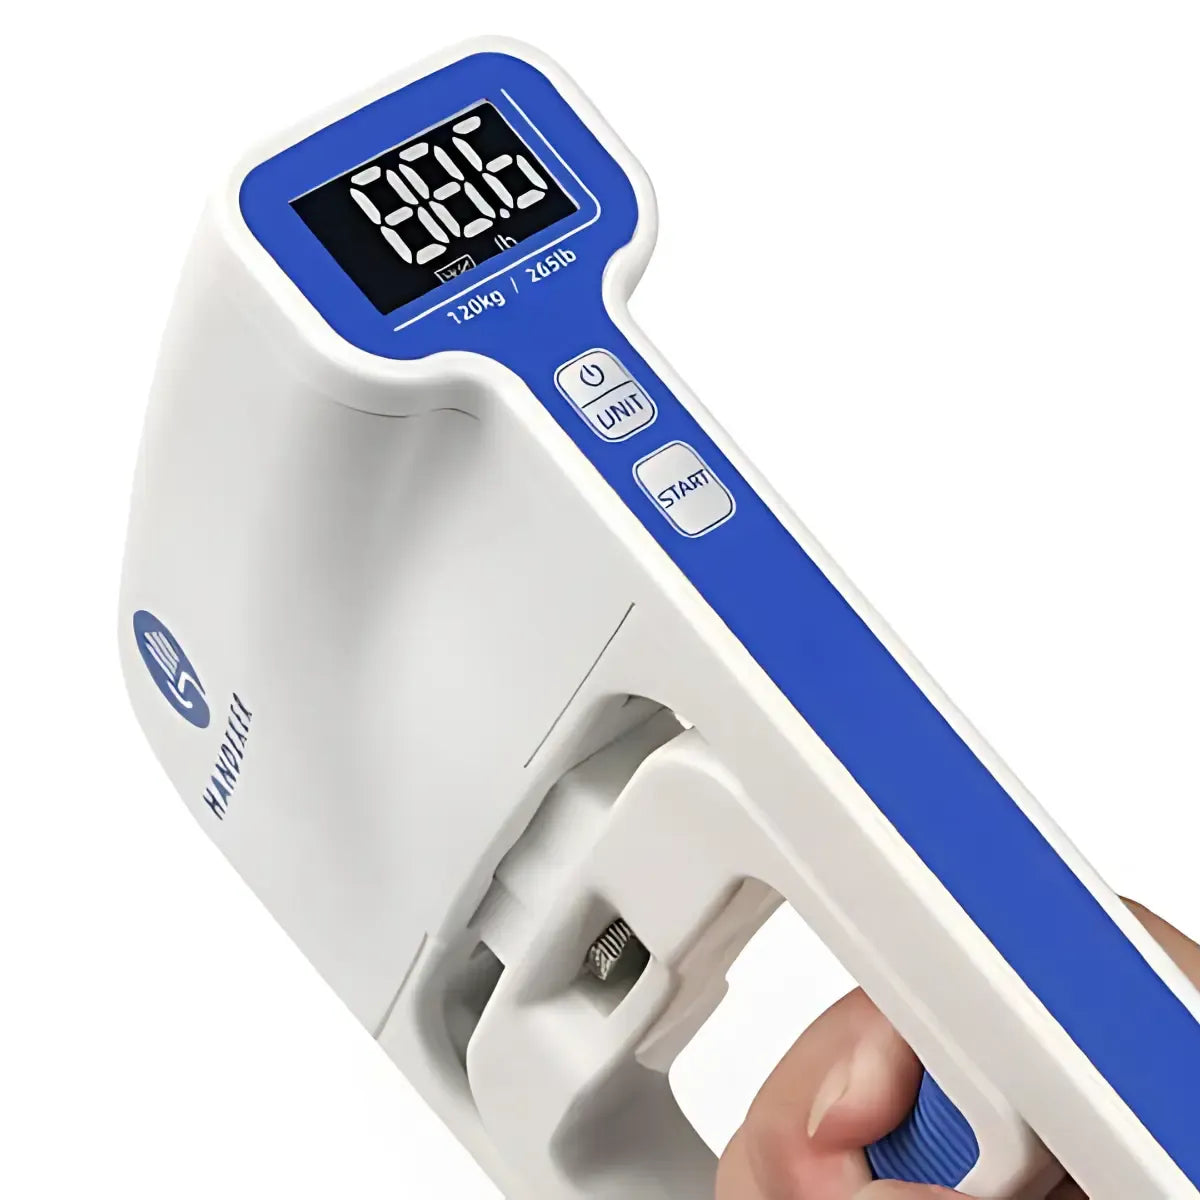
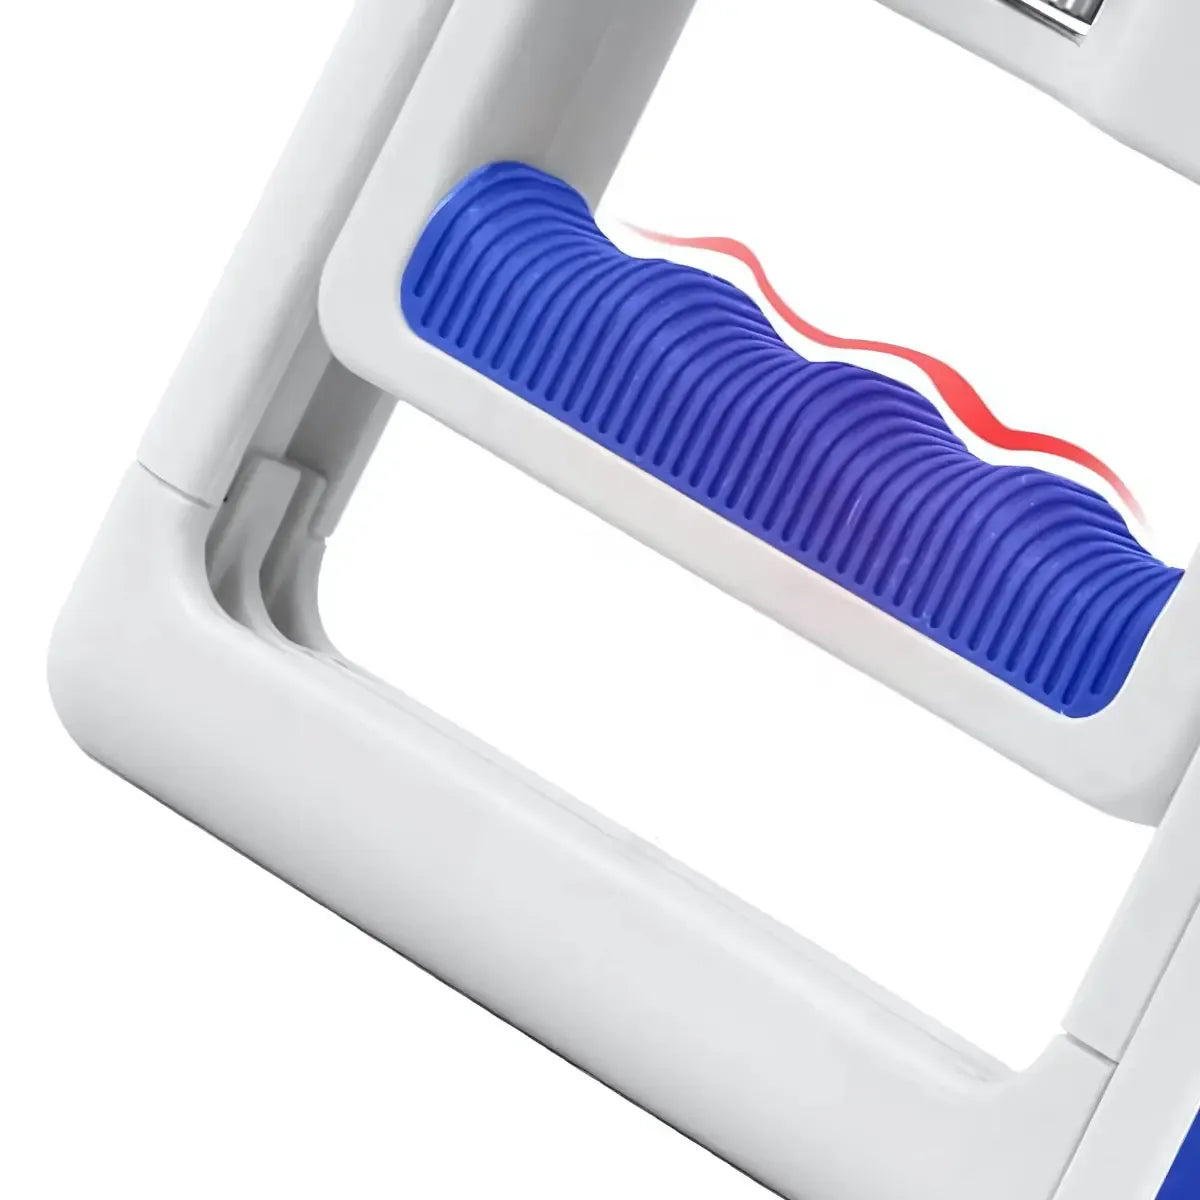
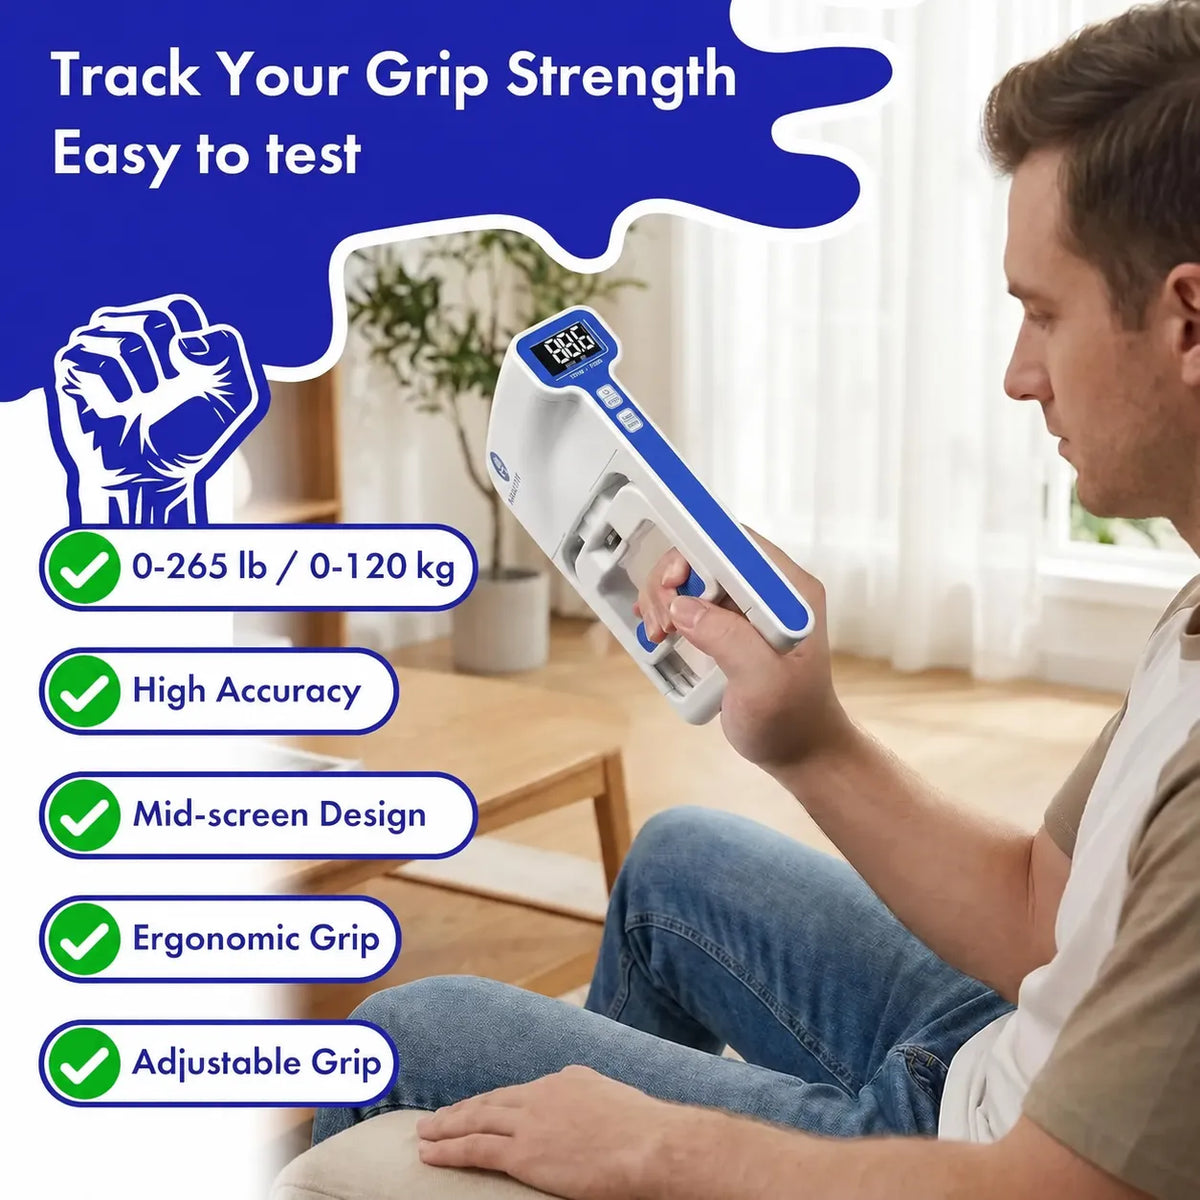
The Handexer Digital Hand Dynamometer measures grip strength up to 265 lb / 120 kg and features a backlit LCD for easy reading.
It can be used to record measurements as part of a broader progress-tracking routine. It does not determine whether a fracture has healed, whether a tendon is ready for loading, or whether you are medically cleared to resume strengthening.
Frequently Asked Questions
How long does it take to regain grip strength after an injury?
Why does my wrist feel stiff after a cast is removed?
Should I squeeze a tennis ball to rebuild grip strength?
Can I use a grip-strength dynamometer immediately after my cast is removed?
Will my grip strength return to its previous level?
Grip strength often declines after an injury because reduced muscle use, joint stiffness, changes in movement control, and altered everyday habits can all affect hand function.
A gradual approach—from permitted movement to coordination, muscle activation, and appropriately timed resistance—can help you work toward more comfortable and functional hand use.
Once grip testing is permitted, consistent measurements can help you observe changes in force production over time. Combine those readings with changes in mobility and everyday function, and discuss your progress with your healthcare professional.
Medical Disclaimer:
This article provides general educational information and is not a substitute for individualized medical advice, diagnosis, or rehabilitation. Exercise selection, repetitions, and progression should be adapted to your injury and your healthcare professional's instructions. If you experience severe or worsening symptoms, seek appropriate medical assessment.





Compartir:
Did Your Grip Strength Drop a Few Kilograms This Winter? What Exercise Physiology Actually Suggests