
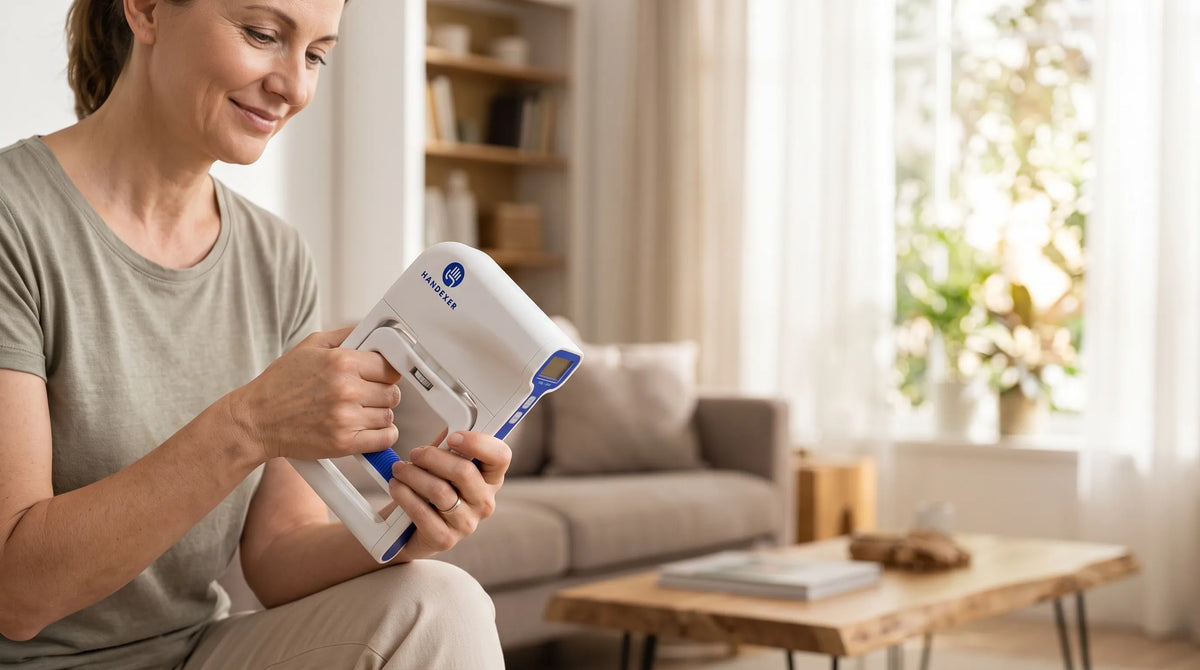
Building stronger hands is not about squeezing a gripper as hard as possible every day.
A better approach combines progressive resistance, controlled technique, recovery, and consistent measurement. According to the American College of Sports Medicine (ACSM), resistance-training programs should progressively challenge the body while being adjusted to individual goals, training experience, and response to exercise.
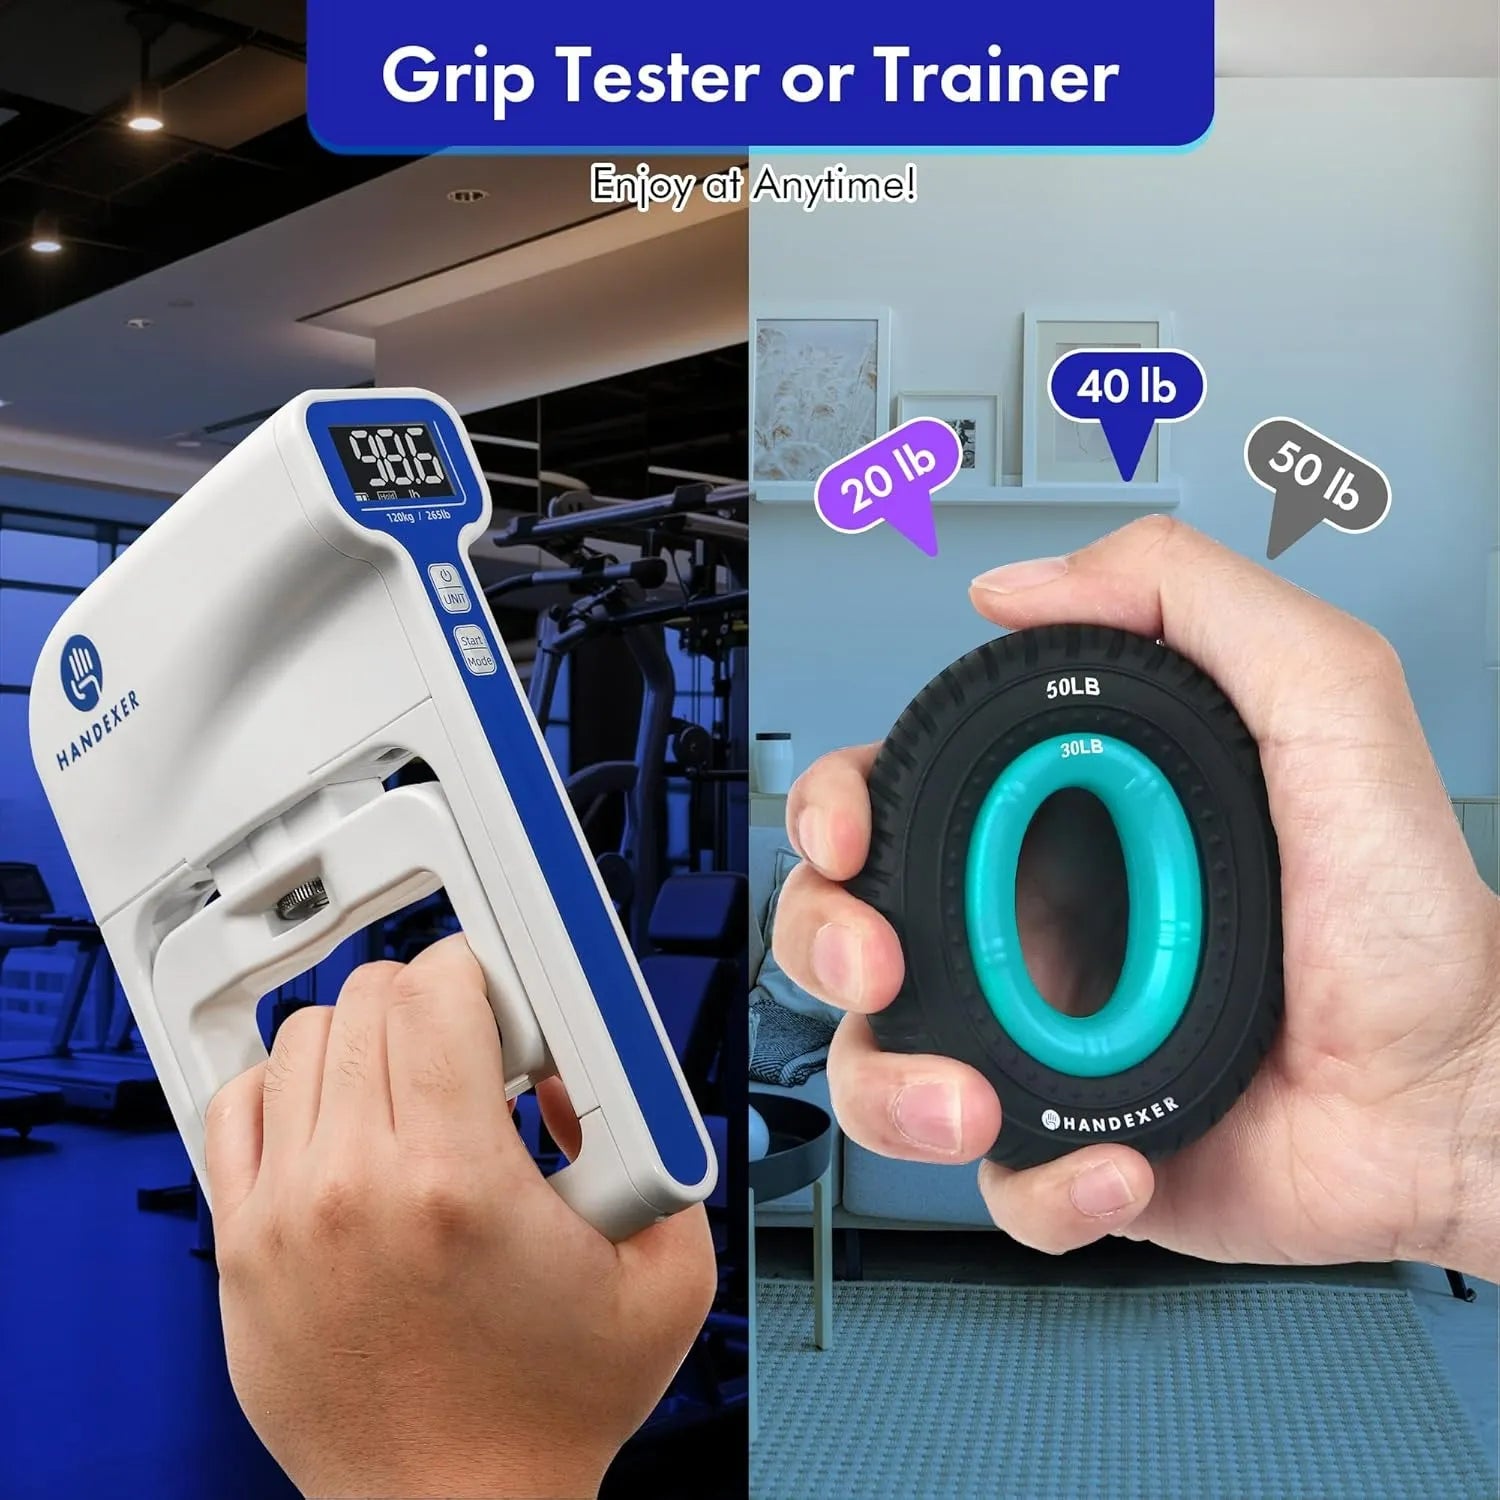
Establish an accurate, standardized Day 1 digital baseline before altering your routine.
Progressively challenge crushing, pinch opposition, and extensor balance at home.
Monitor multi-week rolling trends, neuromuscular fatigue, and recovery patterns.
Re-test at Day 28, compare force changes, and calibrate your ongoing training load.
The Handexer Grip Training Framework
FOUNDATIONAL SCIENTIFIC RIGOR & TESTING DISCIPLINE
1. Measure Before You Train
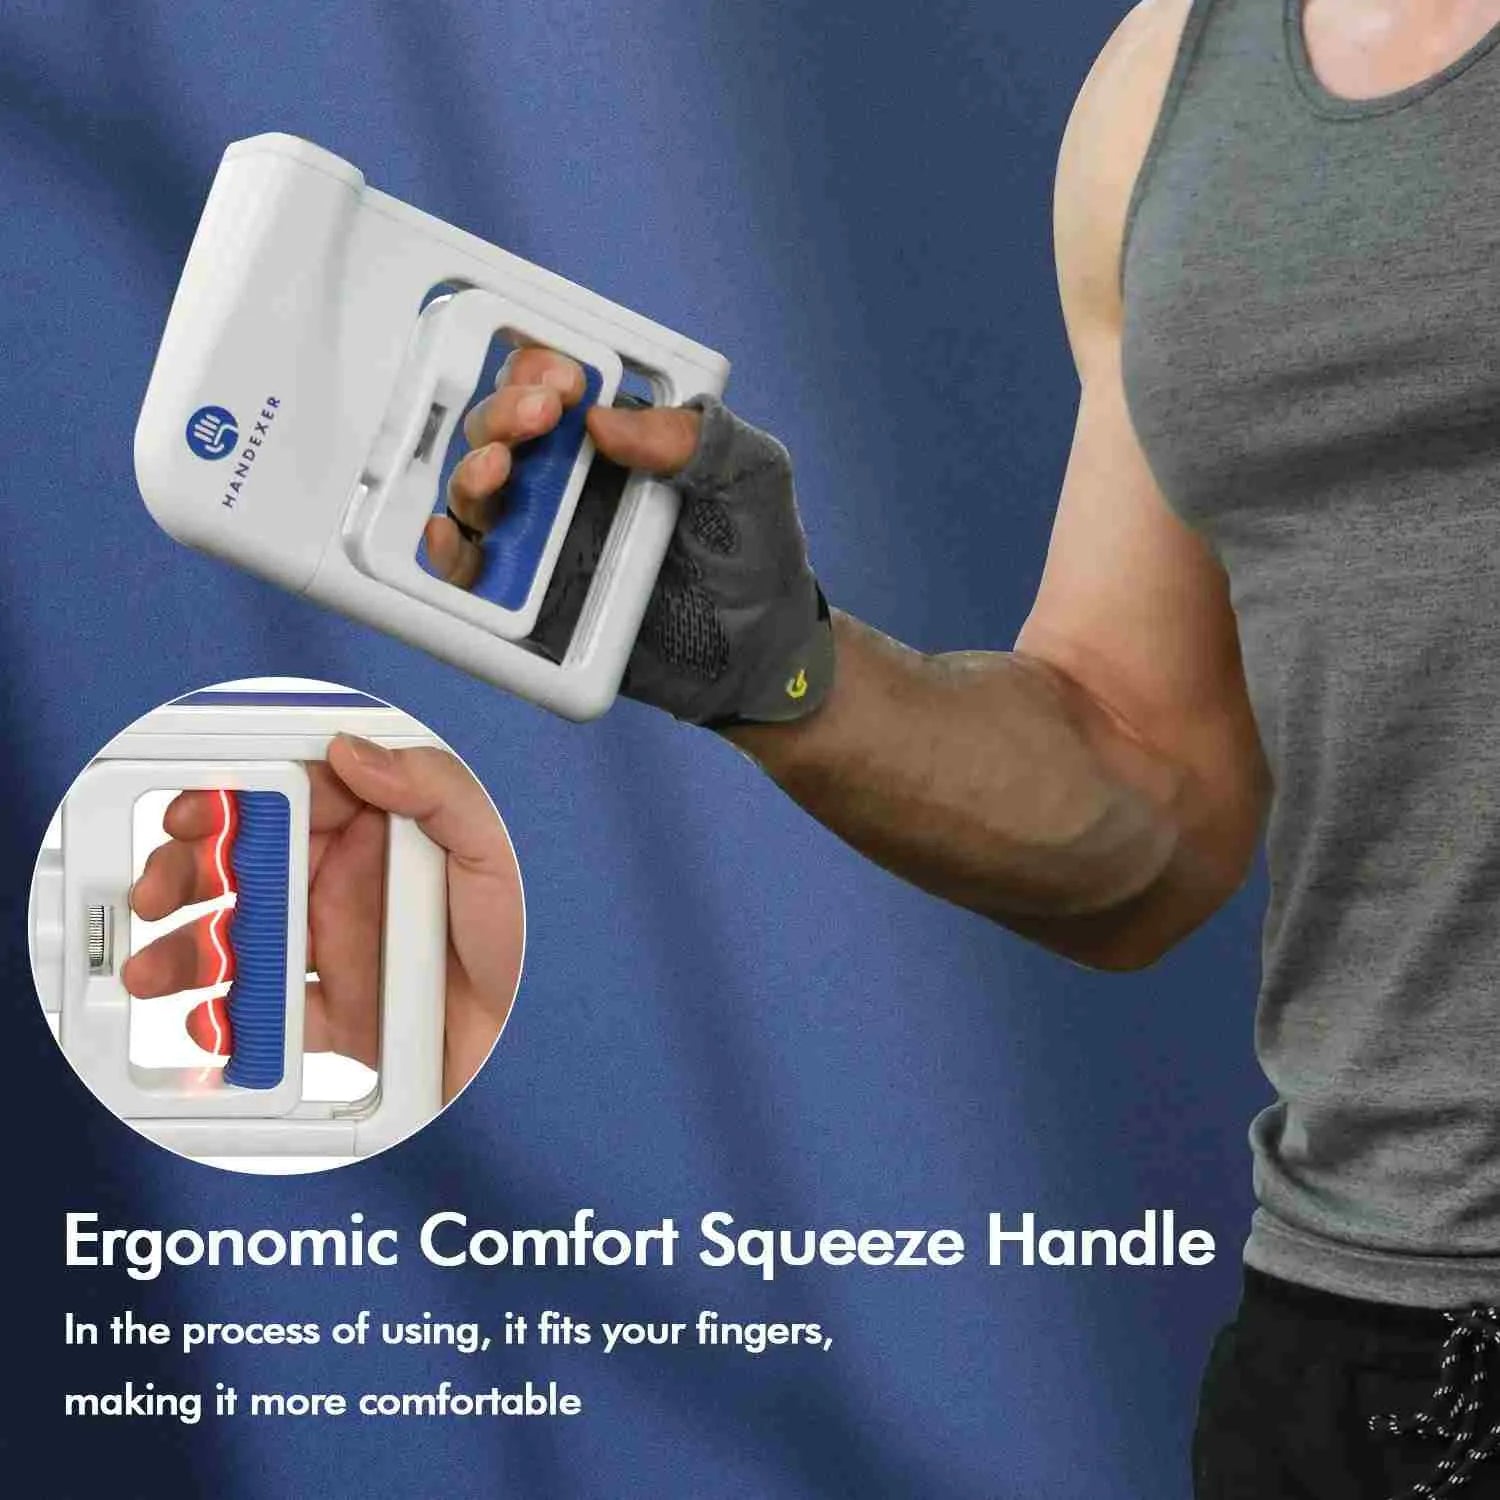
Start by measuring your grip strength before changing your routine.
A systematic review and meta-analysis published in Archives of Physical Medicine and Rehabilitation found generally strong reliability for hand-grip strength assessment when appropriate testing procedures are used.
Testing conditions also matter. A study published in Archives of Physical Medicine and Rehabilitation found that grip-strength measurements differed depending on testing posture and elbow position, supporting the importance of maintaining standardized conditions when tracking changes over time.
To establish a repeatable benchmark, your baseline and final test should use the same:
2. Train With Progressive Resistance
Grip strength improves through repeated exposure to resistance and gradual progression.
The ACSM's 2026 Position Stand on Resistance Training emphasizes progressive training while recommending that training variables be adjusted according to individual goals and training status.
Progression does not always mean jumping straight to a heavier gripper. Advance safely through the 5 hierarchy levels:
3. Train More Than One Grip Pattern
Full-hand squeezing is only one aspect of hand function. Hand-focused proprioceptive and diversified strength training improves comprehensive manual dexterity:
4. Track the Trend, Not Just One Number
Your grip strength can vary from day to day due to sleep, hydration, and daily activity.
Instead of reacting to single-day fluctuations, compare measurements collected under consistent conditions over time]. This makes it easier to evaluate whether your physical capacity is genuinely changing.
Your 4–Week Grip Strength Schedule
3 SESSIONS / WEEK (WEEKS 1–3) • 2 SESSIONS + RE-TEST (WEEK 4)
| WEEK | GOAL | MAIN FOCUS | KEY EXERCISES | WEEKLY ASSESSMENT |
|---|---|---|---|---|
| Week 1 | Build tolerance | Mobility + baseline setup | Active Tendon Glides, Light Squeezes (20–30 lbs), Desk Finger Press, Finger Expansions | |
| Week 2 | Build endurance | Submaximal isometric loading | 6–8s Isometric Ring Holds, Hook-Hand Pulls, Elastic Band Extensions | |
| Week 3 | Improve balance | Thumb pinch + rotational variety | Four-Point Thumb Opposition, Pinch Squeezes, Towel Wrings, Heavy Band Extensions | |
| Week 4 | Progress & evaluate | Stepped resistance + final re-test | Firmer Resistance Rings (40–50+ lbs), Sustained Holds, Finger Extensions |
Week 1: Foundation and Baseline Setup
Focus on establishing your baseline and becoming comfortable with controlled movement rather than pursuing maximum fatigue.
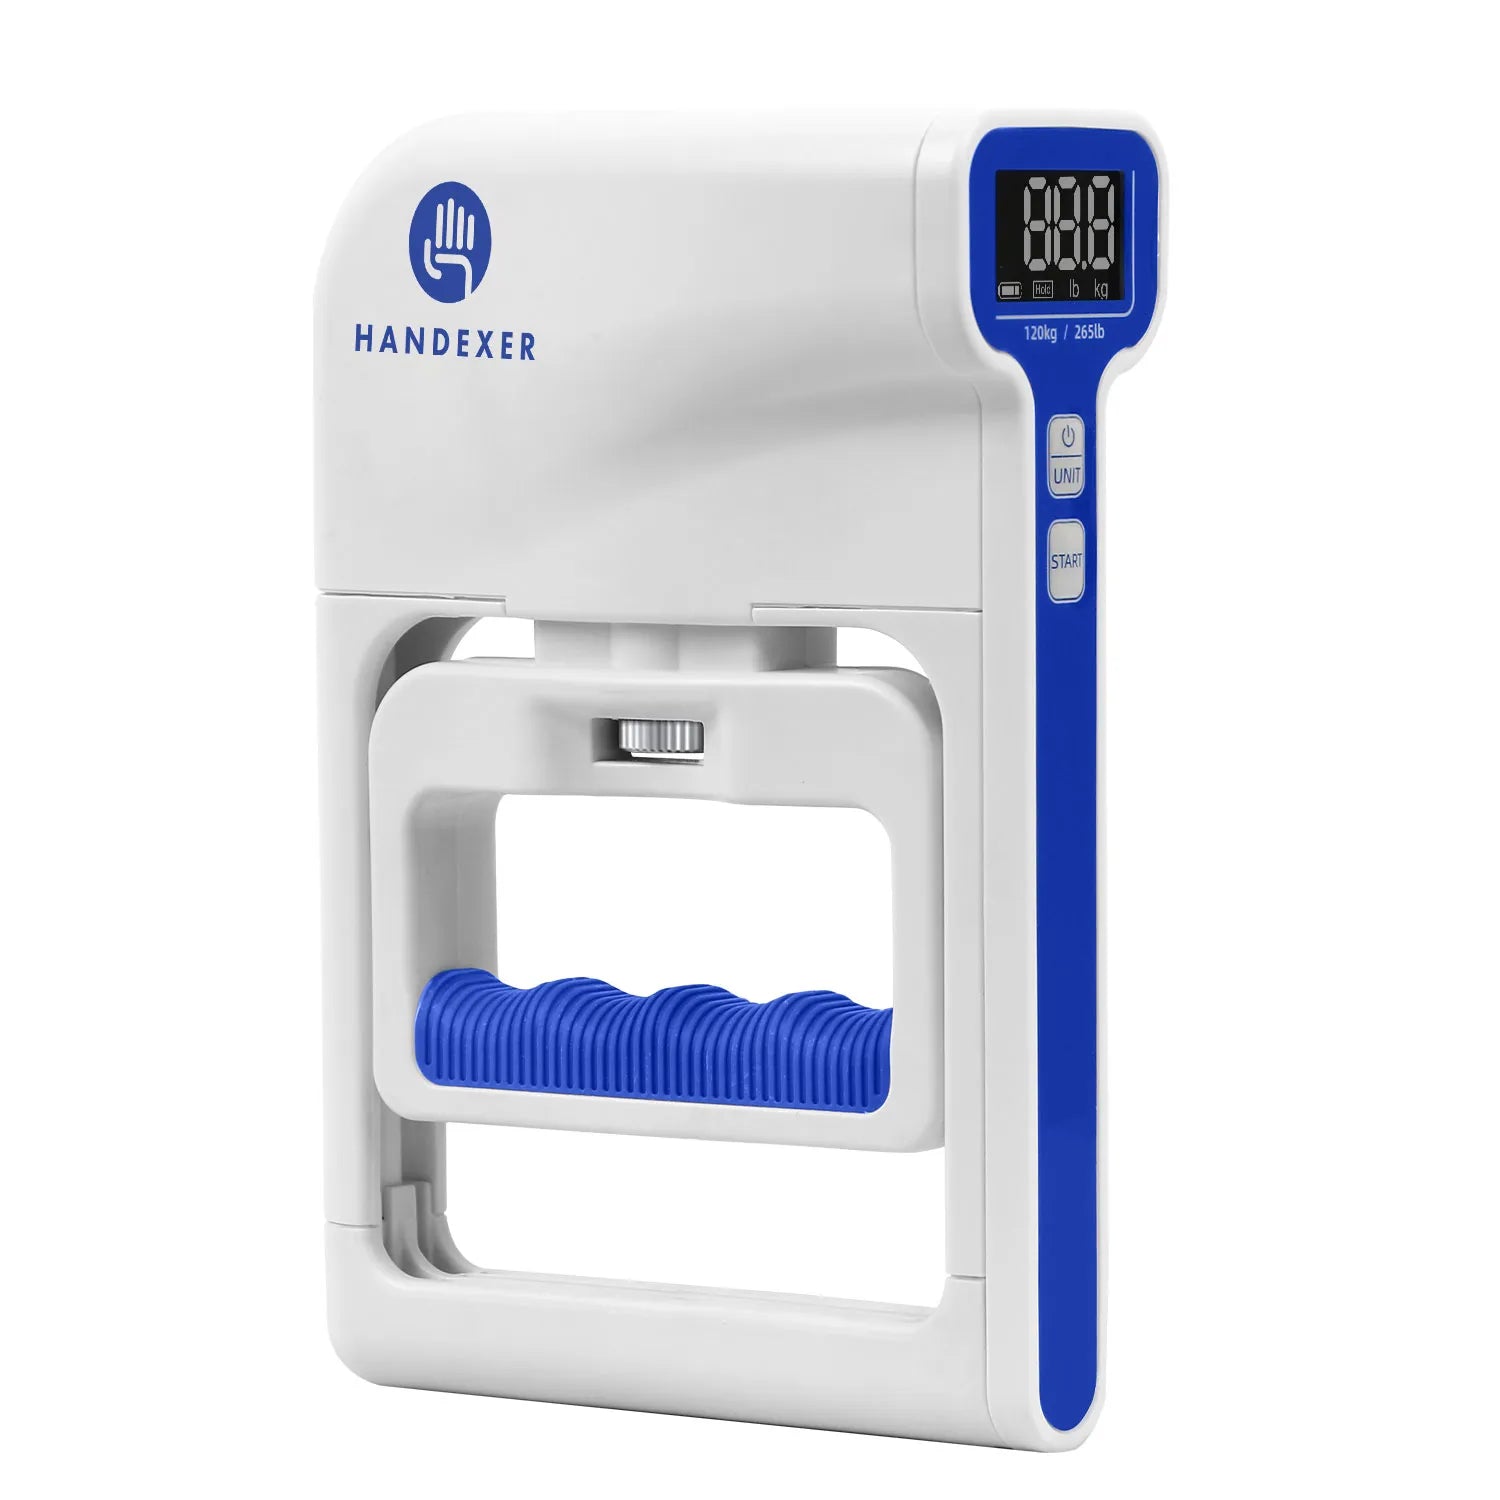
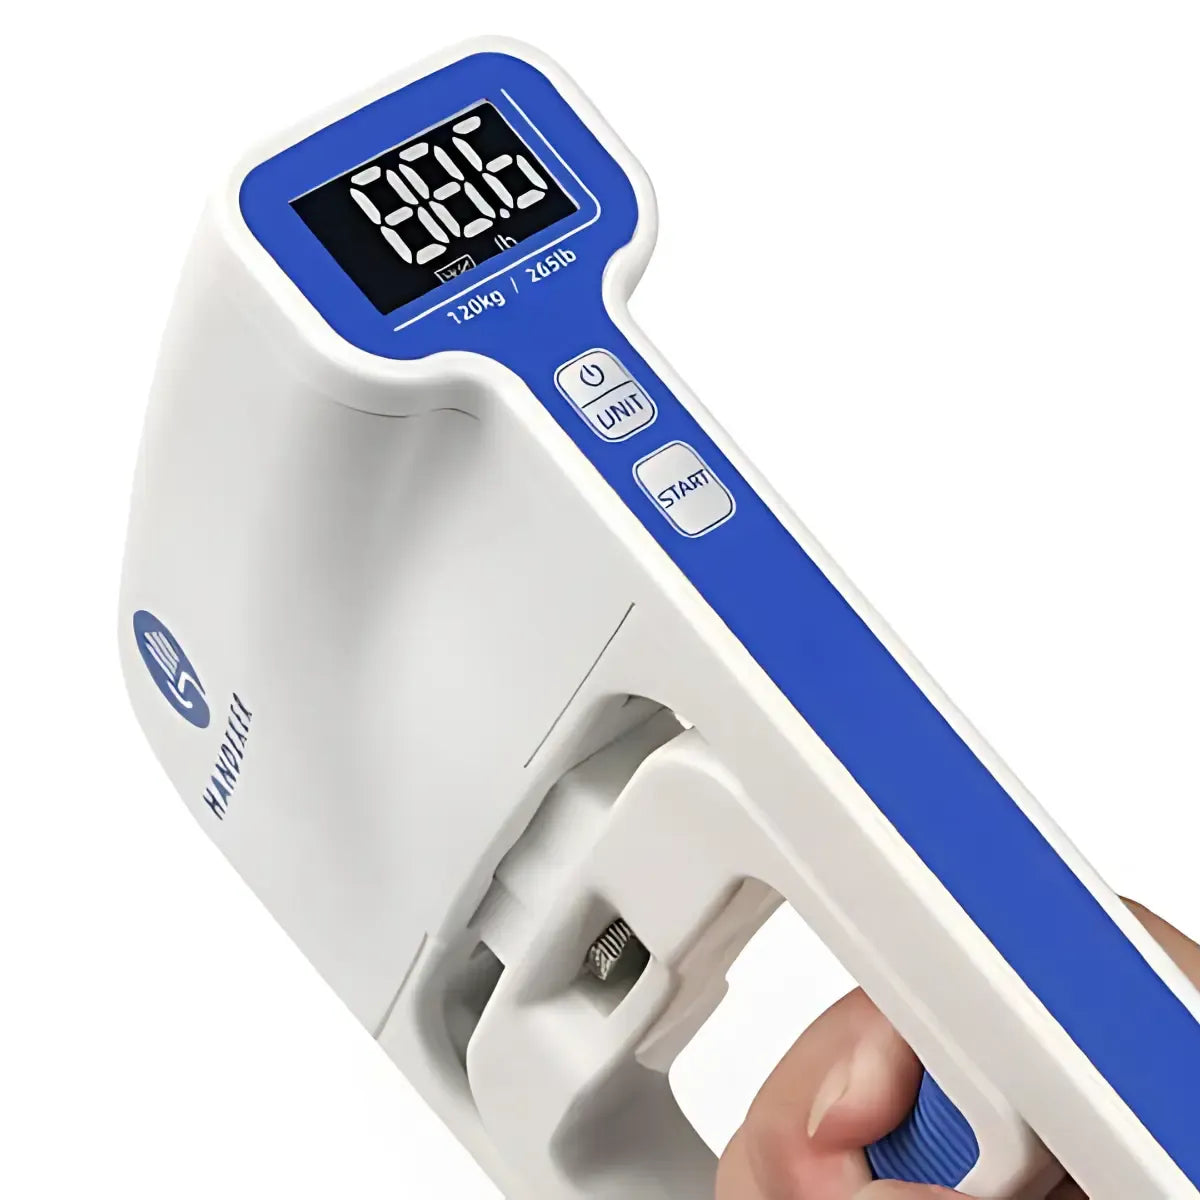
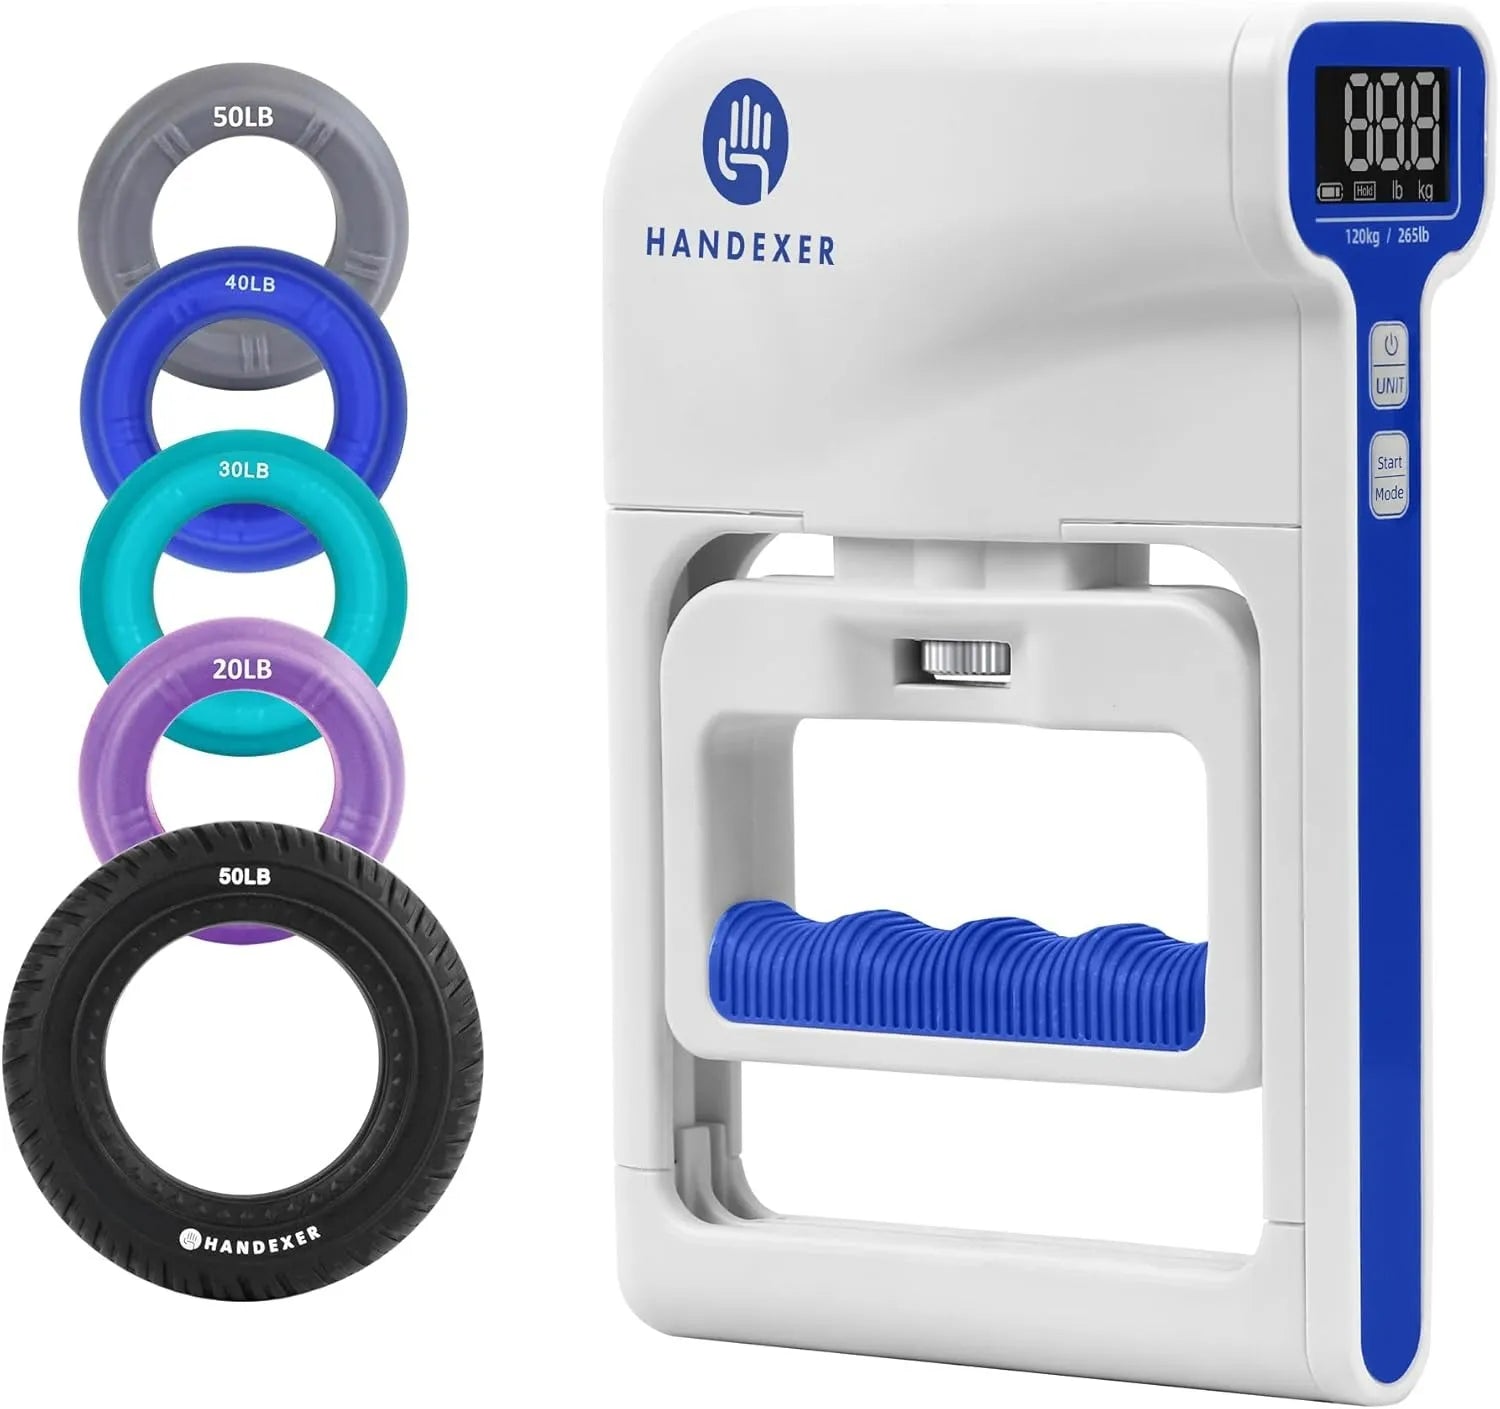
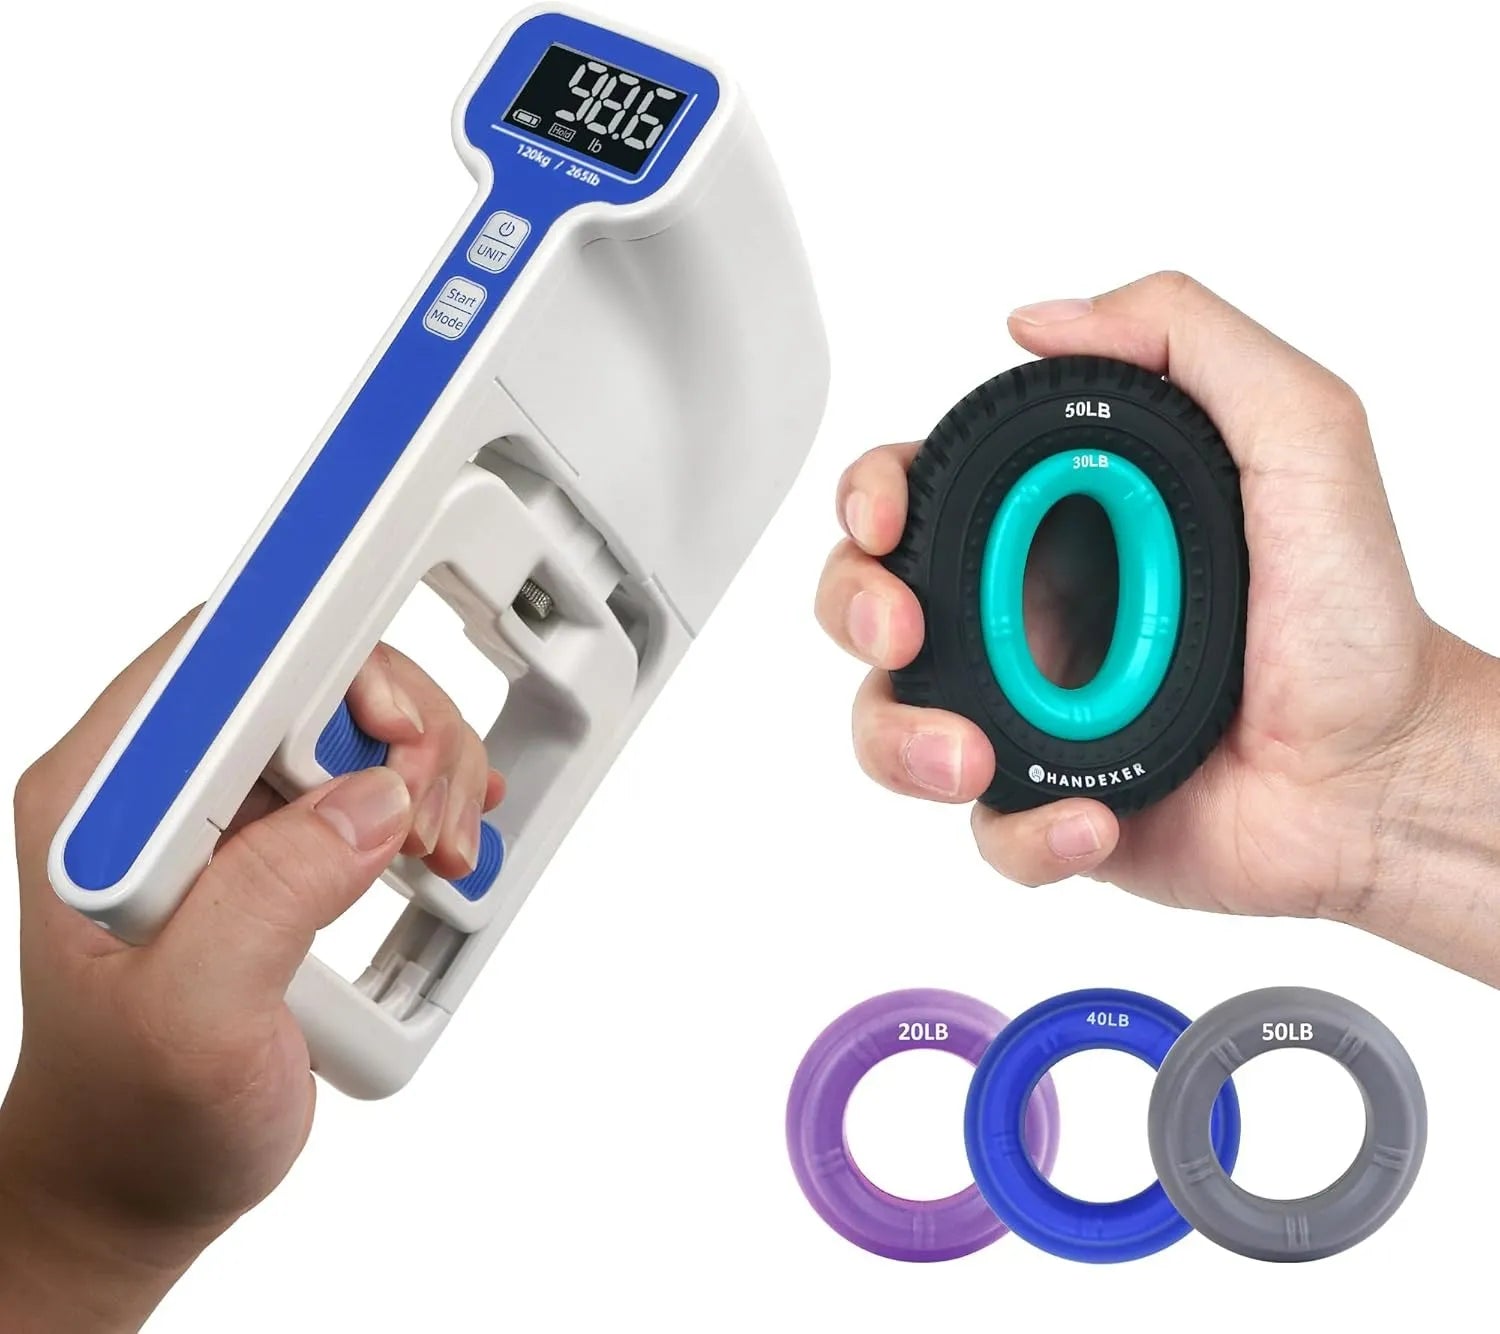
- Baseline Grip Test: 2–3 trials per hand using a digital hand dynamometer. Squeeze with maximum comfortable effort for 3 seconds while exhaling smoothly. Rest approximately 60 seconds between trials and record baseline scores.
- Active Tendon Glides: 2 sets of 5 cycles per hand (Flat Palm → Hook Fist → Full Fist → Straight Fist → Open).
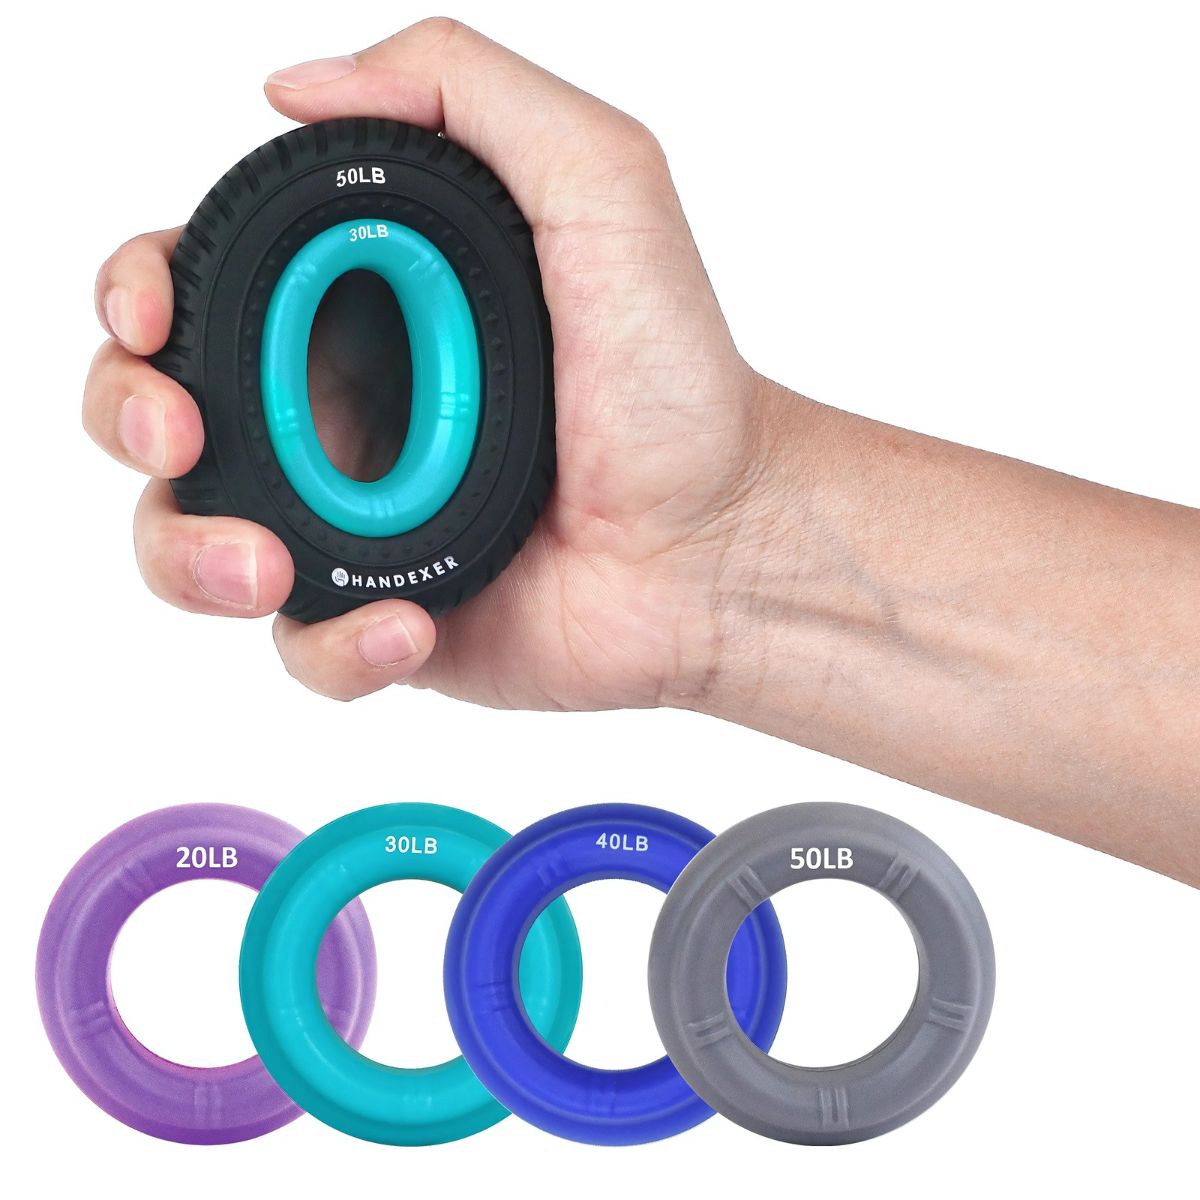
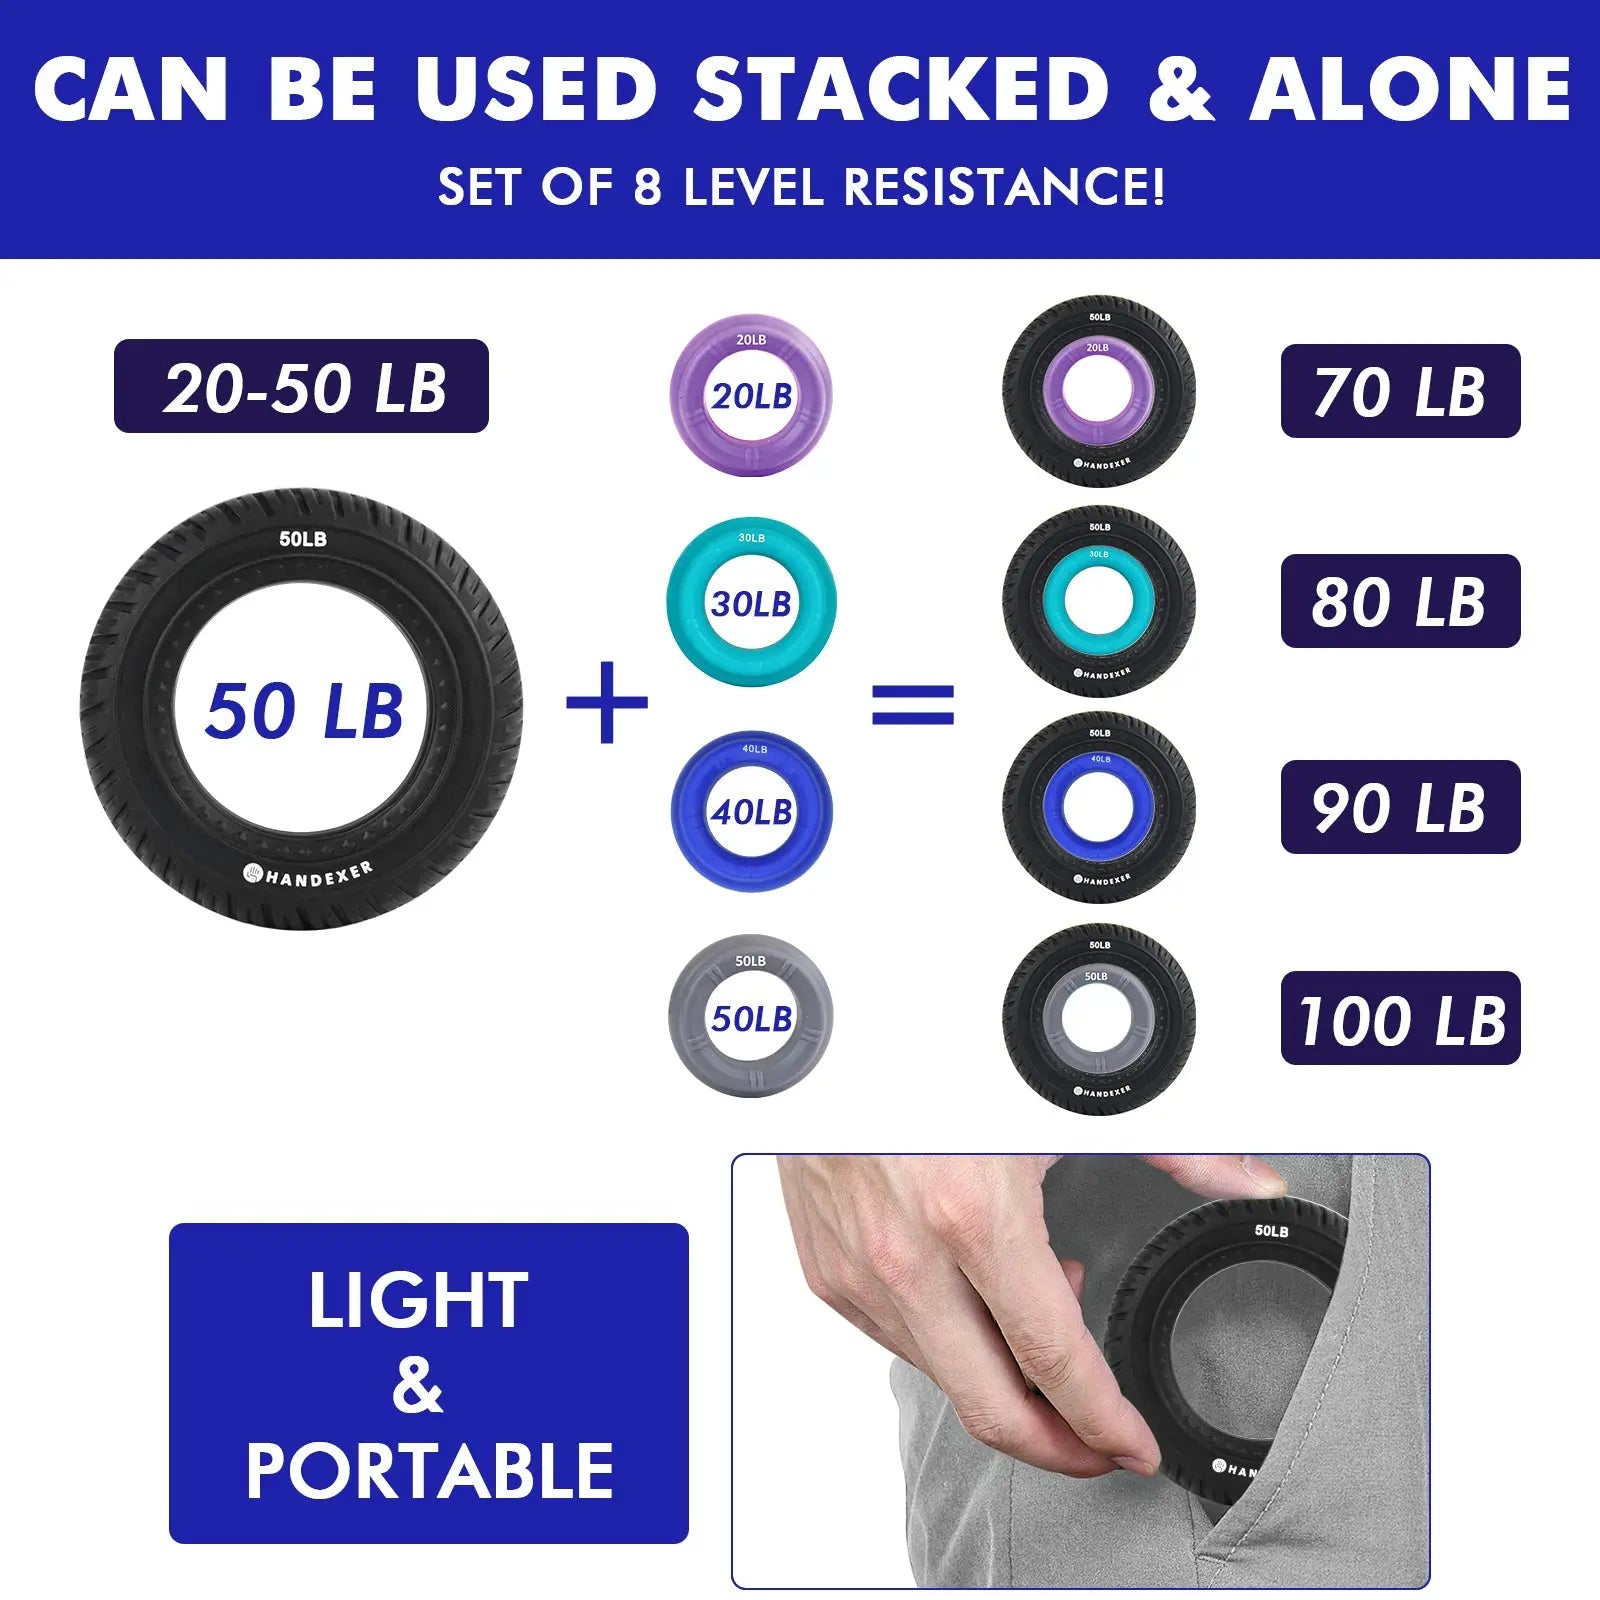
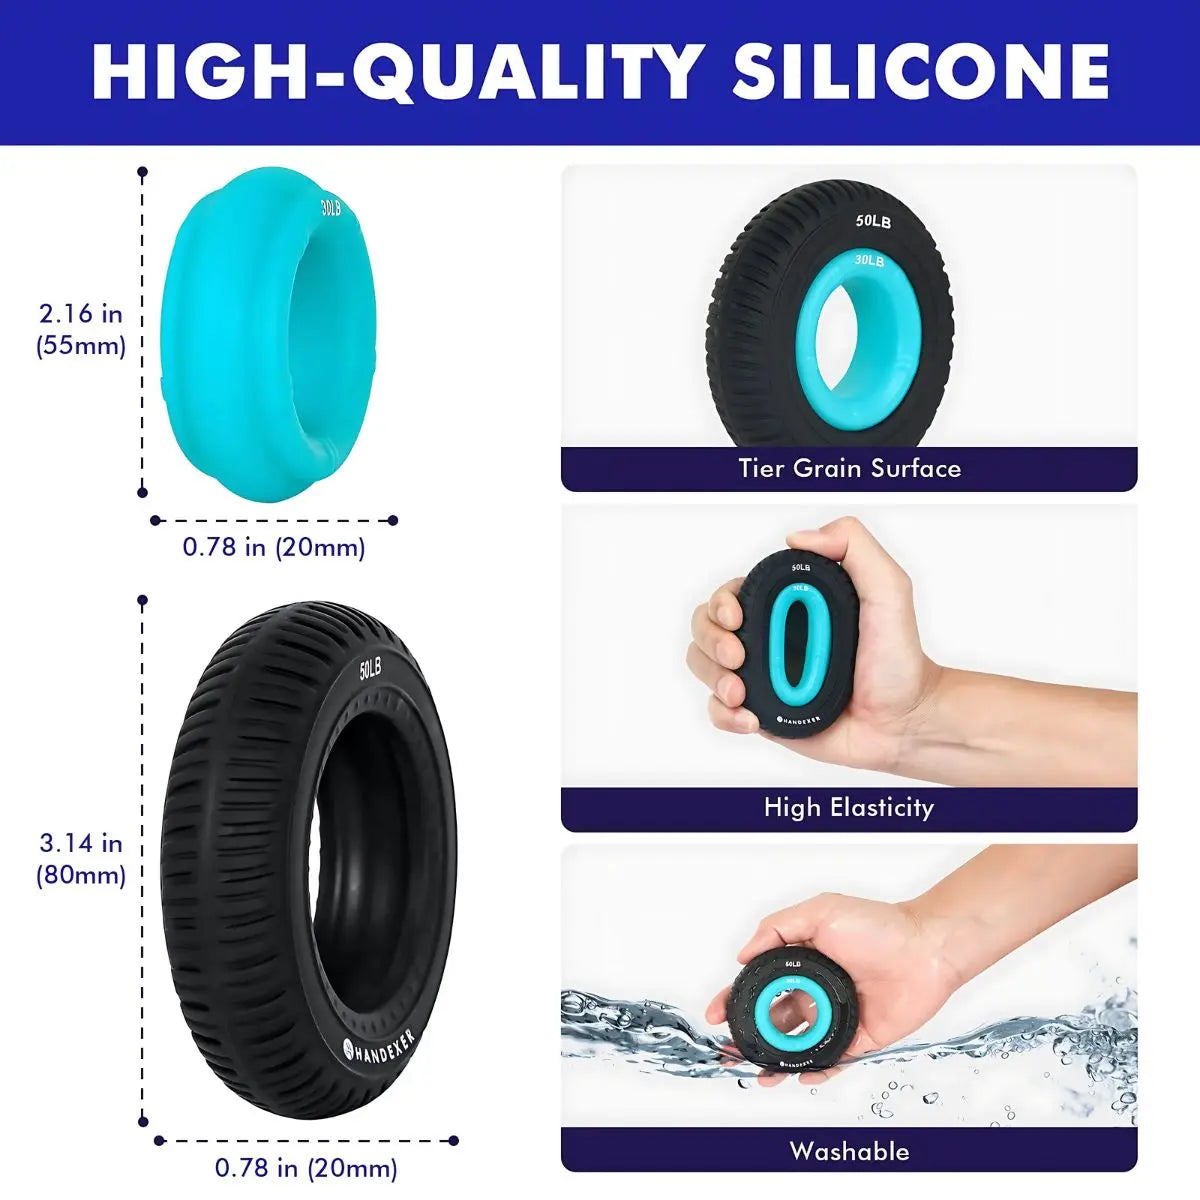
- Light Dynamic Squeezes: 2 sets of 10 repetitions per hand (A 20–30 lb silicone ring can be used as an example starting range).
- Isometric Finger Flexion (Desk Press): 3 sets of 5-second static holds per hand. Rest fingertips on a desk surface and press down gently without allowing the knuckles to collapse.
- Finger Extensions: 2 sets of 10 repetitions, expanding fingers wide against a flat surface or light band.
- Active Tendon Glides: 1 set of 5 cycles.
- Light Hand Squeezes: 2 sets of 10 repetitions.
- Isometric Finger Press: 3 sets of 5 seconds.
- Finger Extensions: 2 sets of 10 repetitions.
- Repeat Wednesday’s complete session with strict attention to maintaining neutral wrists.
Week 2: Controlled Loading and Isometric Work
Build holding capacity with minimal joint motion. Note: Isometric exercise builds holding capacity but is balanced alongside isotonic loading.
- Active Tendon Glides: 1 set of 5 cycles.
- Controlled Hand Squeezes: 3 sets of 8–10 repetitions (2s squeeze, 1s pause, 3s release).
- Isometric Ring Holds: 3 sets of 4 holds. Aim for approximately 6–8 seconds at roughly 70% of your perceived effort.
- Elastic Band Extensions: 3 sets of 12 repetitions.
- Active Tendon Glides: 1 set of 5 cycles.
- Isometric Ring Holds: 3 sets of 4 holds (6–8 seconds).
- Bilateral Hook–Hand Pulls: 3 sets of 5 seconds (lock curled fingertips together at chest height and pull outward gently).
- Elastic Band Extensions: 3 sets of 12 repetitions.
- Repeat Monday’s complete protocol.
Week 3: Pinch and Multi-Grip Training
Challenge fine motor stability, thumb opposition pads, and rotational forearm stability across varied planes.
- Four–Point Thumb Opposition: 2 rounds per hand (touch thumb pad to index, middle, ring, and pinky finger for 2 seconds each).
- Thumb-to-Finger Pinch Squeezes: 2 sets per hand using the outer rim of a silicone ring.
- Full-Hand Dynamic Squeezes: 2 sets of 10 repetitions.
- Heavy Band Finger Extensions: 3 sets of 15 repetitions.
- Thumb-to-Finger Pinch Squeezes: 2 sets per hand.
- Two-Way Towel Wrings: 3 sets of 5 seconds per direction (grasp a rolled towel with hands 6 inches apart and twist in opposite directions).
- Controlled Hand Squeezes: 2 sets of 10 repetitions.
- Heavy Band Finger Extensions: 3 sets of 15 repetitions.
- Repeat Wednesday’s complete session.
Week 4: Progress and Re-Test
Complete two progressive training workouts, rest for 48 hours, and perform your standardized Day 28 benchmark evaluation.
- Active Tendon Glides: 1 set of 5 cycles.
- Firmer-Resistance Squeezes: 3 sets of 8–10 repetitions per hand (A 40–50+ lb ring may serve as a practical progression range for experienced users).
- Sustained Isometric Holds: 3 sets of 8 seconds.
- Band Finger Extensions: 3 sets of 15 repetitions.
- Ensure at least 48 hours without demanding grip training prior to testing.
- Complete a gentle 2–3 minute warm-up using tendon glides and wrist circles.
- Assume your standardized testing posture: seated or standing tall, elbow at 90 degrees, wrist neutral.
- Perform 2–3 maximum-effort trials per hand with your digital hand dynamometer, resting 60 seconds between attempts.
- Compare your Day 28 numbers against Day 1: Peak score change, Average score change, and Left-to-right balance ratio.
When Should You Progress?
AVOID INCREASING RESISTANCE SIMPLY TO REACH A LARGER NUMBER
- You complete all prescribed sets and repetitions with steady, controlled tempo.
- Your wrist remains completely neutral without bending inward or sideways during squeezes.
- You experience zero joint, tendon, or wrist discomfort during or after the workout.
- Forearm recovery is completely normal by your next scheduled training session.
- Your form breaks down or your fingers tremble noticeably before completing your sets.
- Your wrist repeatedly curls inward to compensate for forearm flexor fatigue.
- Your force measurements drop across several consecutive training sessions.
- Hands or forearms feel unusually tired/heavy next morning (stay at current level or reduce volume 20%–30%).
Understanding Your 4–Week Progress & Benchmarks
There is no universal percentage of strength improvement for a 30-day period because early gains stem primarily from neuromuscular adaptations—such as improved motor-unit recruitment across the nervous system—alongside gradual muscular and connective tissue changes, as outlined in a 2026 review in The Journal of Physiology. Because individual progress varies widely depending on starting strength, training consistency, sleep, and recovery, you should avoid chasing arbitrary targets and instead compare your Day 28 re-test directly against your Day 1 baseline under identical, standardized conditions. You can consult our grip strength norms guide to see where your baseline sits relative to broader demographic data, while relying on your personal logbook to track your individual rate of adaptation.
Frequently Asked Questions
CLINICAL PERSPECTIVES ON COMMON TRAINING QUESTIONS
Can I train my grip every day?
You don’t necessarily need to train your grip every day. This plan uses three non-consecutive training days per week during Weeks 1–3, allowing essential time for connective tissue remodeling and central nervous system recovery between workouts. Focus on the volume you can comfortably recover from with good technique.
Why do my forearms feel tired after grip training?
Forearm fatigue is common because gripping movements load multiple muscular compartments in the forearm simultaneously. If tiredness continues to accumulate across consecutive days, reduce resistance or training volume. Persistent pain, numbness, tingling, or swelling should never be treated as normal exercise fatigue; stop immediately and consult an appropriate healthcare professional.
What should I do if my wrist bends when I squeeze?
If your wrist bends during a squeeze, reduce the resistance immediately and focus on keeping a comfortable, neutral wrist position. A resistance level that causes repeated form breakdown is too challenging for your current wrist extensor stabilizers. The goal is controlled movement rather than using the heaviest possible resistance.
How much grip strength can I gain in 4 weeks?
There is no fixed percentage increase because adaptations vary based on individual training history, consistency, and recovery capacity. Initial improvements often stem from neural motor unit recruitment and movement familiarity. Use your Day 1 baseline as your personal anchor and compare it with Day 28 under identical conditions.
Medical Disclaimer: This article is intended for general education and fitness purposes only. It is not medical advice and is not a substitute for evaluation or treatment by a qualified healthcare professional. If you experience persistent hand or wrist pain, numbness, tingling, swelling, or other concerning symptoms, stop the exercise and consult an appropriate healthcare professional.






共有する:
手の機能と筋力が認知機能にどう影響するか