
In the world of functional performance, there is a common frustration: you have the strength to lift a heavy load, but not the endurance to hold it.
Whether you are halfway up a bouldering wall, carrying groceries up several flights of stairs, or doing repetitive manual work, your forearms eventually feel like they are “filled with lead.”
That burning tightness is commonly called the pump — and for many people, it becomes the true limiting factor in real-world hand performance.
Why Grip Strength and Grip Endurance Are Not the Same Thing
Before training solutions make sense, it’s important to separate two different adaptations:
- Grip strength = maximum force output (how hard you can squeeze)
- Grip endurance = how long you can sustain usable force under fatigue
Many people train only the first one, then wonder why they fail in real-life tasks that require duration, not just force.
Why Do Your Forearms Fatigue So Quickly?
The Real Cause of Forearm “Pump”
The Real Cause of Forearm “Pump”Maximum grip strength is mainly about muscle fiber recruitment.Grip endurance, however, is largely determined by blood flow efficiency and capillary density.
When you grip an object tightly, the forearm muscles compress nearby blood vessels. This reduces oxygen delivery while metabolic waste accumulates rapidly.The faster this imbalance happens, the faster your forearms “lock up.”
Research in exercise physiology consistently shows that endurance adaptation depends heavily on capillarization — the growth of tiny blood vessels that improve oxygen delivery and waste clearance during repeated contractions.
This is why climbers, mechanics, musicians, surgeons, and manual workers often need a very different type of training than power athletes.
Why Measurement Matters Before Training
At this point, a key question appears: If endurance is so different from strength, how do you know what to train?
This is where measurement becomes essential.
Without baseline data, grip training is often guesswork — you may be strong, but still fatigue quickly, or vice versa.
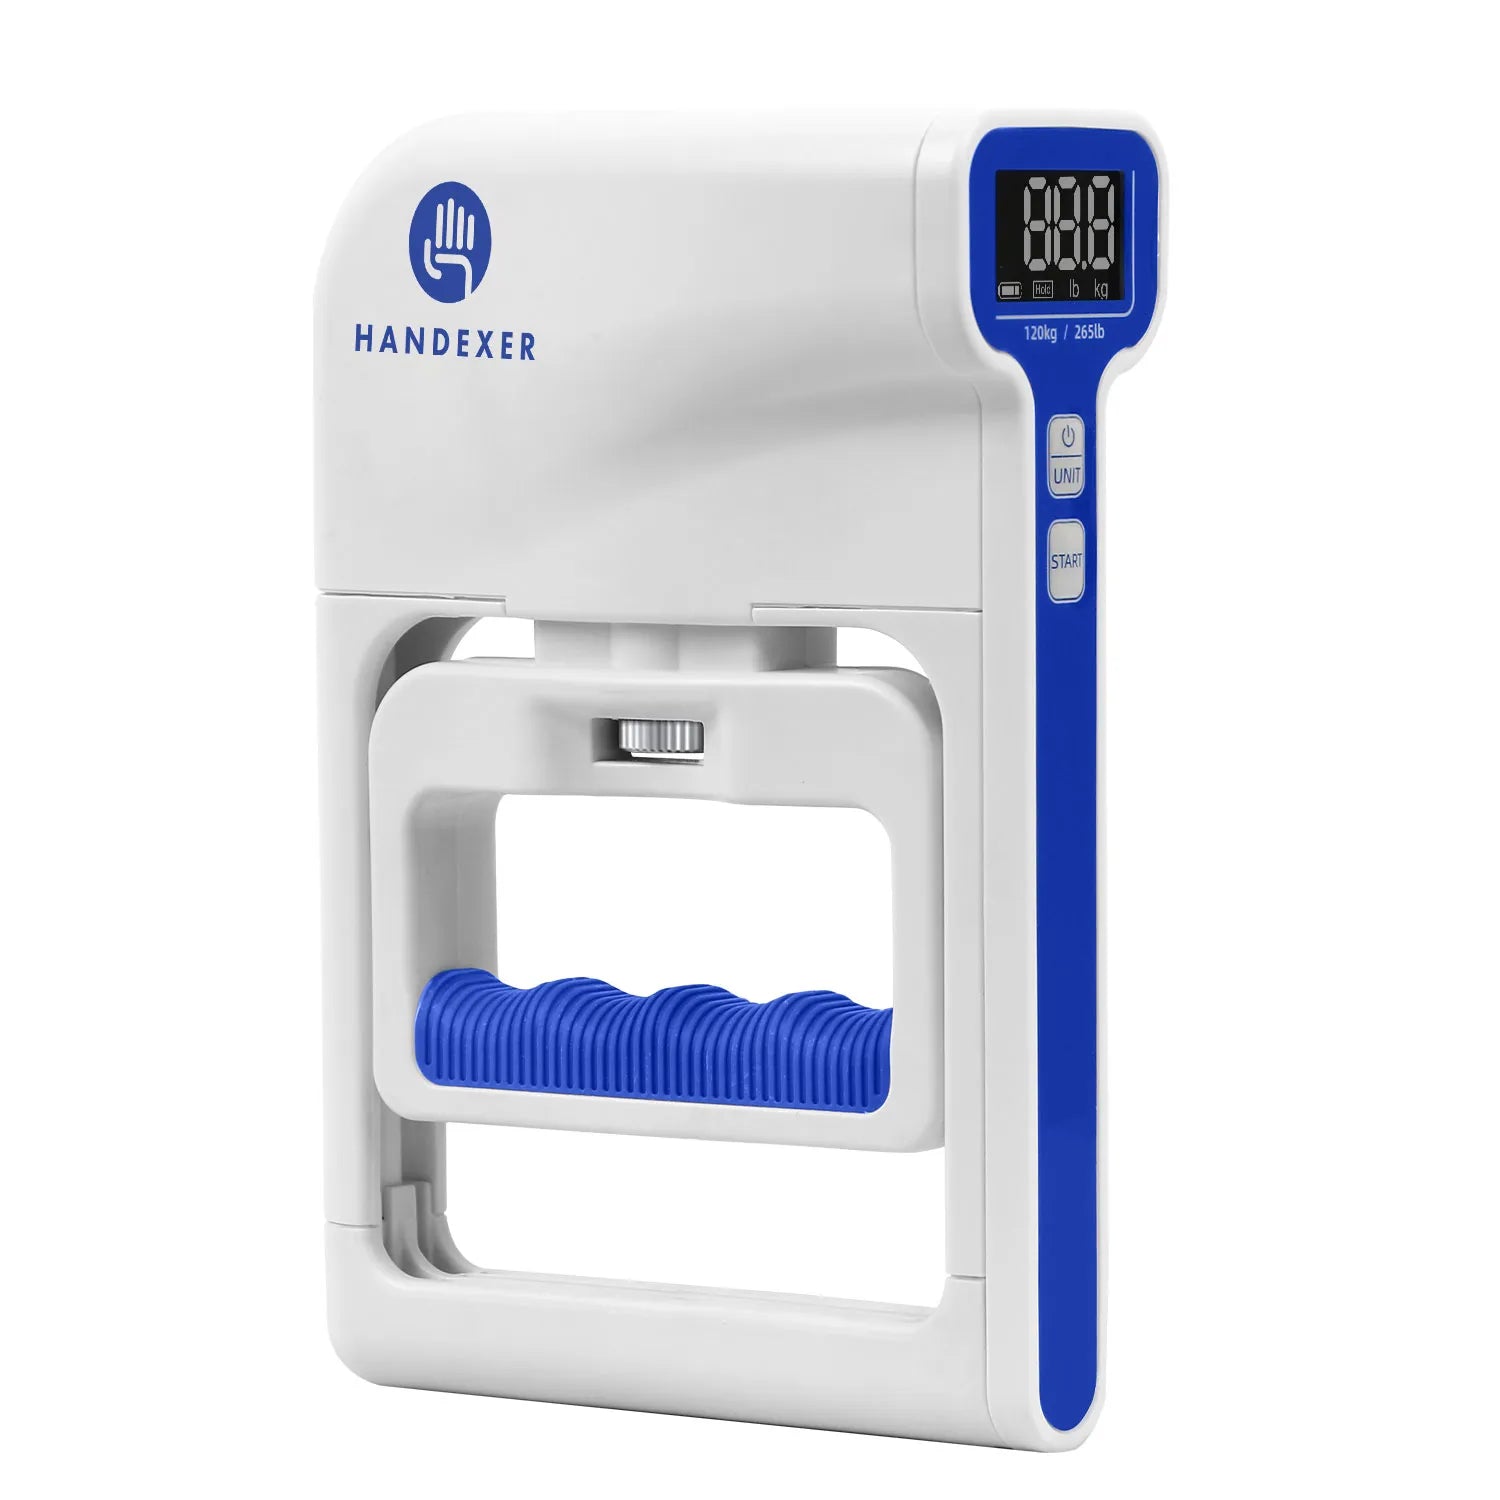
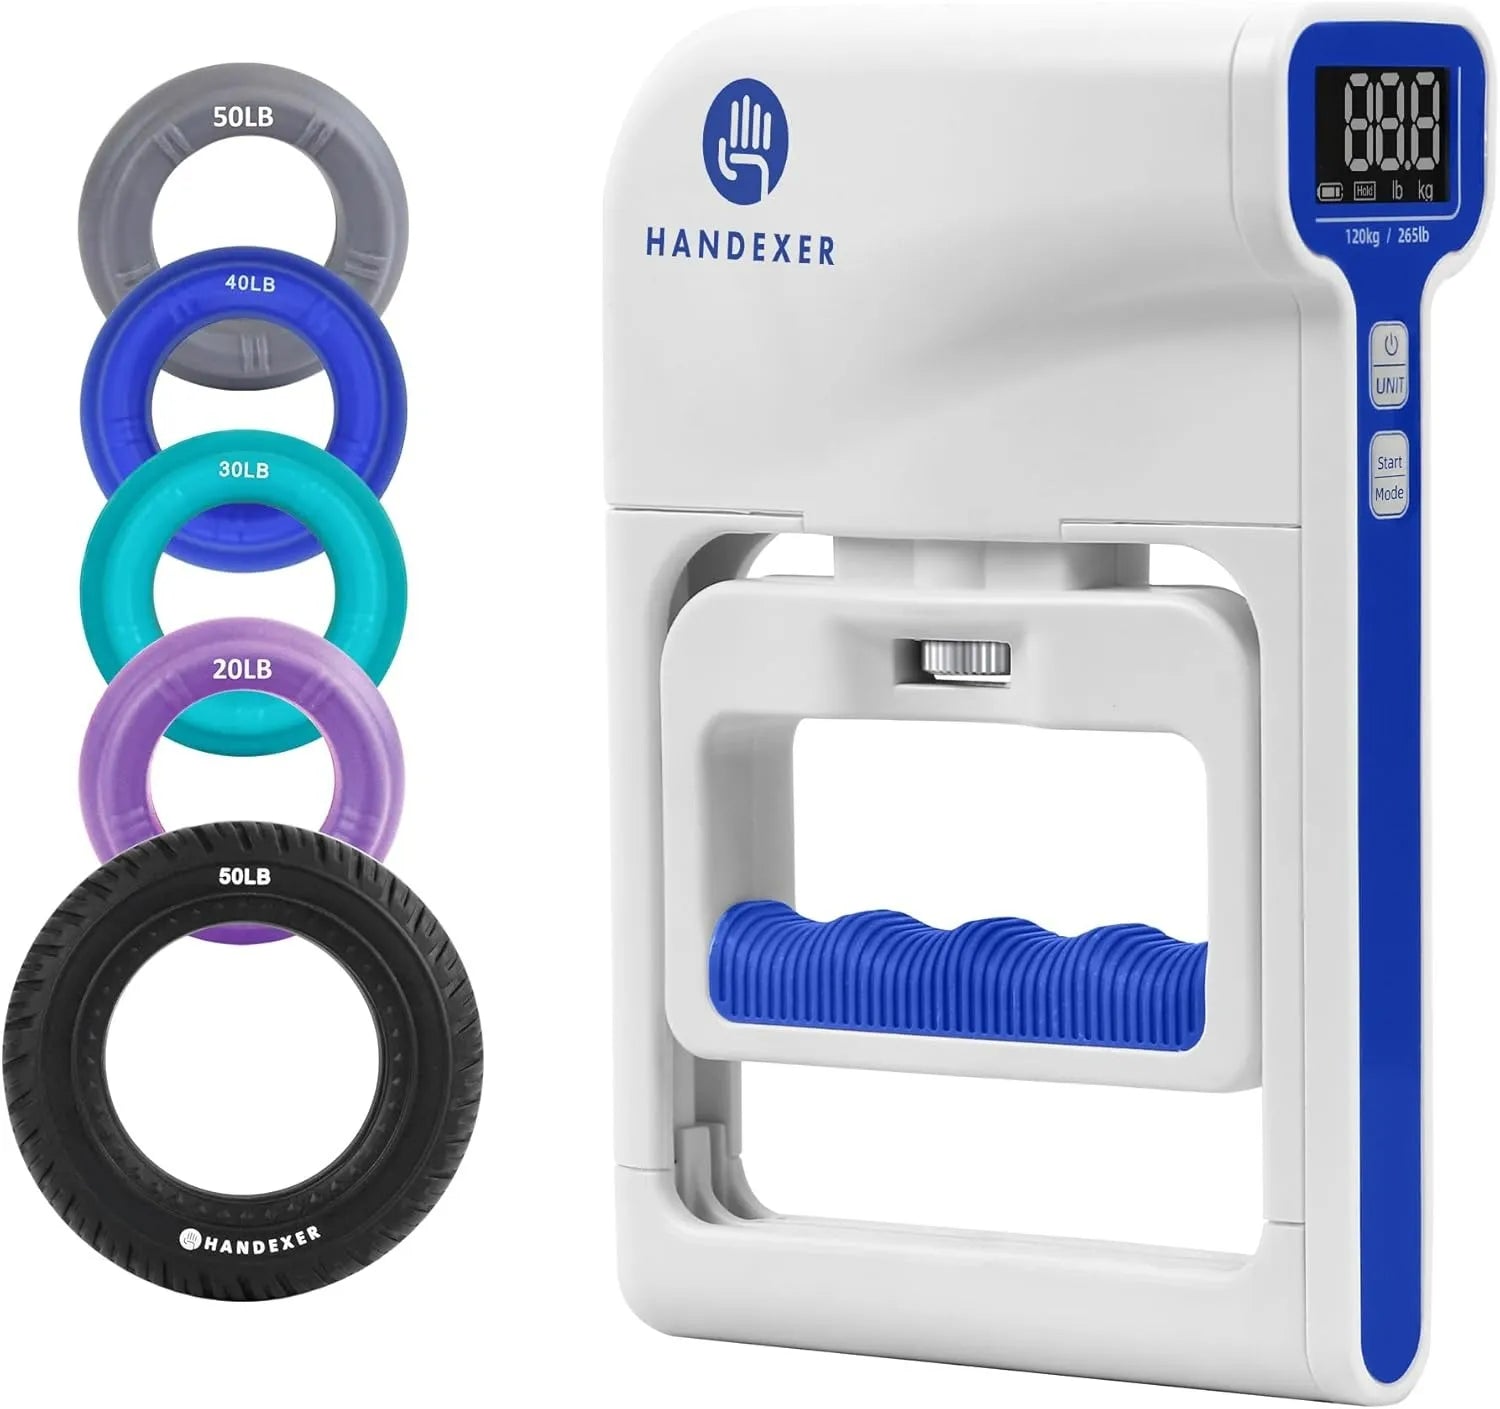
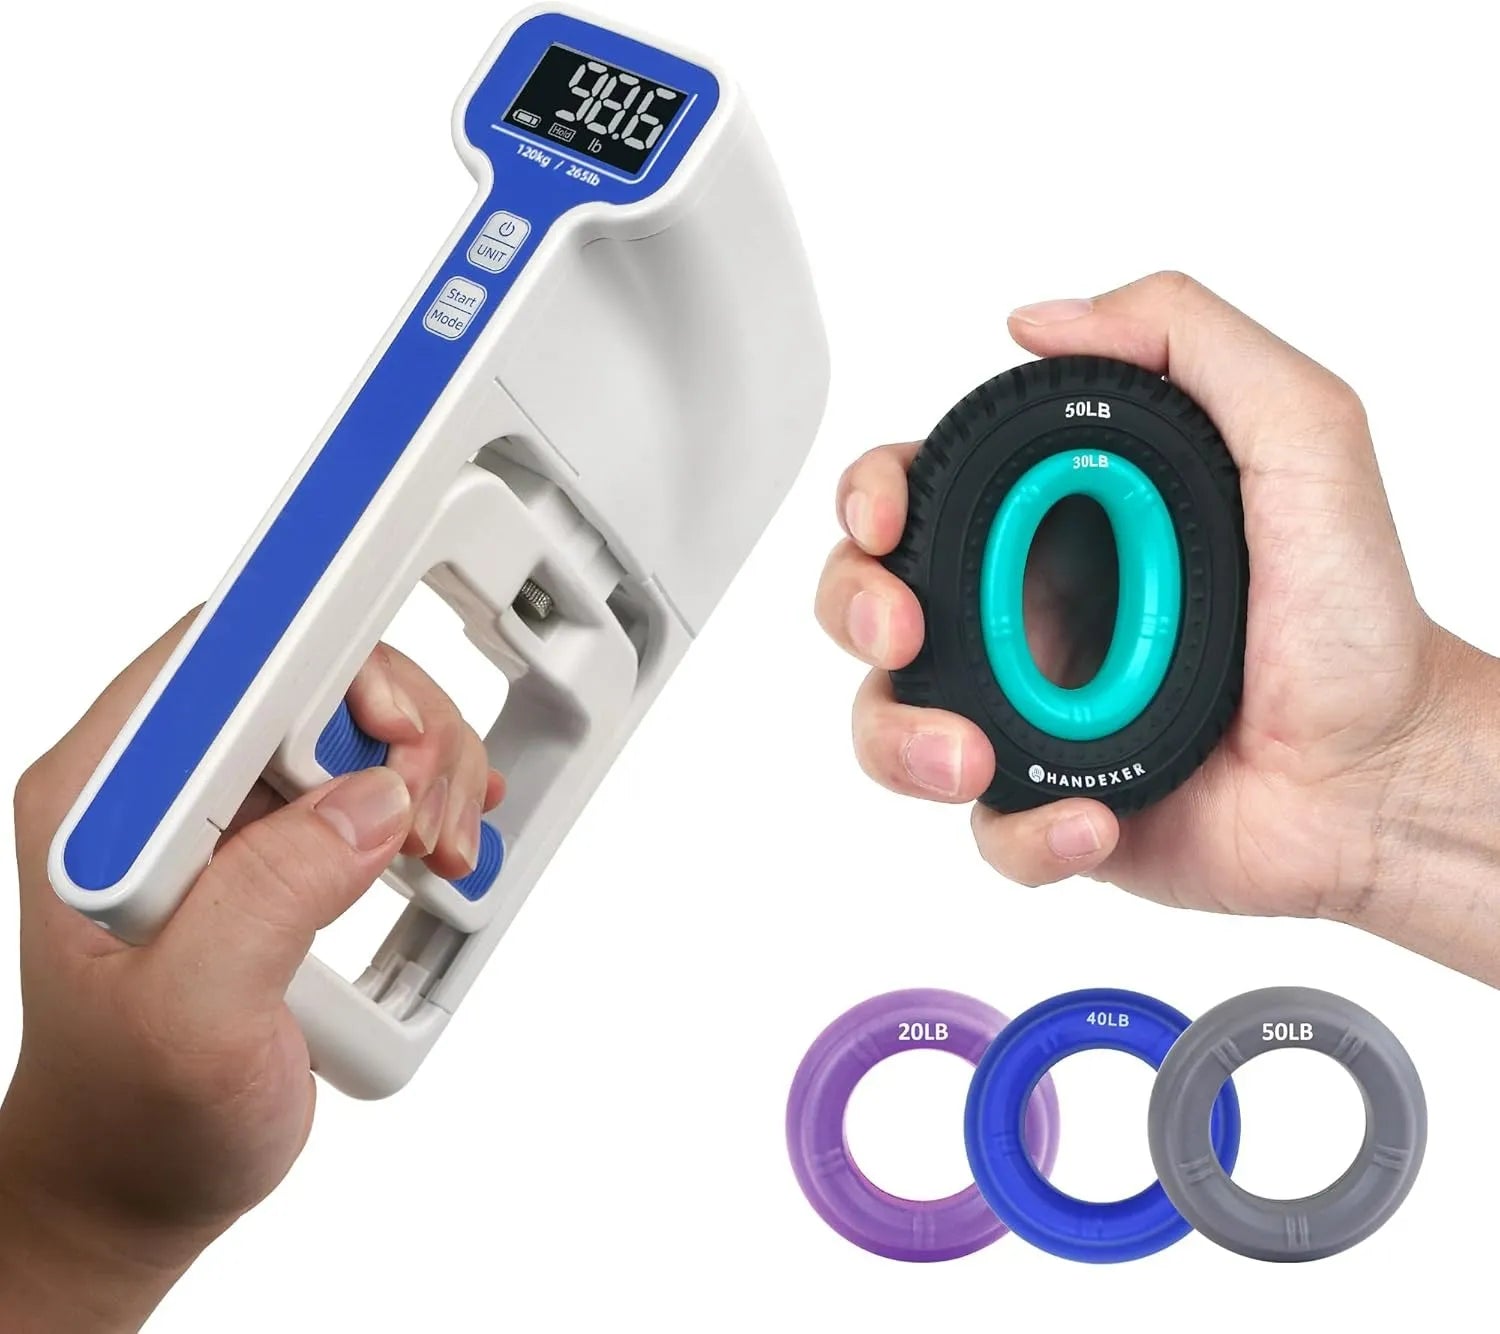
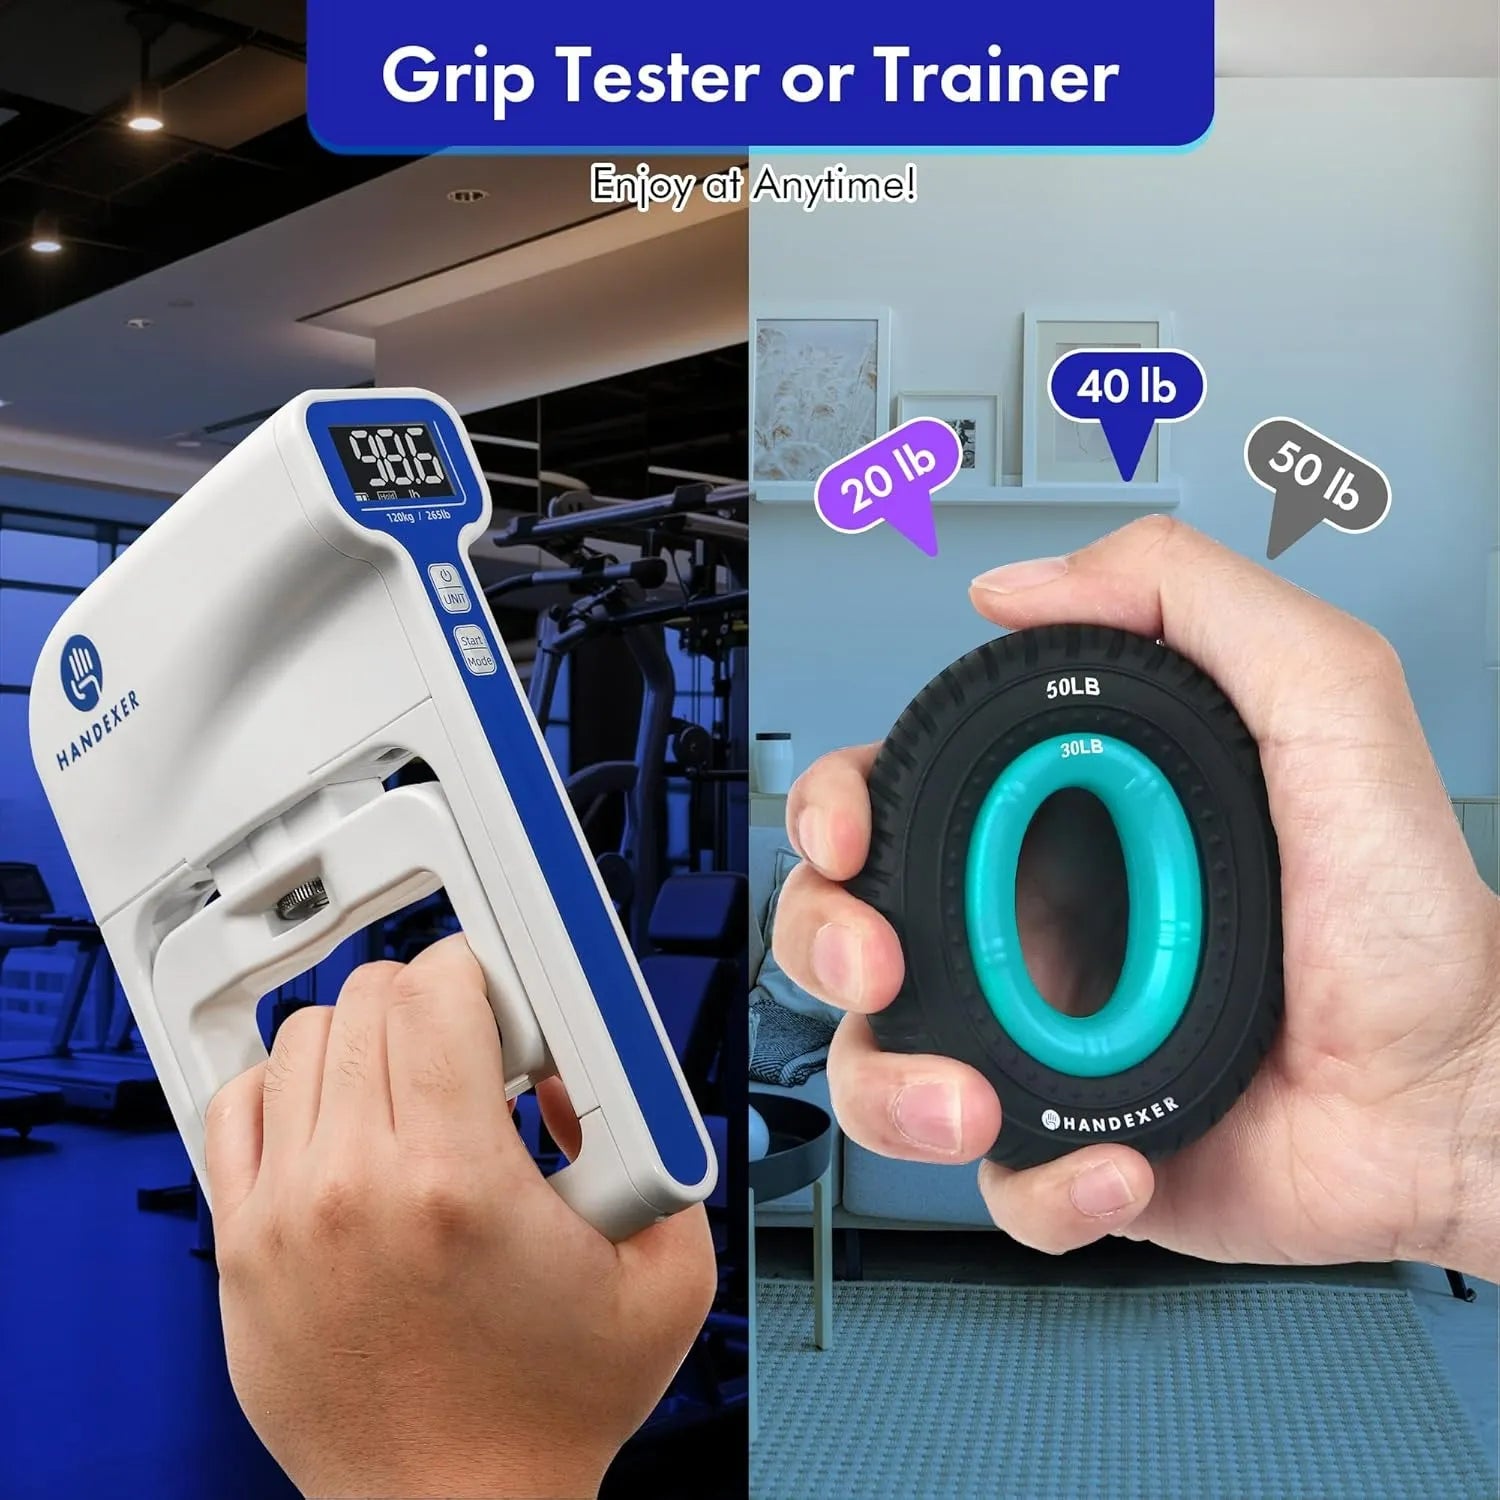
Tools like grip dynamometers help establish two important baselines:
- Maximum Voluntary Contraction (MVC)
- Sustained force capacity over time
This distinction is important because two people with identical grip strength can have completely different endurance profiles.
How to Measure Grip Endurance (Not Just Strength)
Most people only test their max squeeze. That tells you very little about real-world stamina.
Step 1: Find Your Maximum Grip Strength
Use a hand dynamometer or digital grip device to measure your Maximum Voluntary Contraction (MVC).This gives you your peak force output baseline.
Step 2: Test Your Grip Endurance
Now measure:
- How long you can sustain 50% of your MVC
- How quickly your force declines during a 30-second hold
This creates your personal fatigue curve.
What the results usually mean:
| Pattern | Likely Issue |
| High max strength + rapid fatigue | Poor aerobic conditioning |
| Moderate strength + stable hold | Better muscular efficiency |
| Severe drop-off after 15–20 seconds | Limited capillary adaptation |
A small internal test among recreational climbers found that athletes with better endurance profiles could maintain submaximal grip force significantly longer despite having similar max strength levels.
That means endurance is not simply “weaker strength.” It is a separate adaptation.
👉 A digital grip dynamometer helps you tell if your limitations come from weak strength or poor blood circulation before training.
Best Grip Endurance Training Method: ARC Training
What Is ARC Training?
The gold standard for forearm stamina is commonly called:ARC = Aerobic Respiration and Capillarity
The purpose is not to destroy the muscles.The purpose is to stimulate blood vessel growth and oxygen efficiency.
That means:
- lower intensity
- longer duration
- controlled fatigue
- consistent blood flow
The Best Grip Endurance Workout for Beginners
Phase 1: Build an Aerobic Base (Weeks 1–4)
Use roughly: 40%–60% of your maximum grip effort
You should feel:
- light forearm warmth
- mild fatigue
- no loss of finger control
If your hands completely fail, the intensity is too high.
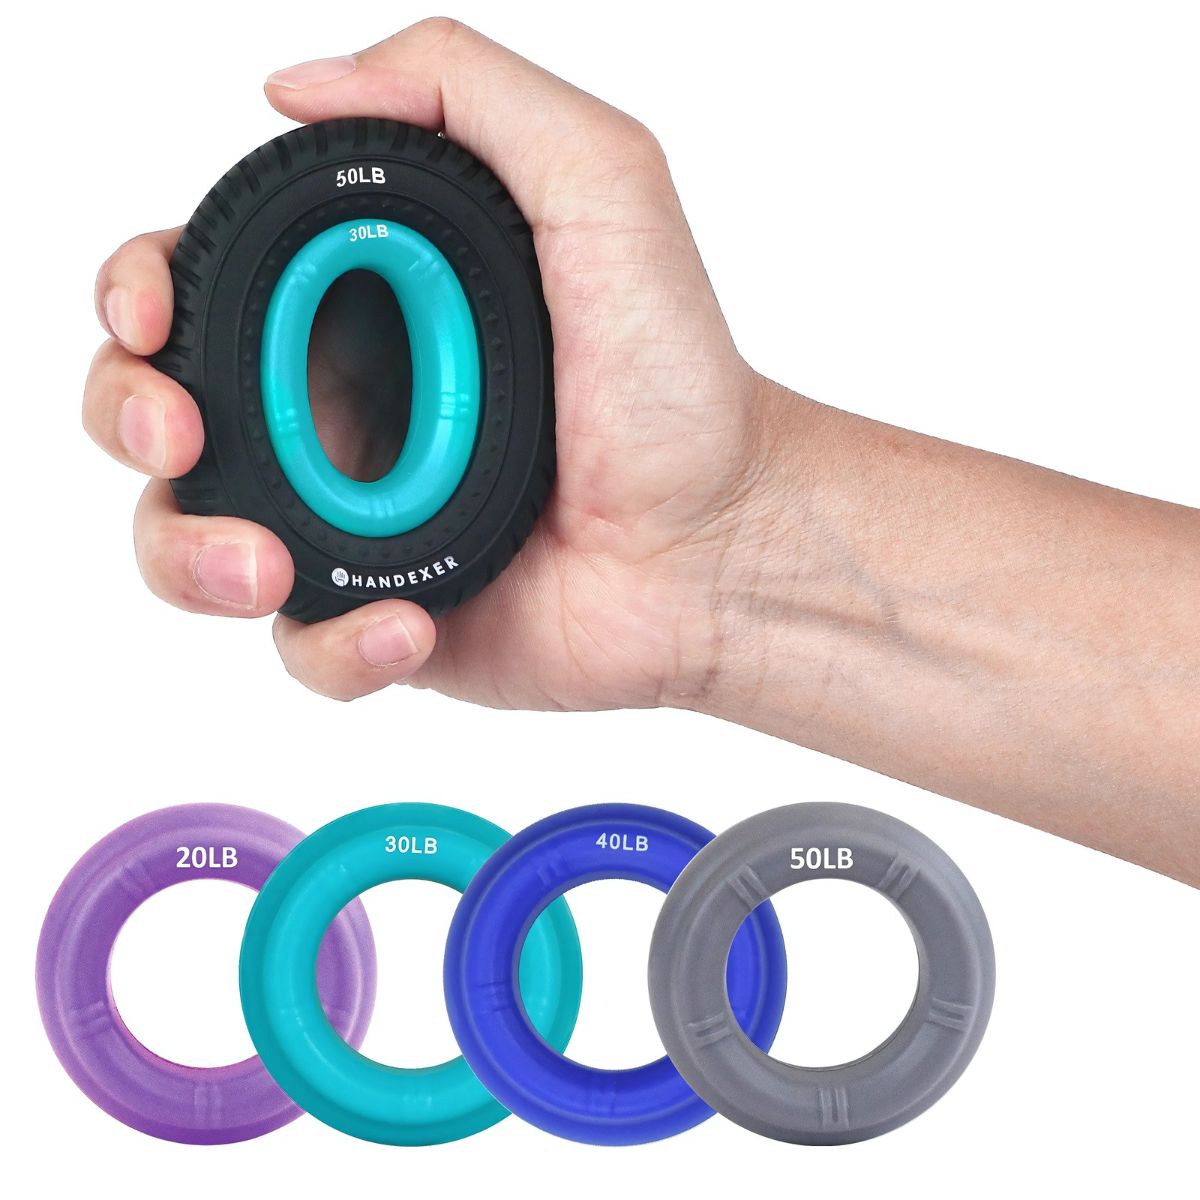
Recommended Exercises
Option A: Continuous Hand Gripper Repetitions
- 30–40 seconds continuous reps
- 20 seconds rest
- Repeat for 10–15 minutes
Option B: Towel Hangs
- Hang lightly from a towel or pull-up bar
- 20–30 second holds
- Keep shoulders engaged
- Rest 30 seconds between sets
Option C: Rice Bucket Rotations
- Open/close fingers inside rice
- Wrist rotations
- Finger extension drills
This improves circulation while training smaller stabilizing muscles.
Intermediate Grip Endurance Routine (Weeks 5–12)
Once the forearms tolerate steady volume, begin progressive overload.
Example Weekly Plan
Day 1 — ARC Endurance
- 15–20 minutes continuous low-intensity grip work
Day 2 — Recovery Flush
- Light finger extensions
- Elastic band opens
- Wrist mobility
- Heat therapy
Day 3 — Intervals
- 45 seconds work
- 15 seconds rest
- 8–12 rounds
Day 4 — Rest
Day 5 — Functional Carries
- Farmer carries
- Sandbag holds
- Plate pinches
- 3–5 rounds of 60–90 seconds
How to Recover Faster From Forearm Fatigue
Recovery is where endurance adaptation actually happens.
1. Active Recovery
After training:
- use very light gripping movements
- open and close the hands rhythmically
- avoid immediately stopping all movement
This helps circulate blood and clear metabolic byproducts.
2. Improve Tissue Quality
Tight fascia and chronically stiff forearms can restrict circulation.
Useful recovery tools:
- massage balls
- forearm scraping tools
- compression sleeves
- heat therapy
- contrast baths
Even 5–10 minutes of soft tissue work can noticeably improve next-day hand freshness.
3. Respect Recovery Windows
Grip endurance training still stresses:
- tendons
- pulleys
- connective tissue
Allow: 24–48 hours between focused endurance sessions
More is not always better.
How Long Does It Take to Improve Grip Endurance?
Most people notice:
- less “pump” within 3–4 weeks
- improved work capacity within 6–8 weeks
- major endurance changes after 3–6 months
The key metric is not max squeeze strength.
The real metric is: Time Under Tension
If you can maintain the same force longer every month, your forearm conditioning is improving — even if your max strength barely changes.
Track your grip strength gains with a grip dynamometer.
Tracking Progress — Visualizing the Unseen
Because capillarization happens at a microscopic level, progress can feel slow. This is where Tracking becomes your greatest motivational tool.
-
Data-Driven Gains: You may not see your max strength increase by much, but you will see your "Time Under Tension" at 50% load improve week by week.
-
Visible Results: Handexer’s tracking Tools turns these invisible physiological changes into clear progress charts. Seeing that your endurance has improved by 15% over a month provides the confidence to stick with the 6-month plan.
FAQ: Grip Endurance Training
1.Why do my forearms burn during climbing or manual work?
Because sustained gripping compresses blood vessels and limits oxygen delivery. The faster waste accumulates, the faster fatigue appears.
2.Can I train grip endurance every day?
Usually no.
Even low-intensity grip work creates cumulative stress in tendons and connective tissue. Most people recover best with 2–3 focused sessions weekly.
3.Is grip endurance important if I’m not an athlete?
Absolutely. Grip stamina supports:
- typing tolerance
- tool use
- gardening
- carrying tasks
- healthy aging
- hand independence later in life
It is one of the most practical forms of functional fitness.


Share:
RSI Recovery for Musicians: How to Regain Hand Function and Play Without Fear
Grip Strength Norms: Are the Statistics Accurate and Why Do They Matter?