
A grip strength test at home is one of the easiest ways to measure hand strength, monitor recovery, and track physical performance over time. Whether you are an athlete, a rehab user, or simply someone who wants a practical health metric, testing grip strength at home gives you useful data in just a few seconds.
The key advantage is simplicity. You do not need a gym, a clinic, or complicated equipment. With a reliable digital hand dynamometer, you can check your baseline grip strength, compare left and right hand performance, and build a clear record of progress over time.
What is a grip strength test at home?
A grip strength test at home is a simple measurement of how much force your hand can produce using a hand dynamometer. It helps track muscle strength, recovery, and functional ability, and it is most useful when repeated consistently under the same testing conditions.
A grip strength test measures the force generated when you squeeze a device as hard as possible. The result is usually shown in kilograms or pounds. This makes it a practical metric for many types of users:
- Athletes tracking performance
- Rehab users monitoring recovery
- Older adults watching age-related strength changes
- Families checking general hand function at home
- Data-driven users who like measurable progress
Because the test is fast and repeatable, it is one of the most convenient strength checks you can perform without professional supervision.
Why should you test grip strength at home?
Testing grip strength at home is useful because it gives you a fast, measurable way to track hand strength, compare recovery progress, and spot meaningful changes over time. It turns vague feelings like “stronger” or “weaker” into objective data you can actually monitor.
Many people assume hand strength only matters for sports or rehabilitation, but it also affects daily life. Grip strength plays a role in:
- Opening jars and bottles
- Carrying bags and groceries
- Holding tools securely
- Supporting daily independence
- Rebuilding strength after injury or inactivity
For athletes, it can be part of performance tracking. For recovery users, it can show whether progress is moving in the right direction. For everyday users, it offers a simple baseline that can be checked regularly.
What do you need for an accurate grip strength test at home?
To get useful results, you need more than effort alone. You also need consistency.
1. A reliable hand dynamometer
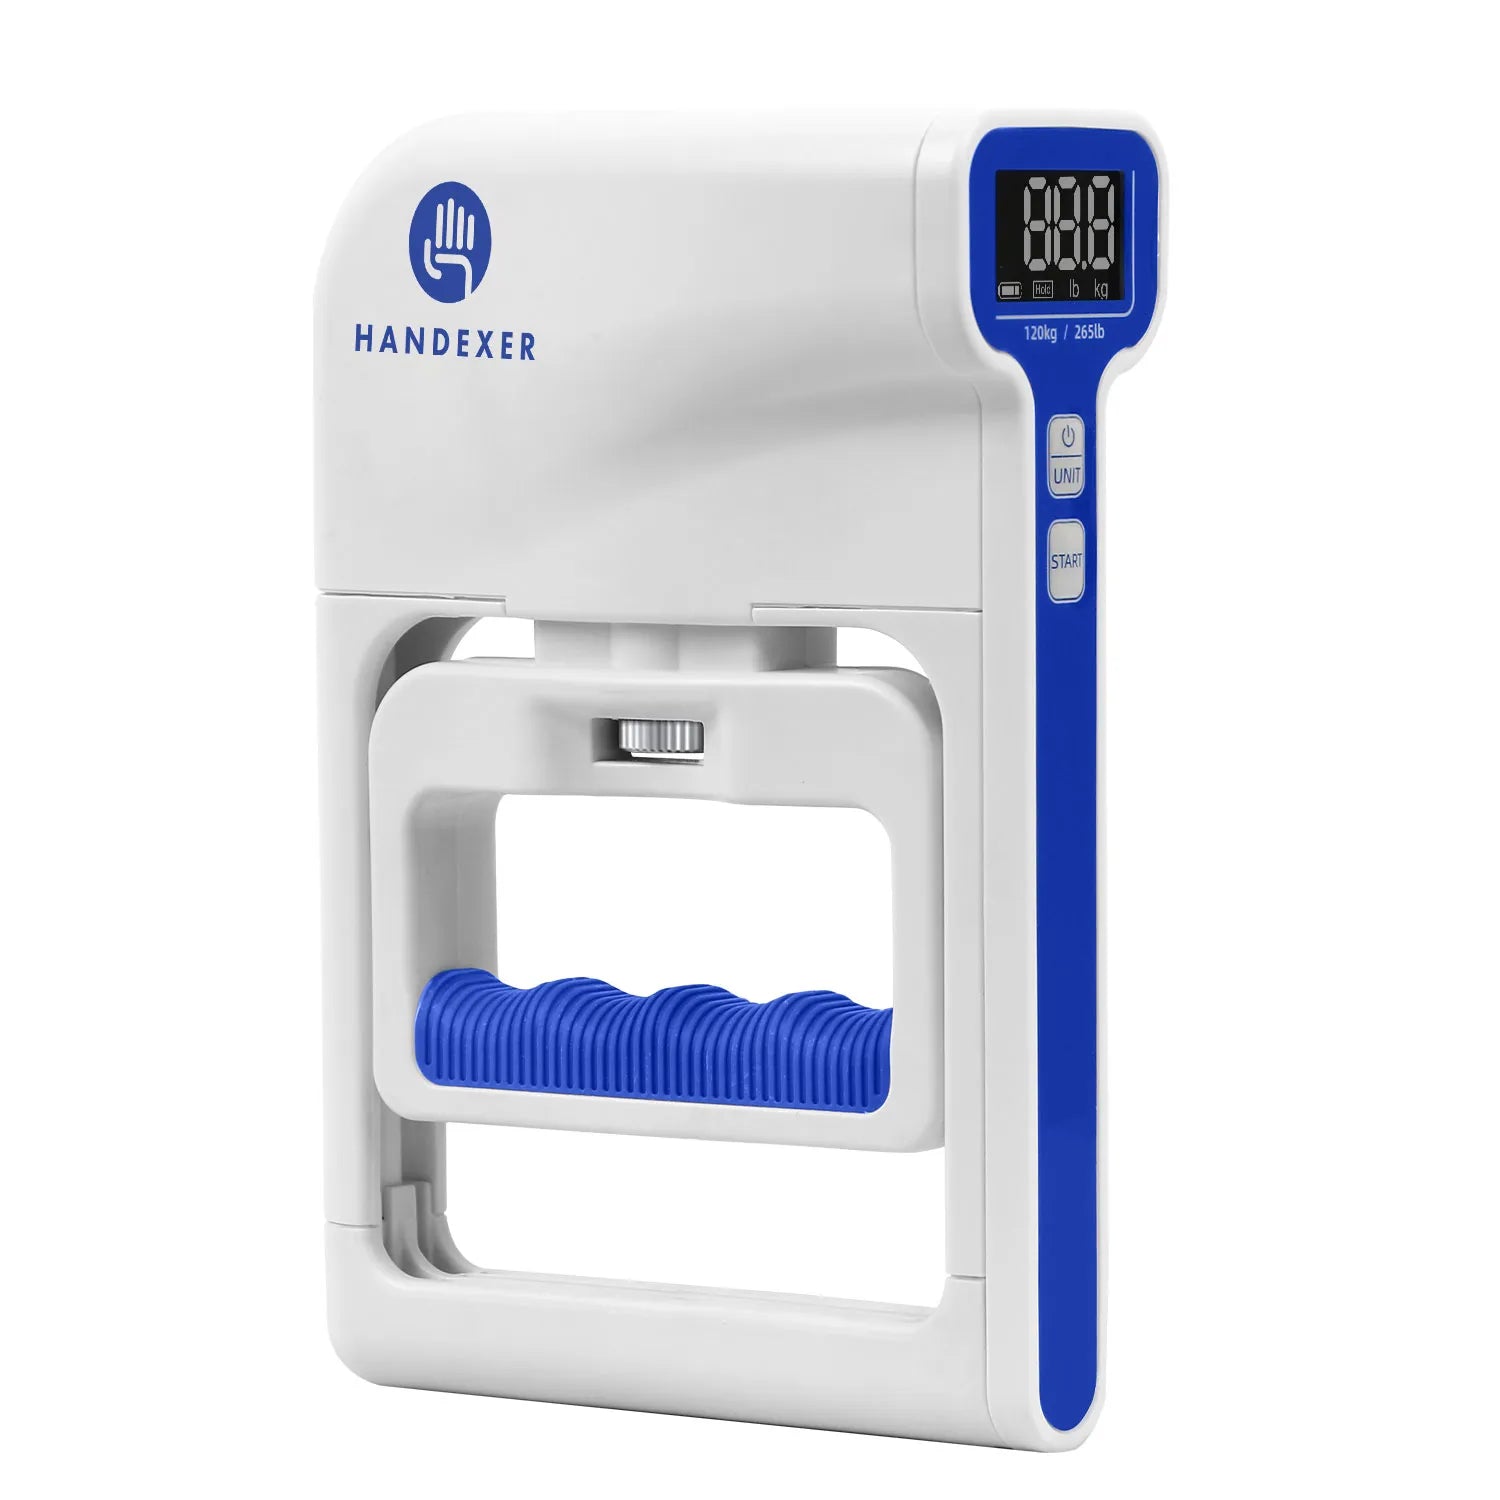
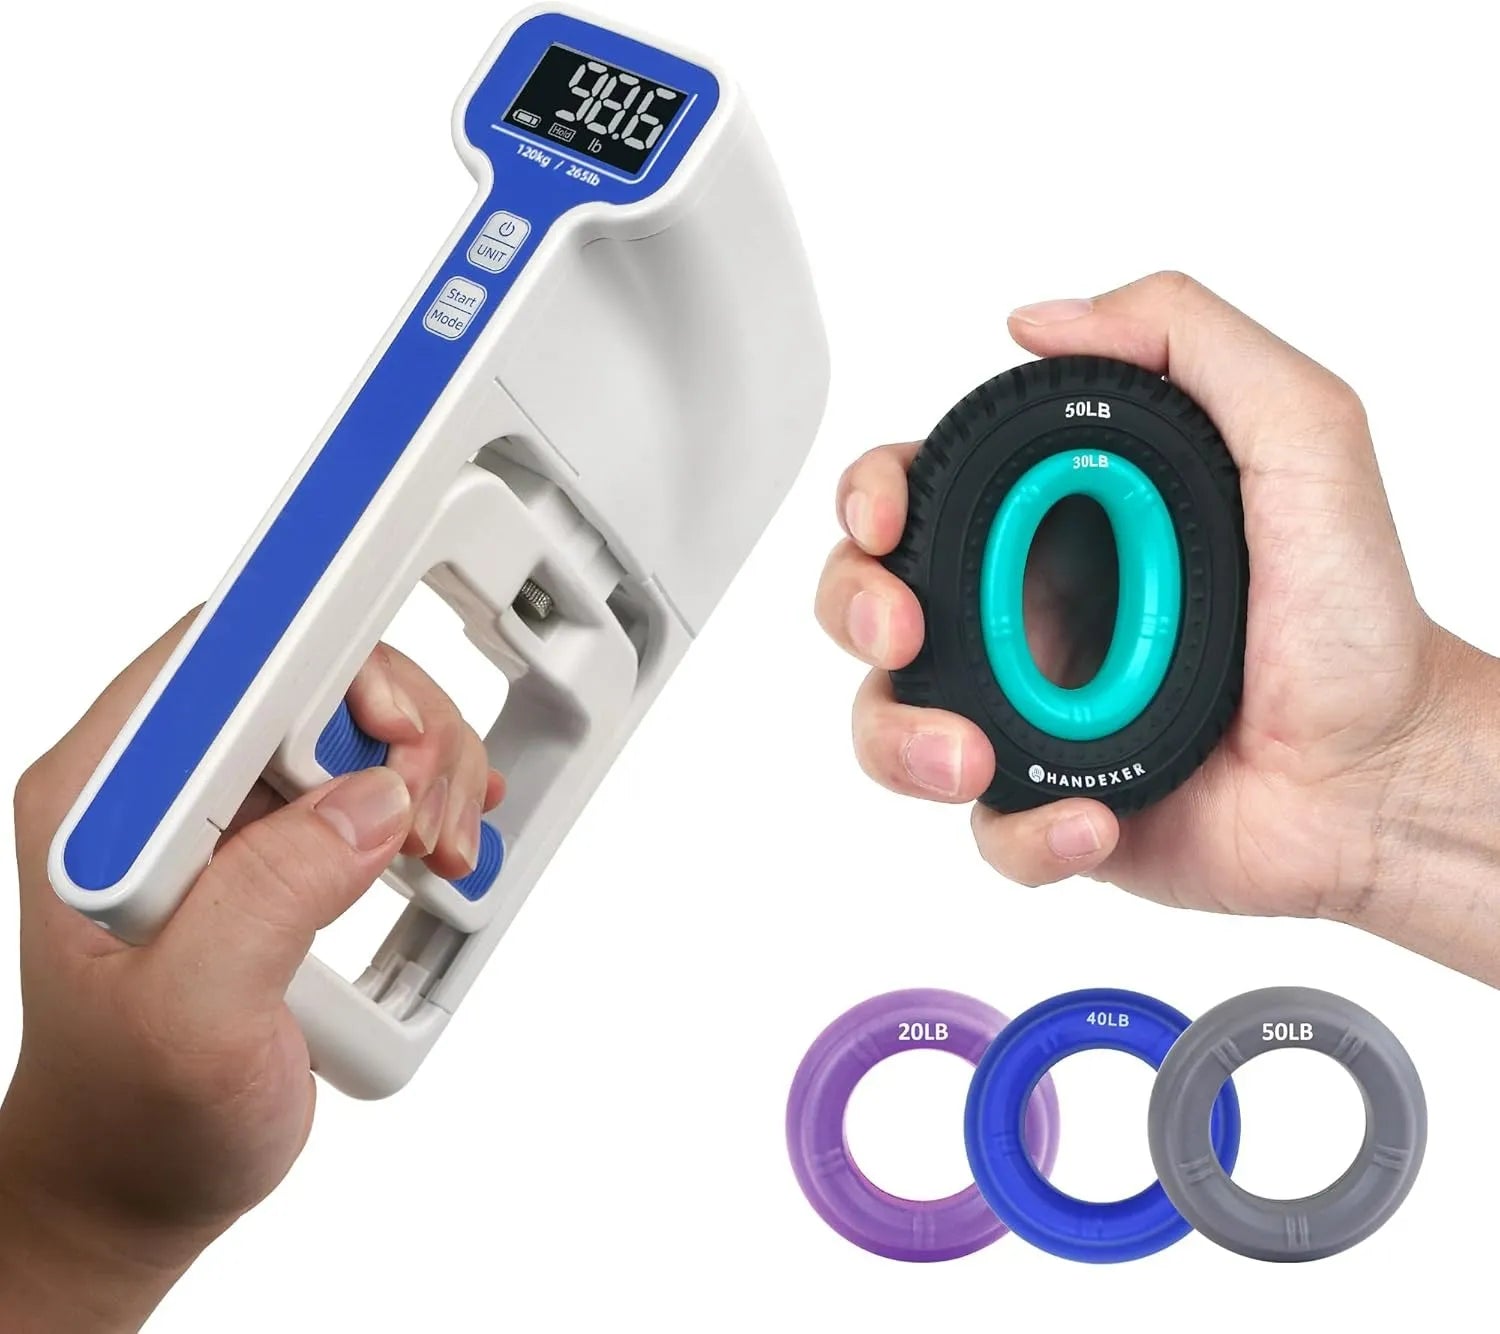
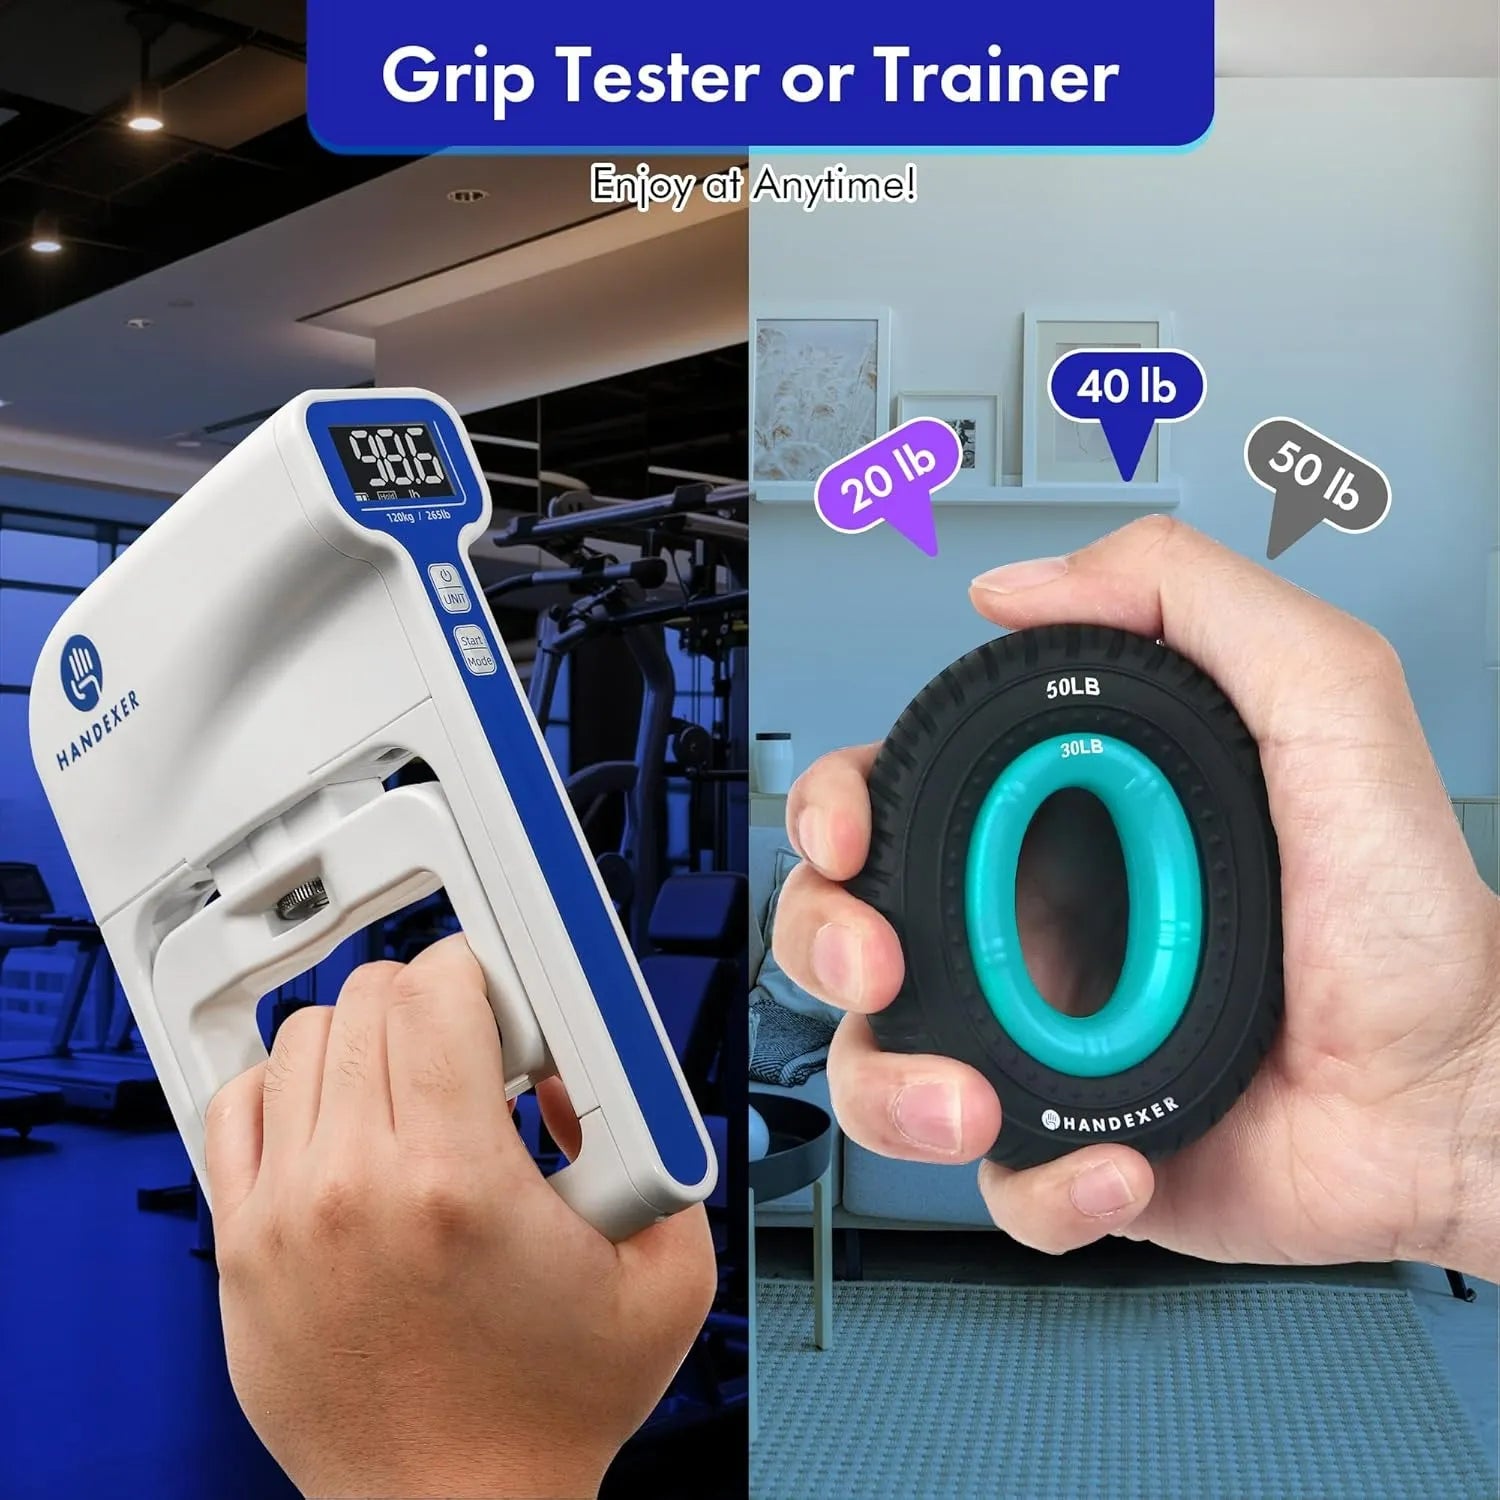
A proper digital hand dynamometer is the best option because it gives precise readings and makes progress easier to track. A high-capacity device is especially useful because it can accommodate a wider range of users, from seniors to stronger athletes.
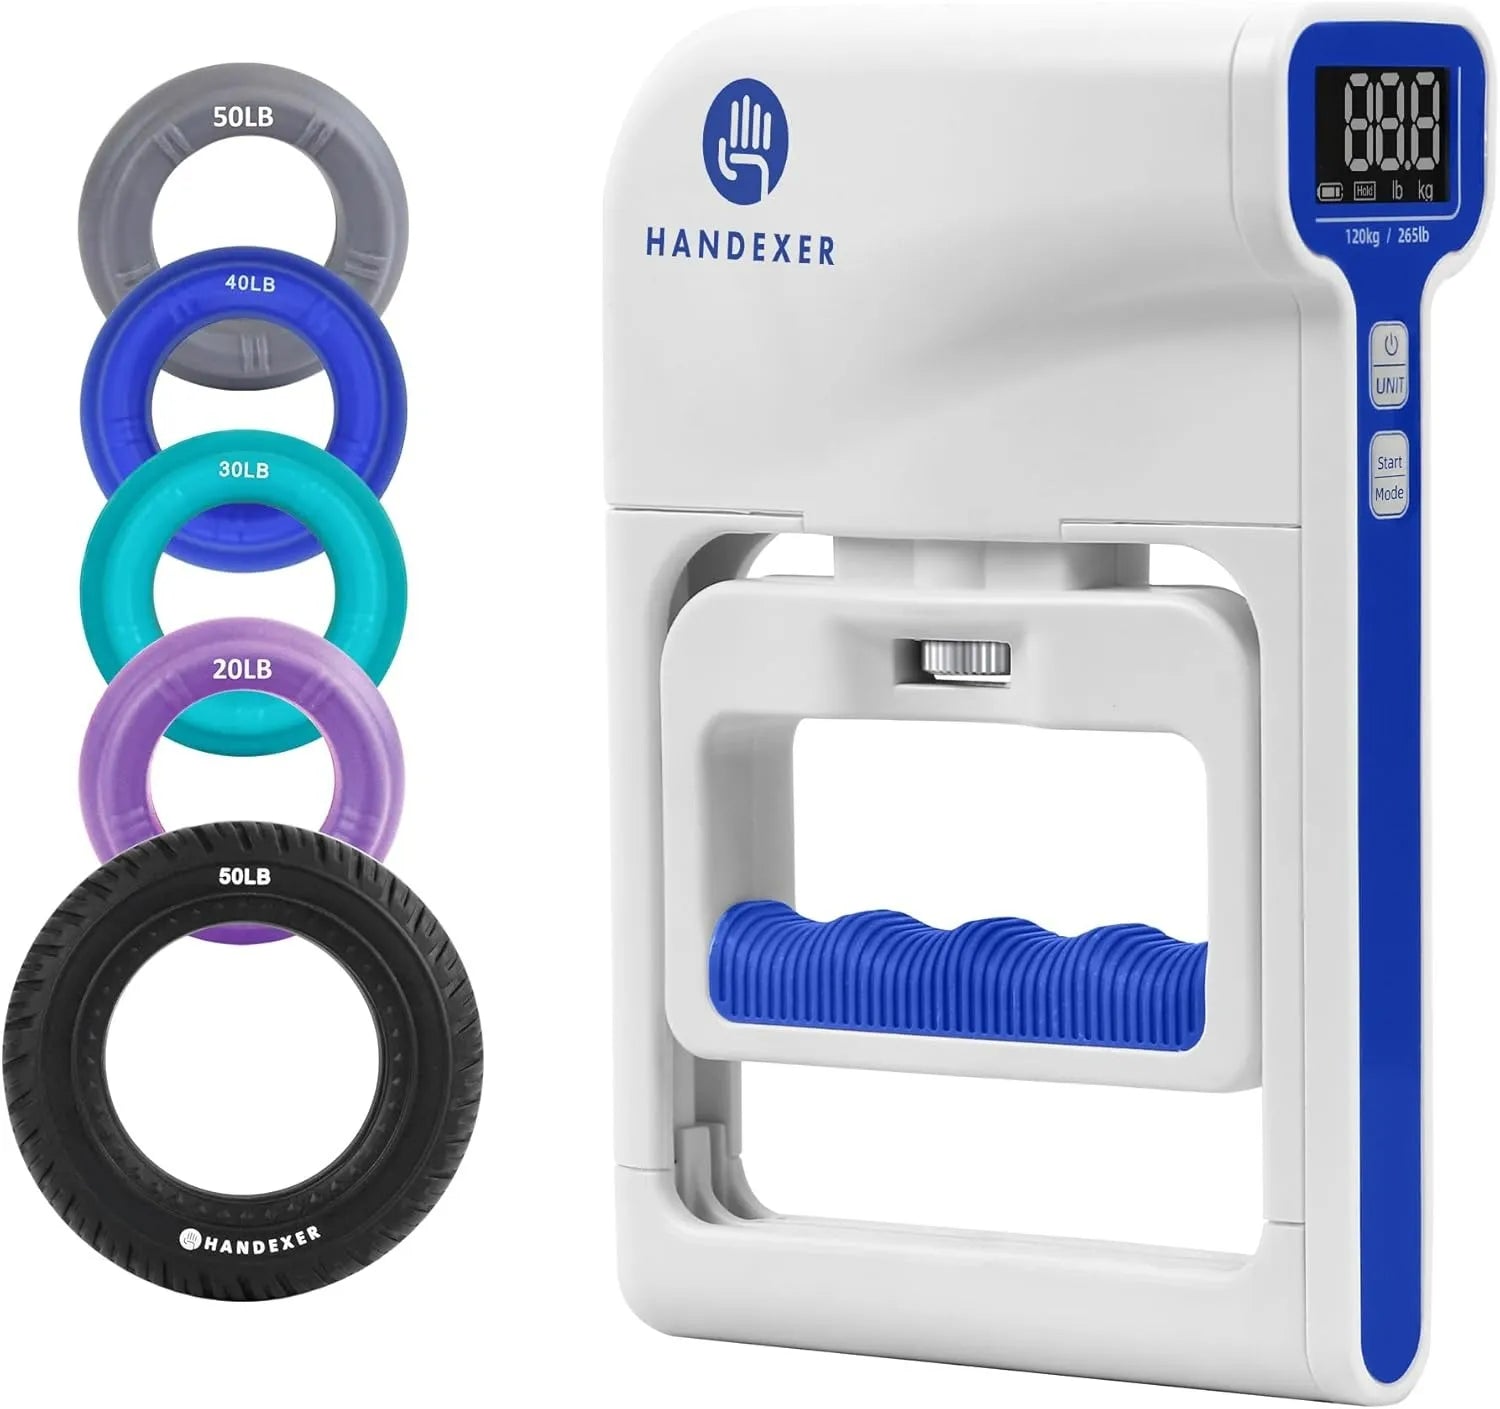
The Handexer dynamometer is designed for this type of monitoring, with features such as:
- Up to 265 lb / 120 kg capacity
- User profiles for age and gender
- Clear digital display
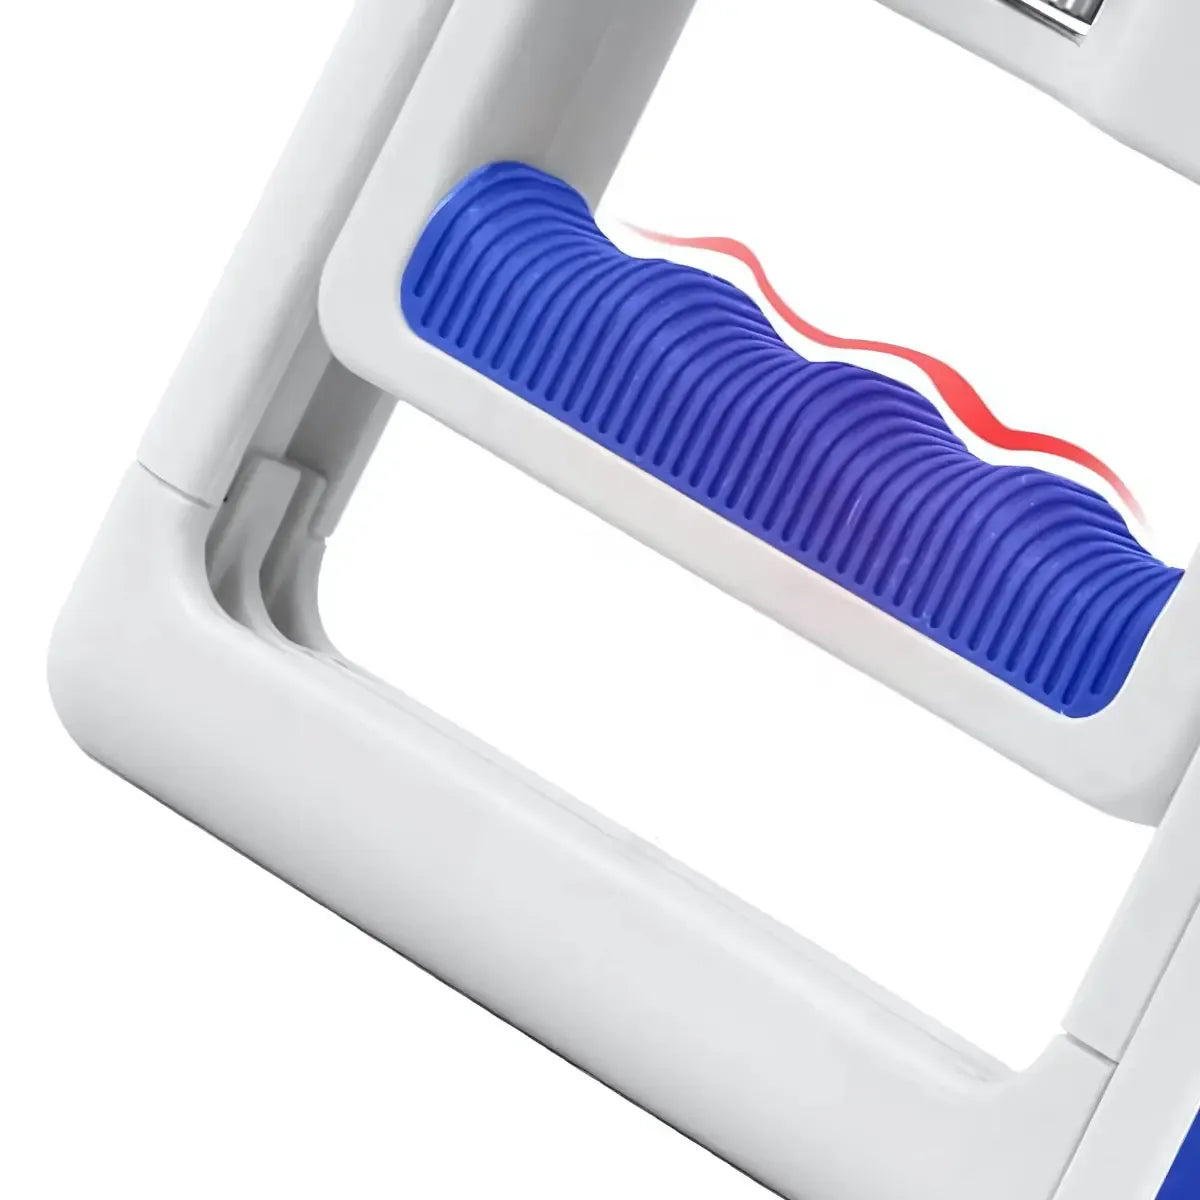
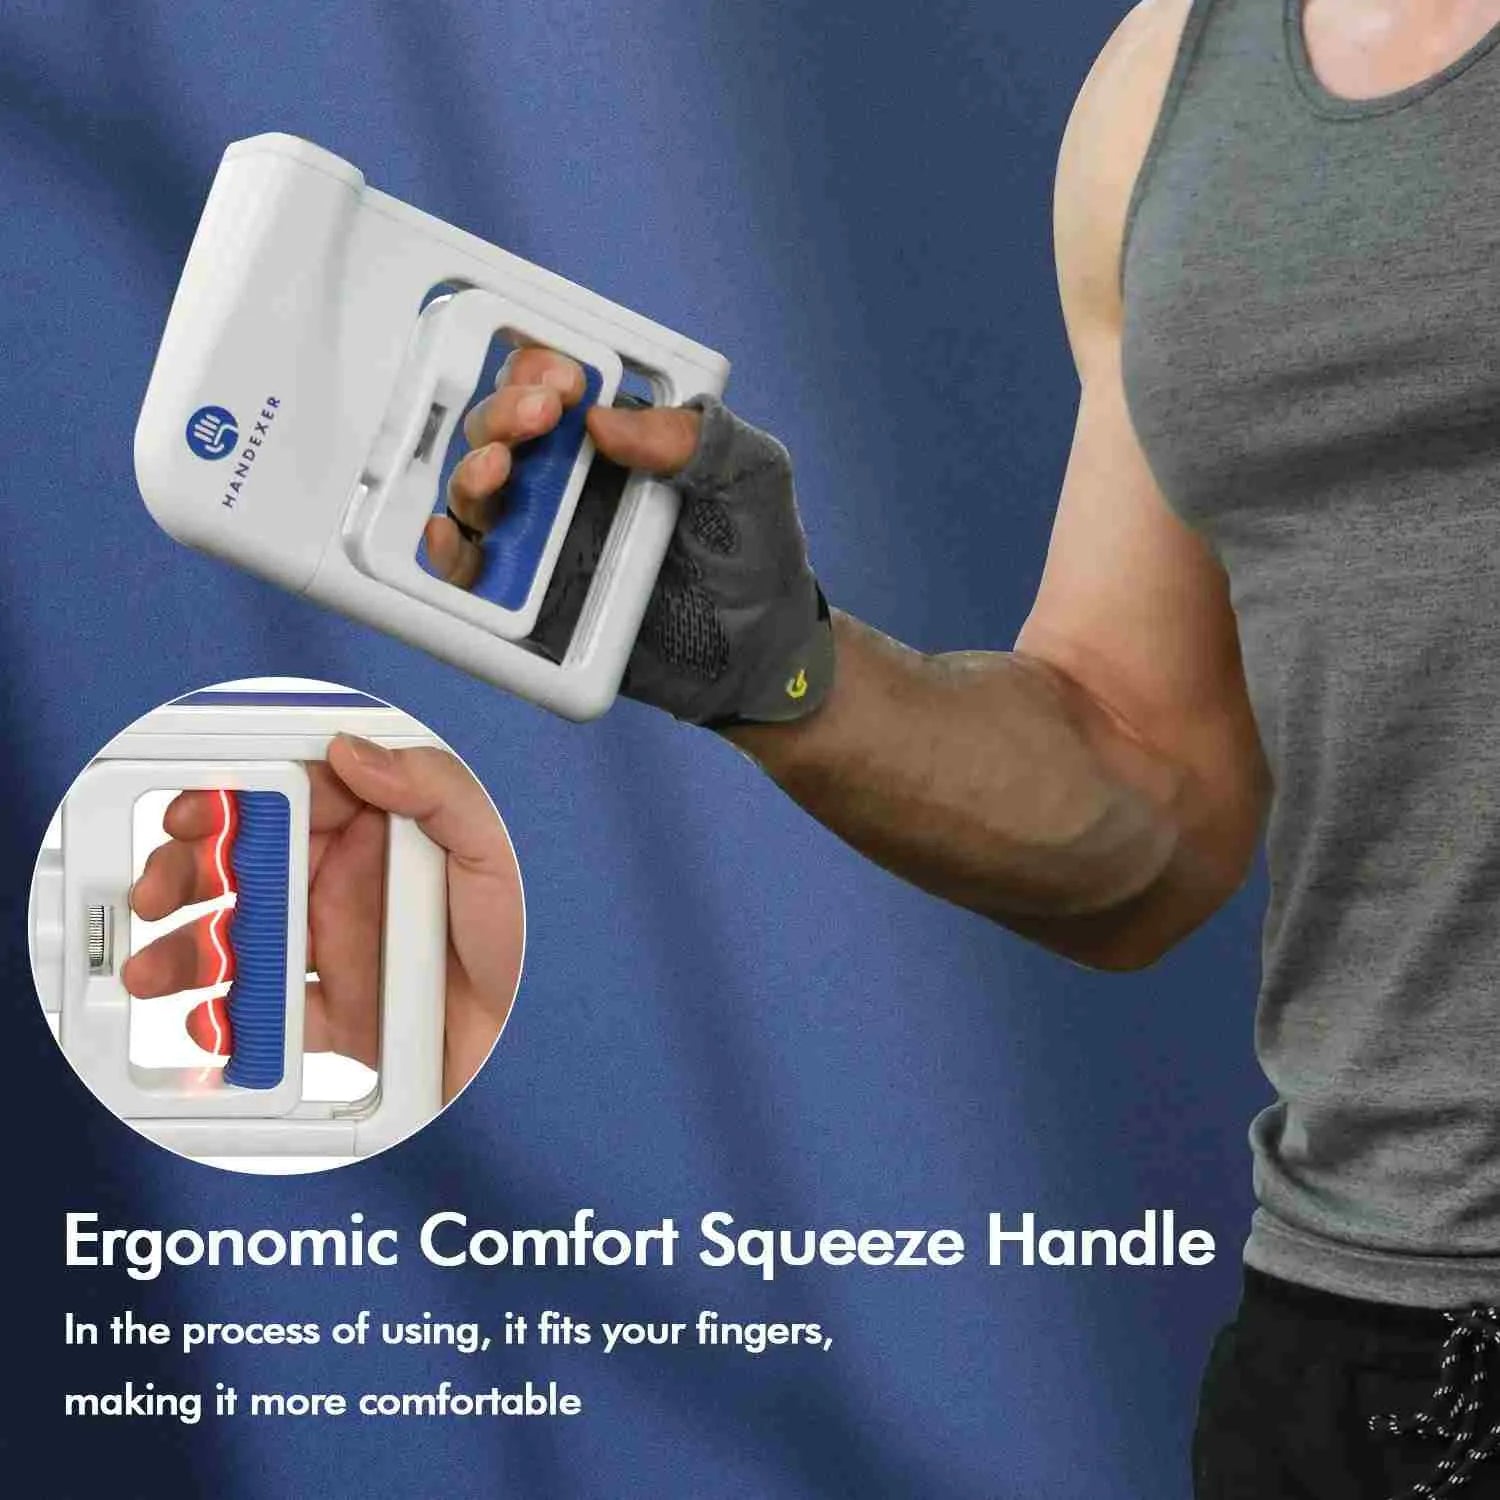
- Ergonomic design for comfortable handling
- Precise tracking for repeat testing
That makes it practical whether you want to monitor your recovery progress or validate your training gains.
2. A repeatable testing position
If your posture changes every time, your results may not be comparable. The goal is not just to get a number, but to get a number you can trust.
3. A simple recording habit
Testing is far more useful when you record the result. Even a small note on your phone can help you identify trends over weeks and months.
How do you do a grip strength test at home correctly?
To do a grip strength test at home correctly, adjust the device to fit your hand, keep your posture consistent, squeeze with maximum effort for a few seconds, and repeat the test under similar conditions each time. Consistency matters as much as effort.
Follow this simple process:
Step 1: Adjust the handle
Make sure the grip span feels comfortable in your hand. If the handle is too wide or too narrow, your result may not reflect your true strength.
Step 2: Choose a consistent posture
You can sit or stand, but keep the same posture every time you test. Most users get better consistency by:
- Standing or sitting upright
- Keeping the shoulder relaxed
- Keeping the wrist neutral
- Avoiding unnecessary body movement
Step 3: Hold the device properly
Place it securely in your hand and make sure the screen is readable. Do not rush the setup. A good starting position improves consistency.
Step 4: Squeeze as hard as possible
Grip the device with maximum effort for about 3 to 5 seconds. Do not jerk or swing your arm to create artificial force.
Step 5: Test both hands
Measure both your dominant and non-dominant hand. This gives better context and helps identify imbalance.
Step 6: Repeat for consistency
Perform 2 to 3 attempts per hand, with a short rest between attempts. Then record either the best result or the average, depending on your preferred tracking method.
What mistakes make home grip strength tests less accurate?
The most common mistakes in a home grip strength test are inconsistent posture, poor handle fit, testing when fatigued, and failing to record results properly. These issues can make progress look confusing even when your strength is actually improving.
Here are the most common errors:
Inconsistent testing position
If you stand one day, sit the next, and bend your elbow differently every time, your data becomes harder to compare.
Wrong handle setting
A poor fit can reduce force output and make the device uncomfortable to use.
Testing after hard exercise
If your hands or forearms are already tired, the reading may look lower than normal.
Comparing random single numbers
One test result means less than a pattern. What matters is whether your scores are stable, improving, or declining.
Ignoring hand differences
A major left-right gap may be worth monitoring, especially if it appears suddenly.
How often should you do a grip strength test at home?
For general health or casual tracking, testing once or twice per month is usually enough. For rehab or strength training, once or twice per week may be more useful, as long as you keep the testing conditions consistent.
The ideal frequency depends on your goal:
For general wellness
Test once or twice a month. This is enough to build a useful long-term record without overdoing it.
For rehab monitoring
Test once or twice a week to see whether strength is returning steadily.
For athletic training
Test weekly or at regular checkpoints in your program. This helps confirm whether your training is improving real output.
How should you interpret the results?
A grip strength test is most valuable when used as a tracking tool, not just as a one-time score.
Look at your results in three ways:
Compare both hands
A small difference is normal. A large difference may deserve attention.
Compare against your own history
This is often the most useful method. Your personal trend tells you more than one isolated reading.
Compare against your goal
Are you trying to recover, maintain function, or improve performance? The meaning of the number depends on the purpose behind the test.
This is why a digital device matters so much. You cannot improve what you do not measure, and you cannot measure well if the data is inconsistent.
Who benefits most from home grip strength testing?
A home grip strength test can be useful for more people than most expect.
Athletes
Climbers, lifters, grapplers, and strength-focused users often want a measurable indicator of hand output.
Rehab users
People recovering from hand injury, wrist issues, stroke, or post-surgical weakness benefit from objective tracking.
Seniors and families
Grip testing can support healthy aging awareness and help families monitor function at home.
Bio-hackers and data-driven users
Some people simply want more measurable information about their body. Grip strength is one of the easiest metrics to collect consistently.
Final thoughts
A grip strength test at home is simple, fast, and surprisingly useful. It gives you objective feedback instead of guesswork, whether your goal is better performance, smoother recovery, or long-term health tracking.
The real benefit is not just getting one number. It is building a repeatable system that shows whether your strength is changing over time. With a reliable digital dynamometer, the process becomes practical, accurate, and easy to maintain at home.
English Summary
A grip strength test at home is a simple way to measure hand strength, track recovery, and monitor progress over time. With a digital hand dynamometer and a consistent method, you can turn everyday testing into useful, reliable data.
FAQ
1. Can I do a grip strength test at home without a clinic?
Yes. With a digital hand dynamometer, you can do a grip strength test at home accurately as long as you keep your testing position and method consistent.
2. How many times should I squeeze during a grip strength test?
Most users should do 2 to 3 attempts per hand with short rest periods between tries. Then record either the best score or the average.
3. Is one grip strength score enough?
Not really. One score is useful as a baseline, but repeated testing over time gives a much clearer picture of progress, recovery, or decline.
4. What is the best tool for a grip strength test at home?
A digital hand dynamometer is the best choice because it provides precise readings, easy tracking, and better repeatability than guessing or informal hand-strength checks.


Share:
How to Test Grip Strength at Home
How Often Should You Measure Grip Strength? A Practical Tracking Guide for Home, Rehab, and Fitness