Why Hand Movement & Training Matters

If your fingers feel stiff after waking up, spending hours at a keyboard, or repeating the same hand movements throughout the day, gentle movement can help restore comfortable motion.

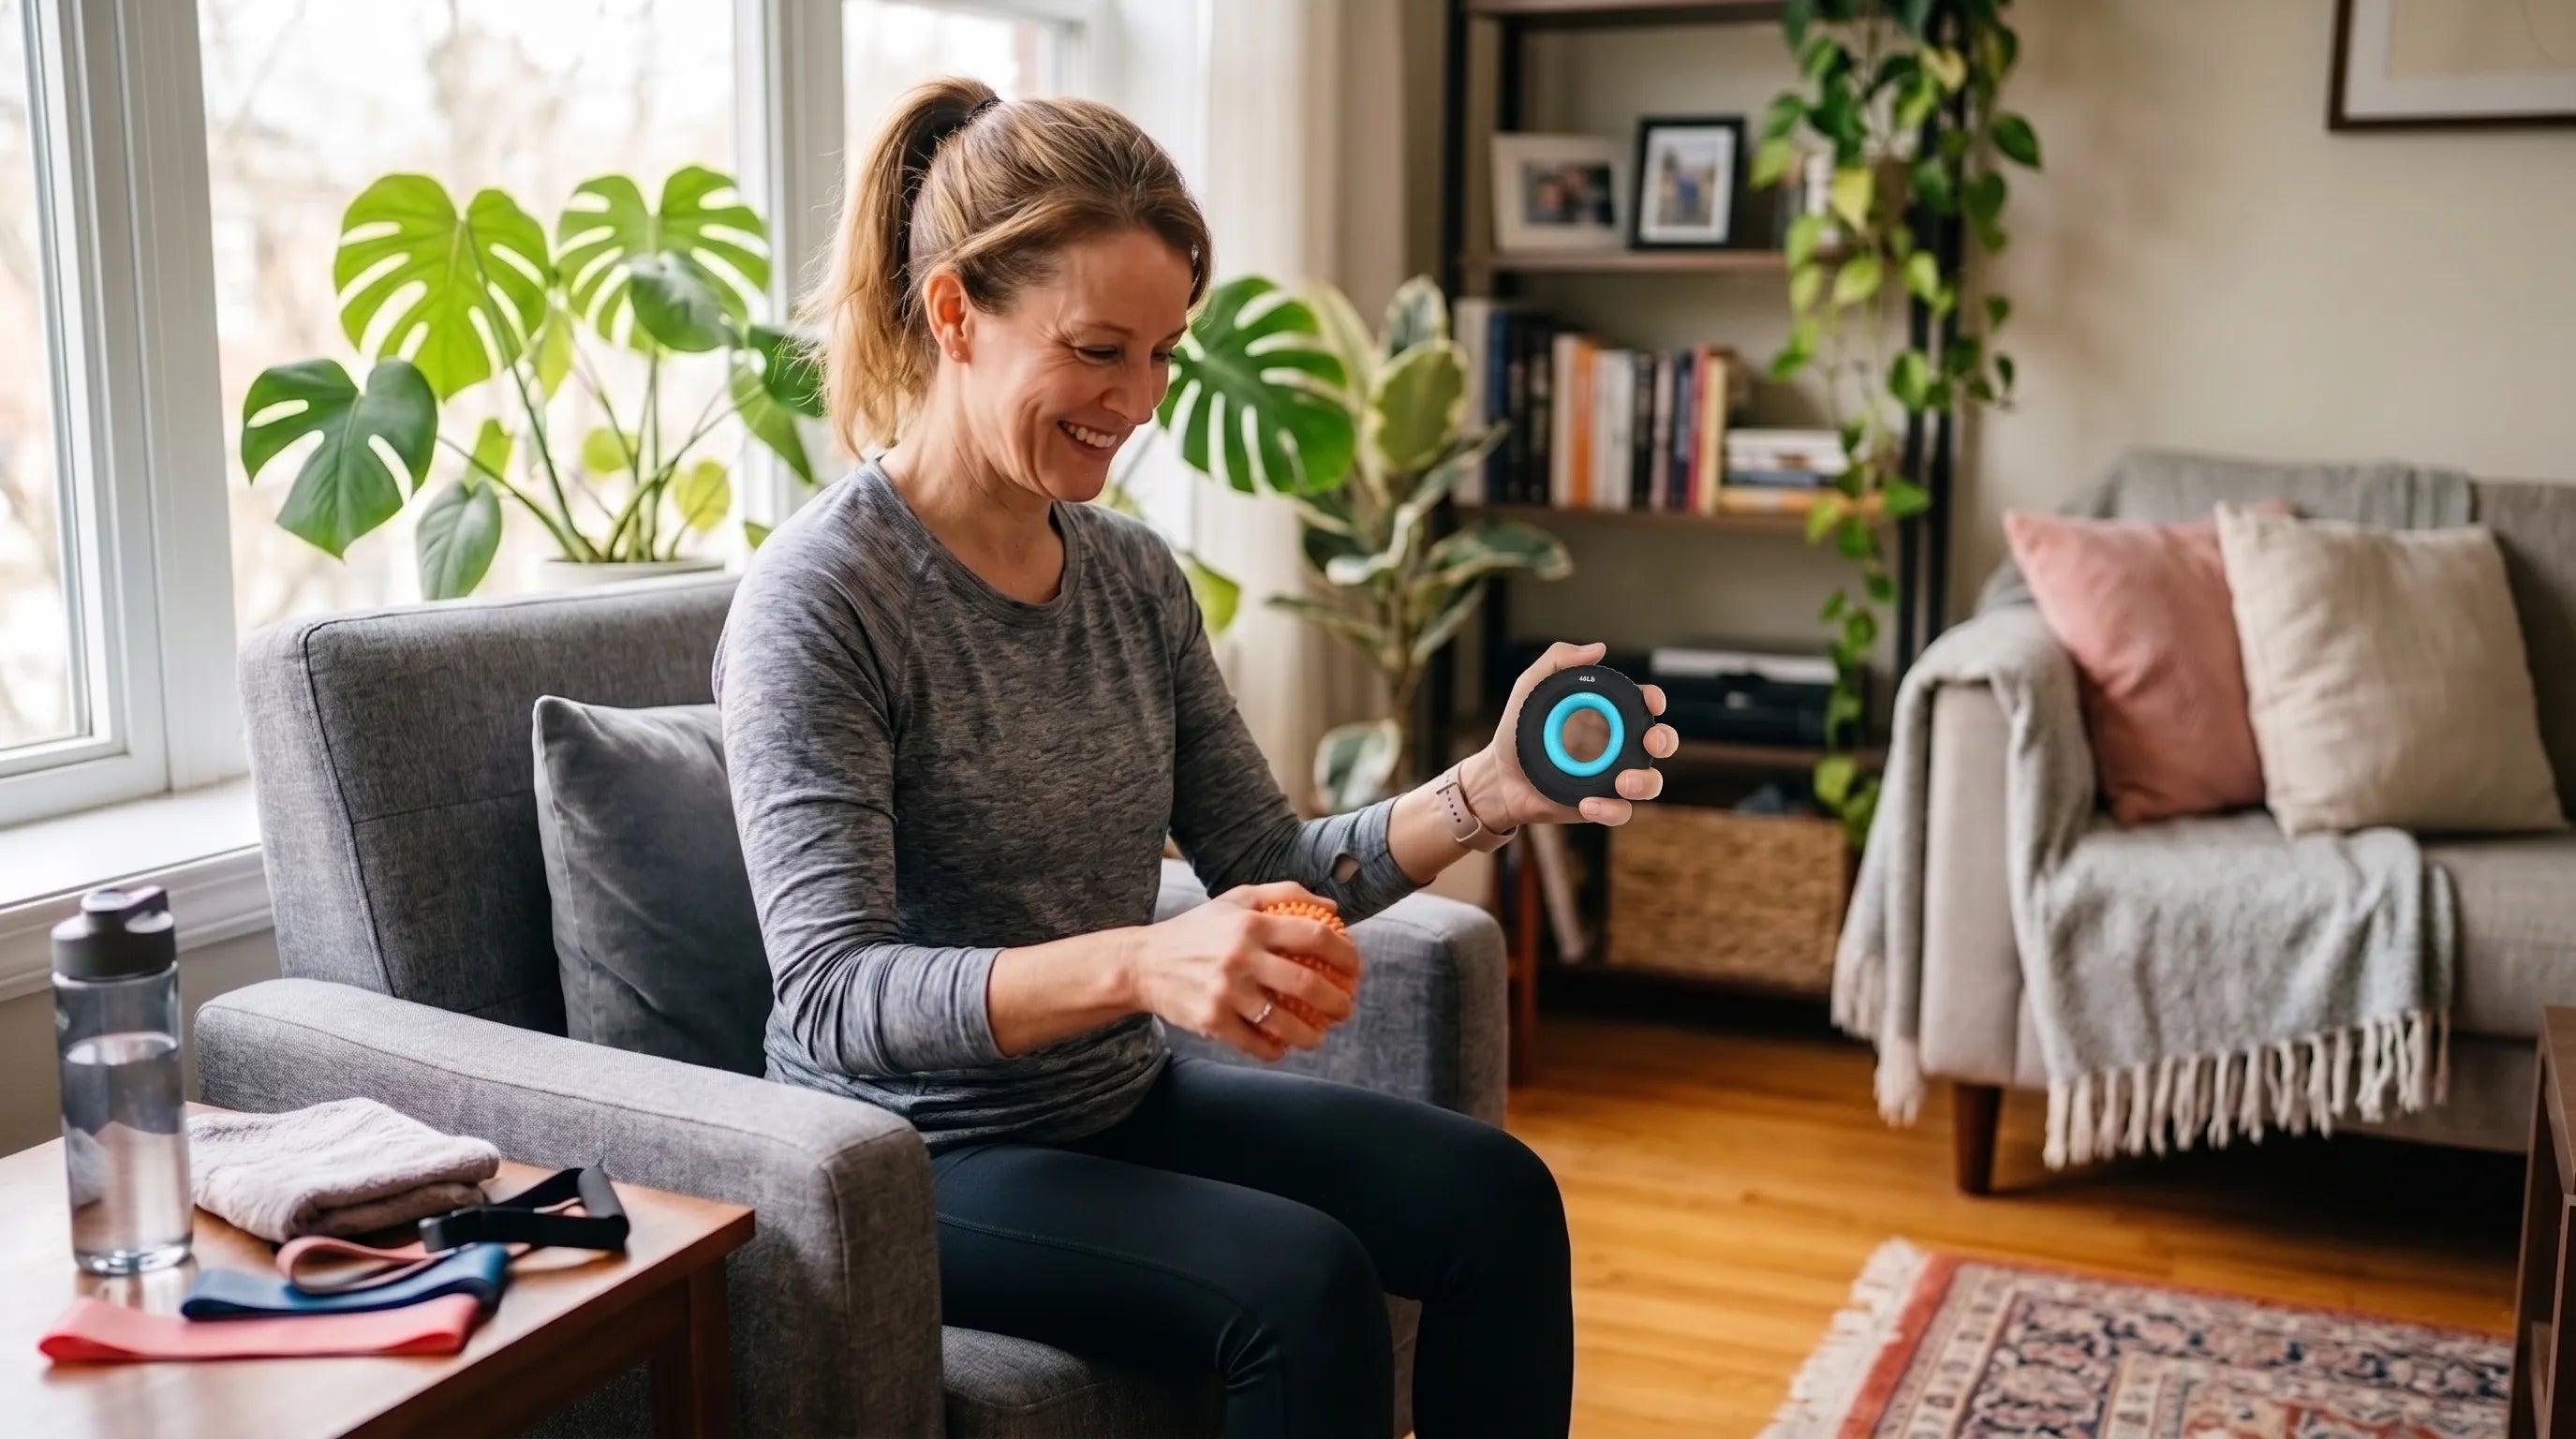
But hand training does not need to stop at mobility. Once your fingers move comfortably, you can gradually add resistance to build strength, endurance, and control.

Your hands do much more than squeeze. They help you type, text, carry groceries, open jars, use tools, lift objects, and perform countless small tasks throughout the day. A well-rounded hand routine should therefore train more than one movement.

THE PRACTICAL FOUR-STEP PROGRESSION
1 Phase 1

Move

Start with comfortable movement to reset joints without force.

2 Phase 2

Strengthen

Add progressive resistance & build isometric grip holding strength.

3 Phase 3

Balance

Train finger extension, static flexion, and wrist/forearm control.

4 Phase 4

Measure

Use consistent dynamometer testing to track measurable gains.

Important Medical & Safety Disclaimer

These exercises are intended for general stiffness, mobility, and strength training. They are not a substitute for medical care for an injury or diagnosed condition. Stop an exercise immediately if it causes sharp pain, numbness, significant swelling, or worsening symptoms.

EXERCISE DIRECTORY

The 8 Movements

Select a category below to filter movements or view the full suite.

Part 1: Move — Mobility for Stiff Fingers

If your fingers feel stiff after sitting still for a while, start with some slow, gentle movements before adding resistance. The goal is simply to get your fingers moving comfortably without forcing them into a painful or uncomfortable position.

Exercise 01 Equipment Free

1. Active Tendon Glides

Best for: Finger mobility and warm-up

Active tendon glides move the fingers through several positions instead of repeatedly opening and closing the hand in the same pattern.

Hand exercise guide showing straight hand, hook fist, full fist, straight fist for hand therapy rehabilitation Click to zoom
HOW TO DO IT:
  1. 1. Hold hand upright with palm facing forward and fingers straight.
  2. 2. Curl fingers into a Hook Fist.
  3. 3. Roll them into a comfortable Full Fist.
  4. 4. Open large knuckles while keeping fingers curled into a Straight Fist.
  5. 5. Return to an open hand. Move slowly through each position.
Exercise 02 Equipment Free

2. Thumb Opposition

Best for: Thumb mobility, dexterity, and coordination

Your thumb works with the fingers during gripping, pinching, writing, and handling everyday objects.

Step‑by‑step hand finger flexion exercise chart for hand rehabilitation training at home Click to zoom
HOW TO DO IT:
  1. 1. Rest forearm on a desk with palm facing you.
  2. 2. Touch thumb to index fingertip to form an "O".
  3. 3. Press gently for about 2 seconds, then release.
  4. 4. Repeat sequentially with middle, ring, and pinky fingers.
  5. 5. Move through the sequence slowly and deliberately.
Exercise 03 Equipment Free

3. Finger Flex & Extend

Best for: Finger mobility and movement balance

Many daily activities keep the fingers in a flexed or gripping position, so alternating between closing and opening provides a simple movement reset.

HOW TO DO IT:

1. Start with your fingers comfortably straight.

2. Slowly make a loose fist. Hold for 1–2 seconds.

3. Open your hand and spread your fingers comfortably.

4. Relax before repeating next repetition.

Part 2: Strengthen — Build Functional Grip Strength

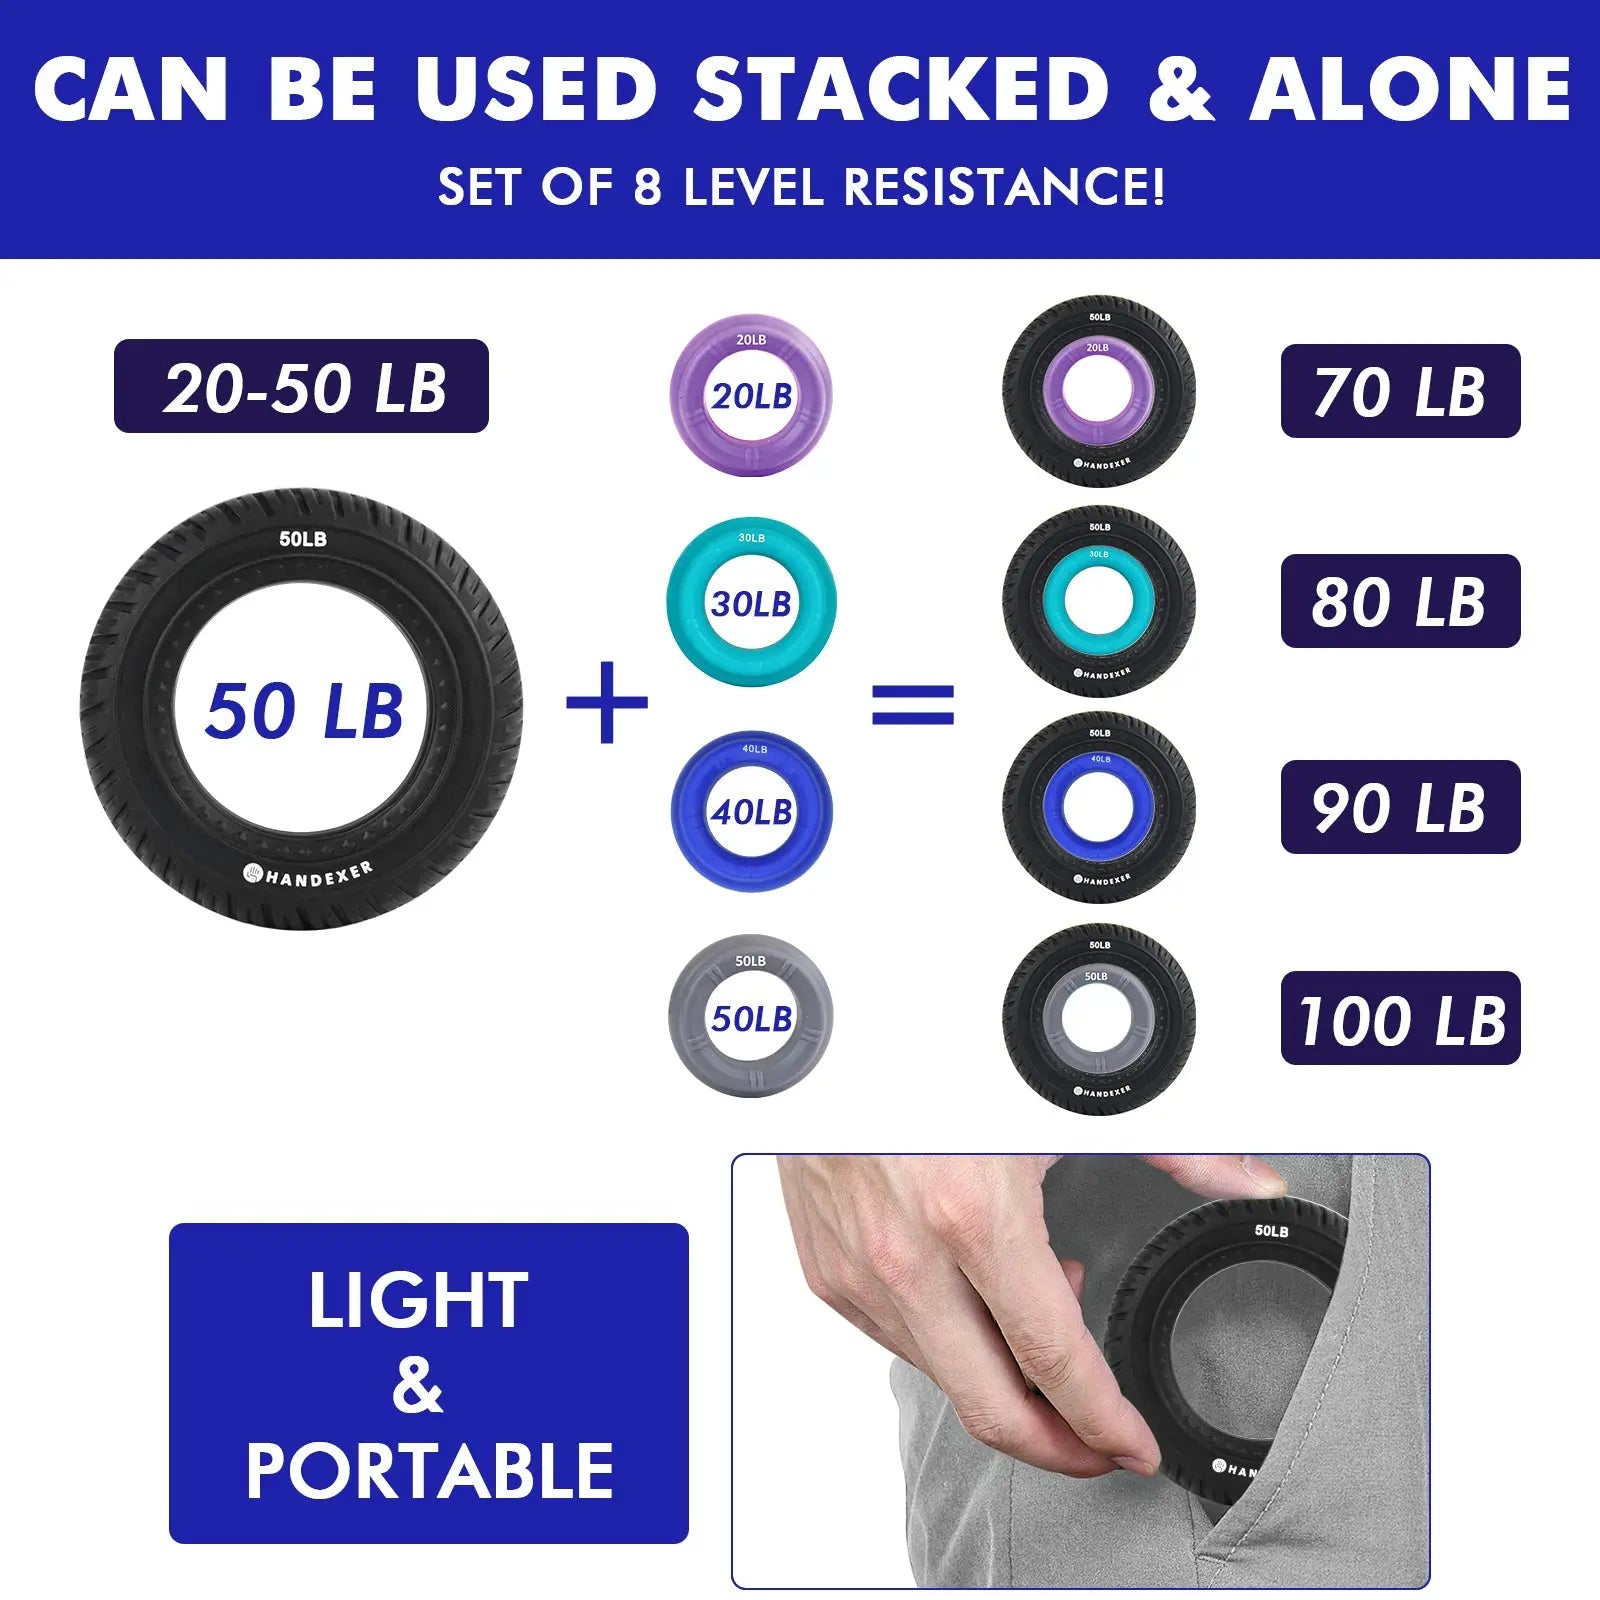
Once your hands feel warm and mobile, resistance training can help build strength, control, and endurance. The goal is to develop the ability to produce and maintain force consistently.

Exercise 04 Silicone Grip Ring

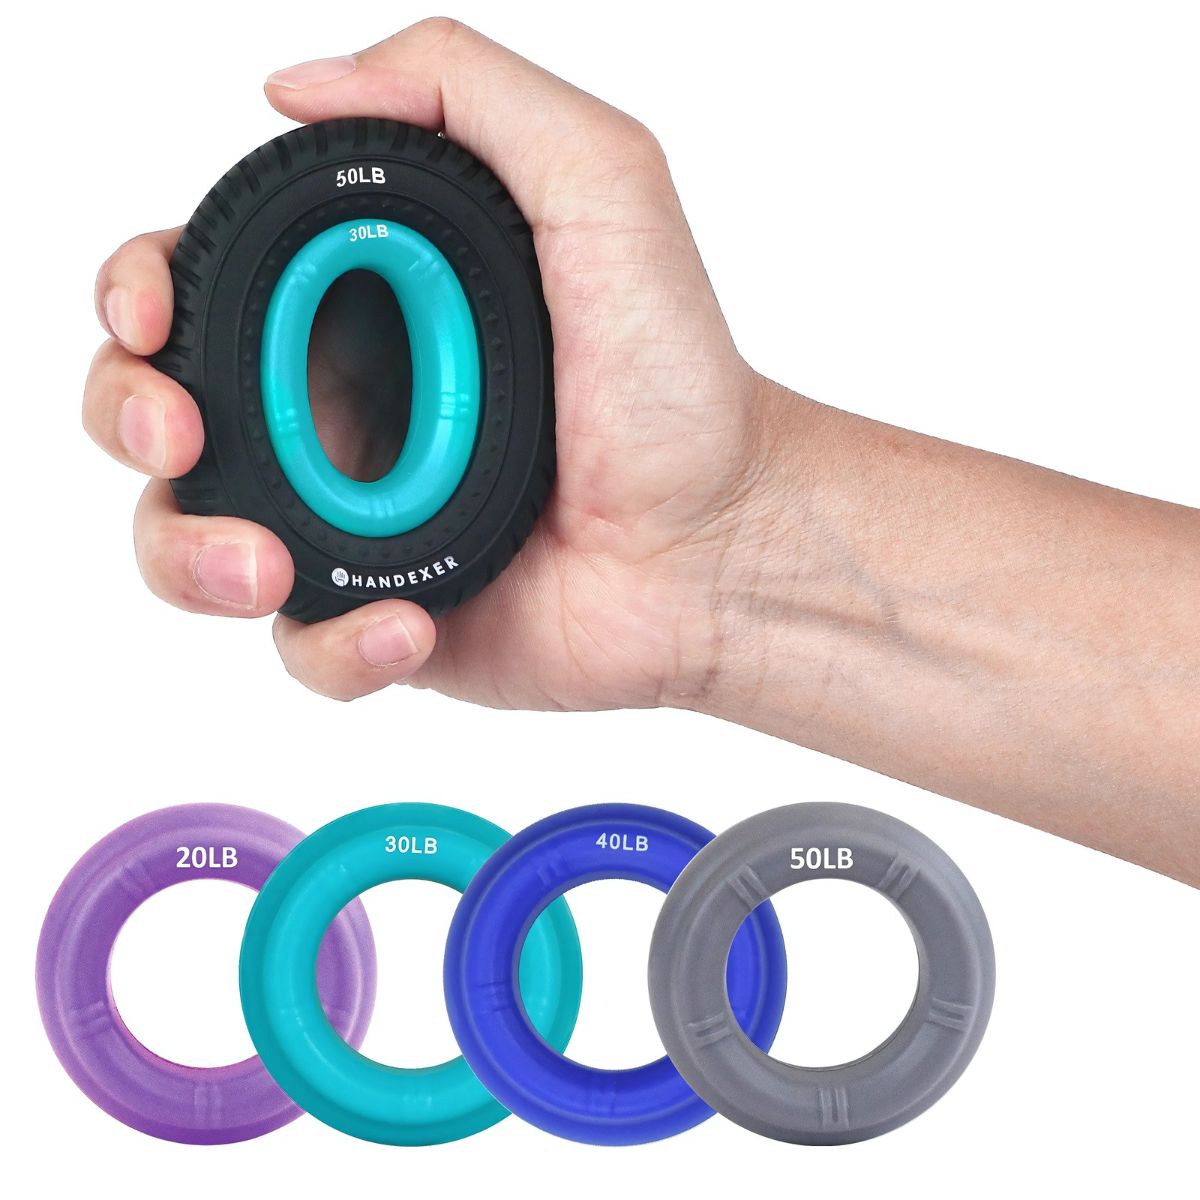
4. Full-Hand Crush Squeeze

Best for: Grip strength and functional hand strength

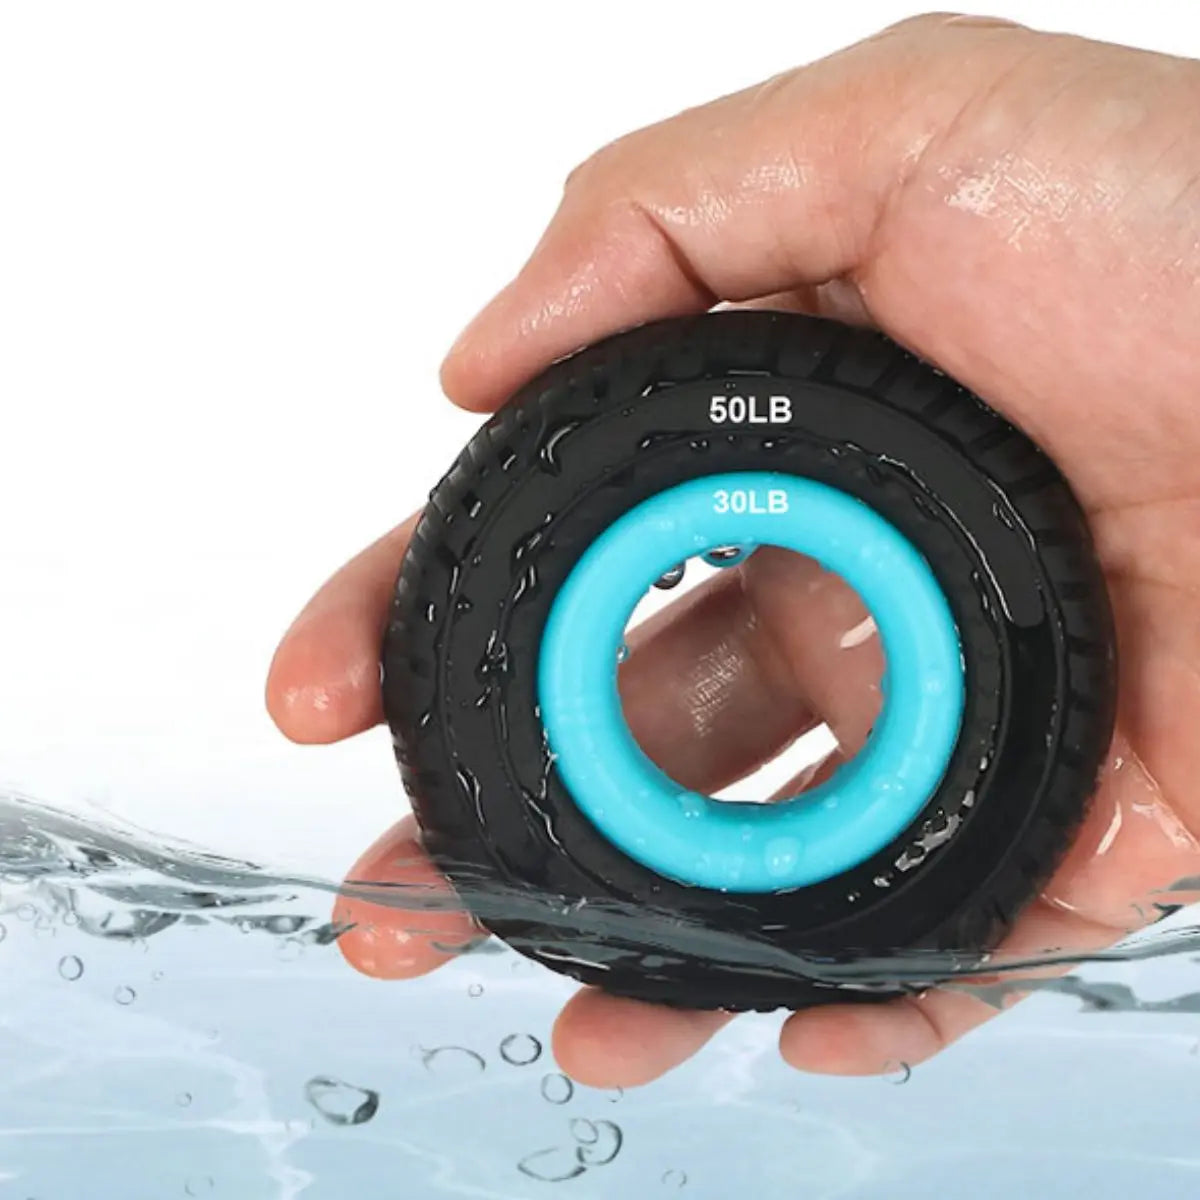
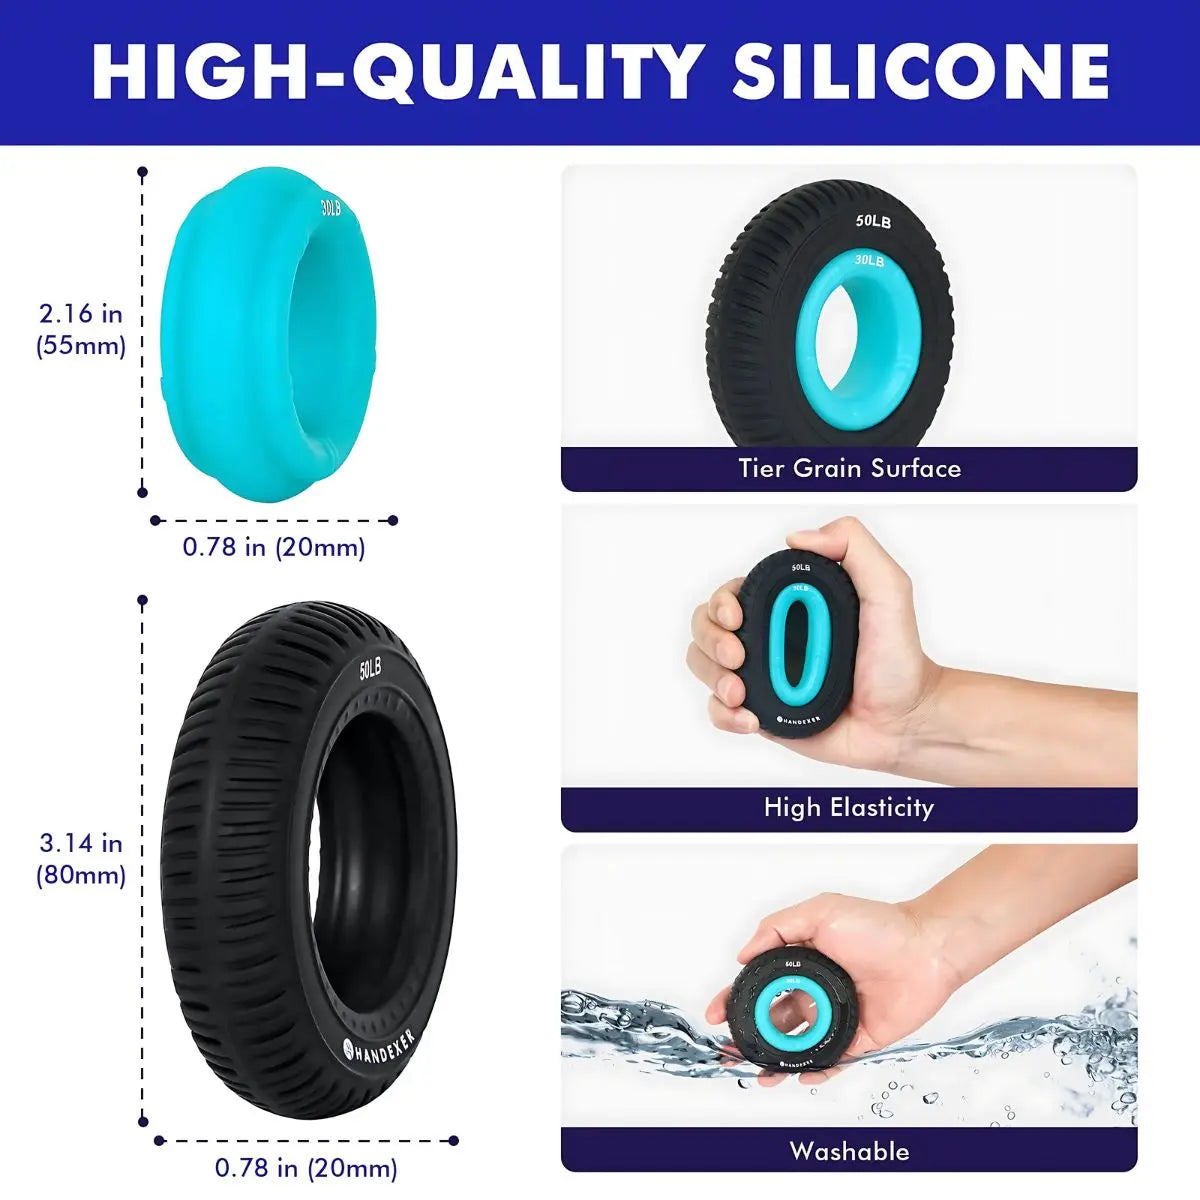
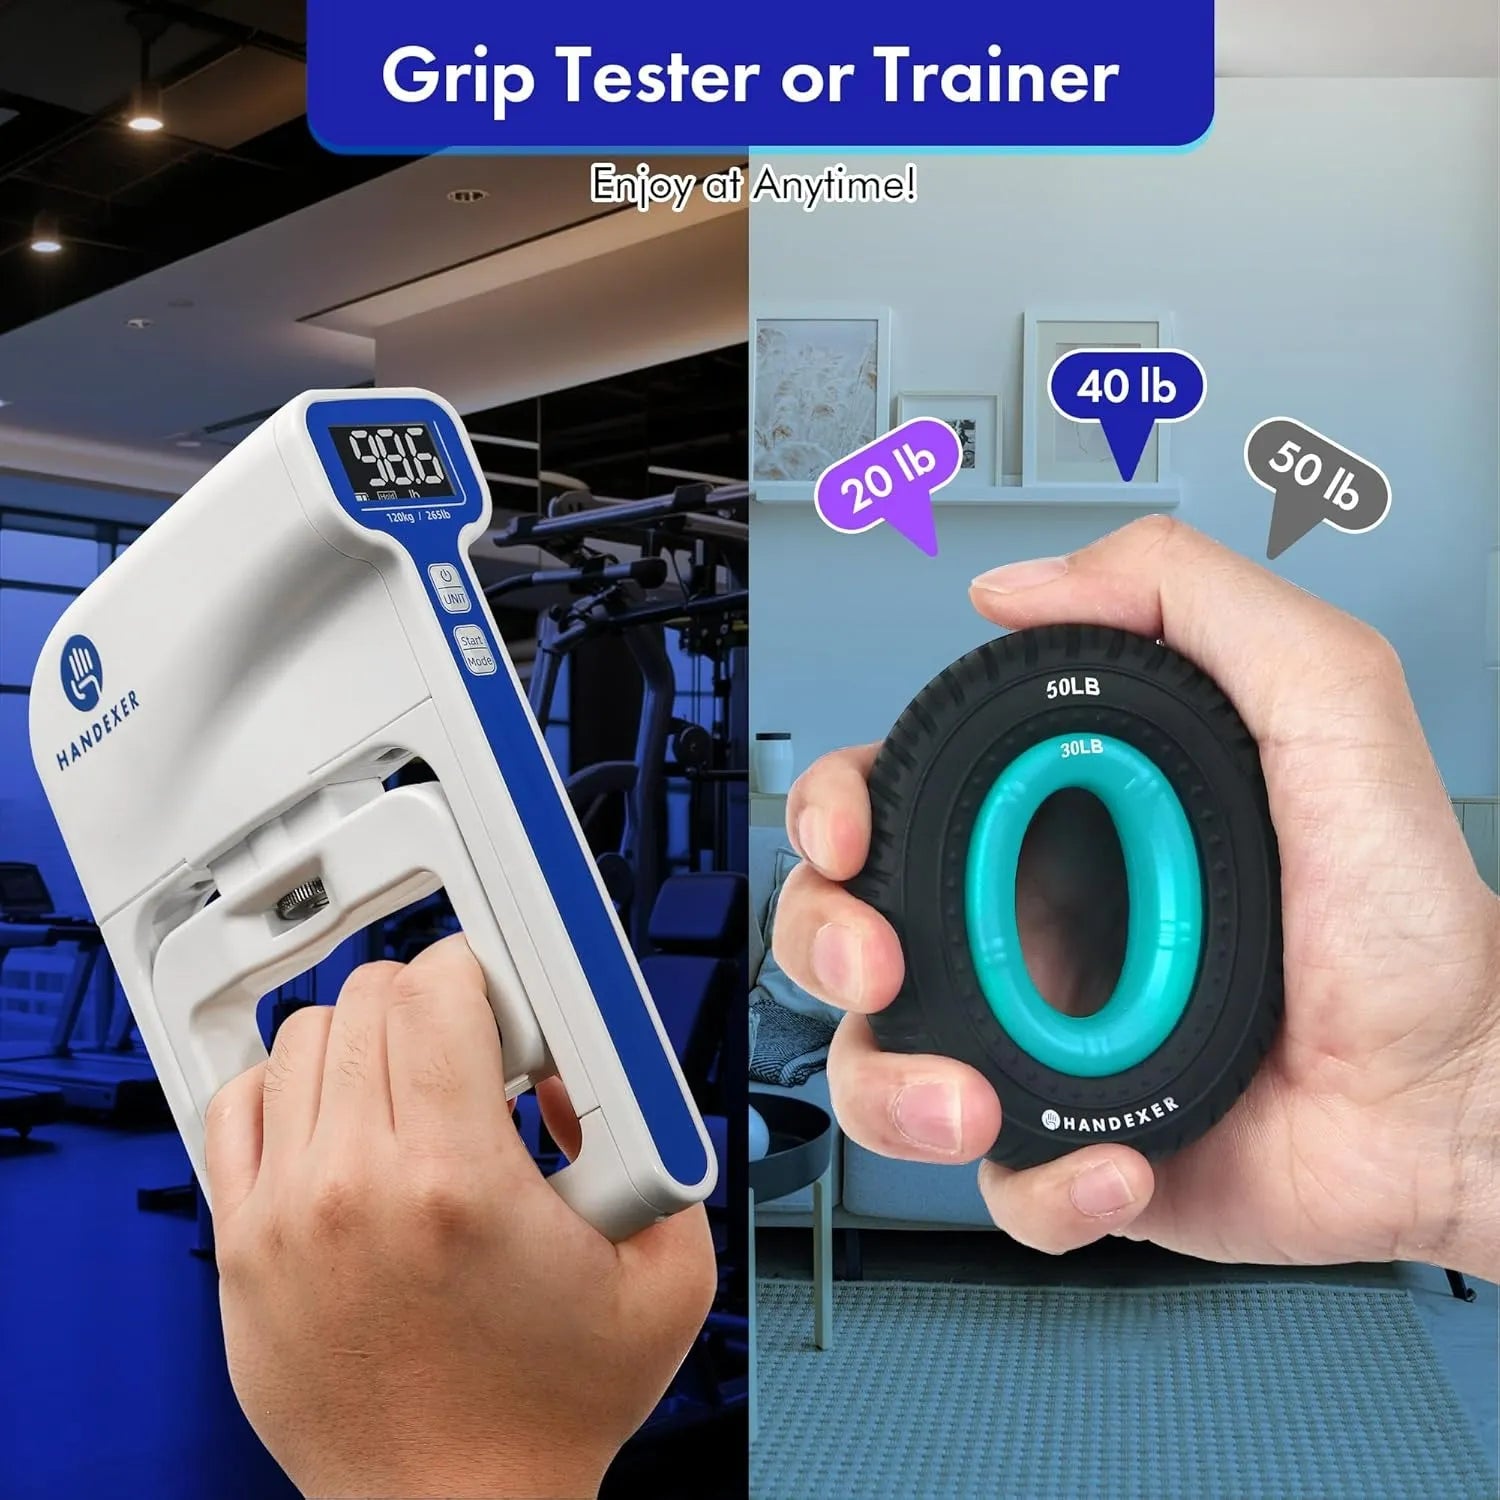
A silicone grip ring provides a simple way to add repeatable resistance to full-hand gripping.

Hand squeezing Handexer 50LB silicone hand grip ring, hand strength training Click to zoom
HOW TO DO IT:
  1. 1. Place grip ring comfortably in the center of your palm.
  2. 2. Wrap your four fingers around the ring.
  3. 3. Position your thumb comfortably on the opposite side.
  4. 4. Squeeze over 2 seconds → Hold compressed for 1 second.
  5. 5. Release slowly over about 3 seconds.
Key Progression Rule:

Choose a resistance that allows clean technique. When 15 reps feel easy, increase challenge rather than squeezing harder with poor form.

Exercise 05 Silicone Grip Ring

5. 6–8 Second Grip Hold

Best for: Grip endurance and isometric strength

Some activities require you to maintain force rather than produce one brief, powerful squeeze.

Man squeezing Handexer 60LB silicone hand grip strengthener ring, forearm workout Click to zoom
HOW TO DO IT:
  1. 1. Hold grip ring with a full-palm grip.
  2. 2. Squeeze to about 70% of your maximum comfortable effort.
  3. 3. Hold for 6–8 seconds while breathing normally.
  4. 4. Release slowly over about 3 seconds.

Part 3: Balance — Train More Than the Closing Muscles

Grip training is often associated with squeezing, but the hand does more than close. A balanced routine should also include finger extension and wrist movements.

Exercise 06 Rubber Band

6. Finger Extensions

Extensor strength & balance
HOW TO DO IT:
  1. 1. Bring fingertips together.
  2. 2. Place light rubber band around outside.
  3. 3. Open fingers against resistance; hold 1s.
  4. 4. Return slowly.
No band? Use light manual resistance from opposite hand.
Exercise 07 Self Resistance

7. Isometric Finger Flexion

Finger flexor strength & control
HOW TO DO IT:
  1. 1. Rest forearm/palm on table, fingers off edge.
  2. 2. Place opposite hand over fingers.
  3. 3. Press fingers down against block.
  4. 4. Build controlled tension; hold 5s.
Exercise 08 Hand Towel

8. Two-Way Towel Wring

Wrist & forearm control
HOW TO DO IT:
  1. 1. Roll hand towel into firm cylinder.
  2. 2. Hold with hands 6–8 inches apart, palms down.
  3. 3. Twist one wrist forward, other backward; hold 3s.
  4. 4. Return and reverse direction.
LOAD MANAGEMENT & FORM

How to Progress & Choose Resistance

Getting stronger does not require making every workout harder. Keep technique consistent and increase challenge only when the current level is well controlled.

Good Form More Controlled Reps Slightly More Resistance

Resistance Selection Checkpoints

The right resistance is the one you can control. Use these checkpoints when choosing your starting level:

  • Your wrist stays completely neutral throughout movement.
  • You can squeeze and release under smooth control.
  • You complete planned repetitions with consistent technique.
  • You are not using wrist or forearm compensation.
  • The exercise does not cause sharp pain or joint pinch.

How Often Should You Train?

Mobility Exercises:

Can be performed regularly, including during short breaks throughout the day.

Loaded Resistance Training:

Perform 2–3 times per week, leaving recovery time between harder sessions.

Weekly Golden Pattern:

Move often. Strengthen consistently. Recover between harder sessions.

General Resistance Level Guide
Starting Situation General Level Progression Guideline
Morning stiffness, desk fatigue, or lighter training Light Move up when 15 controlled repetitions feel comfortable
General hand-strength training Medium Increase when all planned sets feel controlled and repeatable
Grip specialization or heavier training Firm Use lower repetitions and prioritize flawless technique

Important Note: Resistance levels can vary by grip-ring design and manufacturer. Use specific product specs rather than assuming ratings are universal. Start lighter if new to resistance training.

ACTIONABLE WORKOUTS

Two Simple Hand Routines

You do not need to perform all eight exercises in every session.

OPTION A ⏱ Daily / Warmup Break

4-Minute Desk Reset

Best for: Morning stiffness, keyboard fatigue, and quick movement breaks.

INCLUDED MOVEMENTS:
  • 1. Active Tendon Glides 5 cycles / hand
  • 2. Thumb Opposition 2 rounds / hand
  • 3. Finger Flex & Extend 10 reps / hand
  • 6. Finger Extensions 15 repetitions
Goal: Movement and joint lubrication, not muscle fatigue.
Live Session Checklist Tracker

Measure Grip Strength

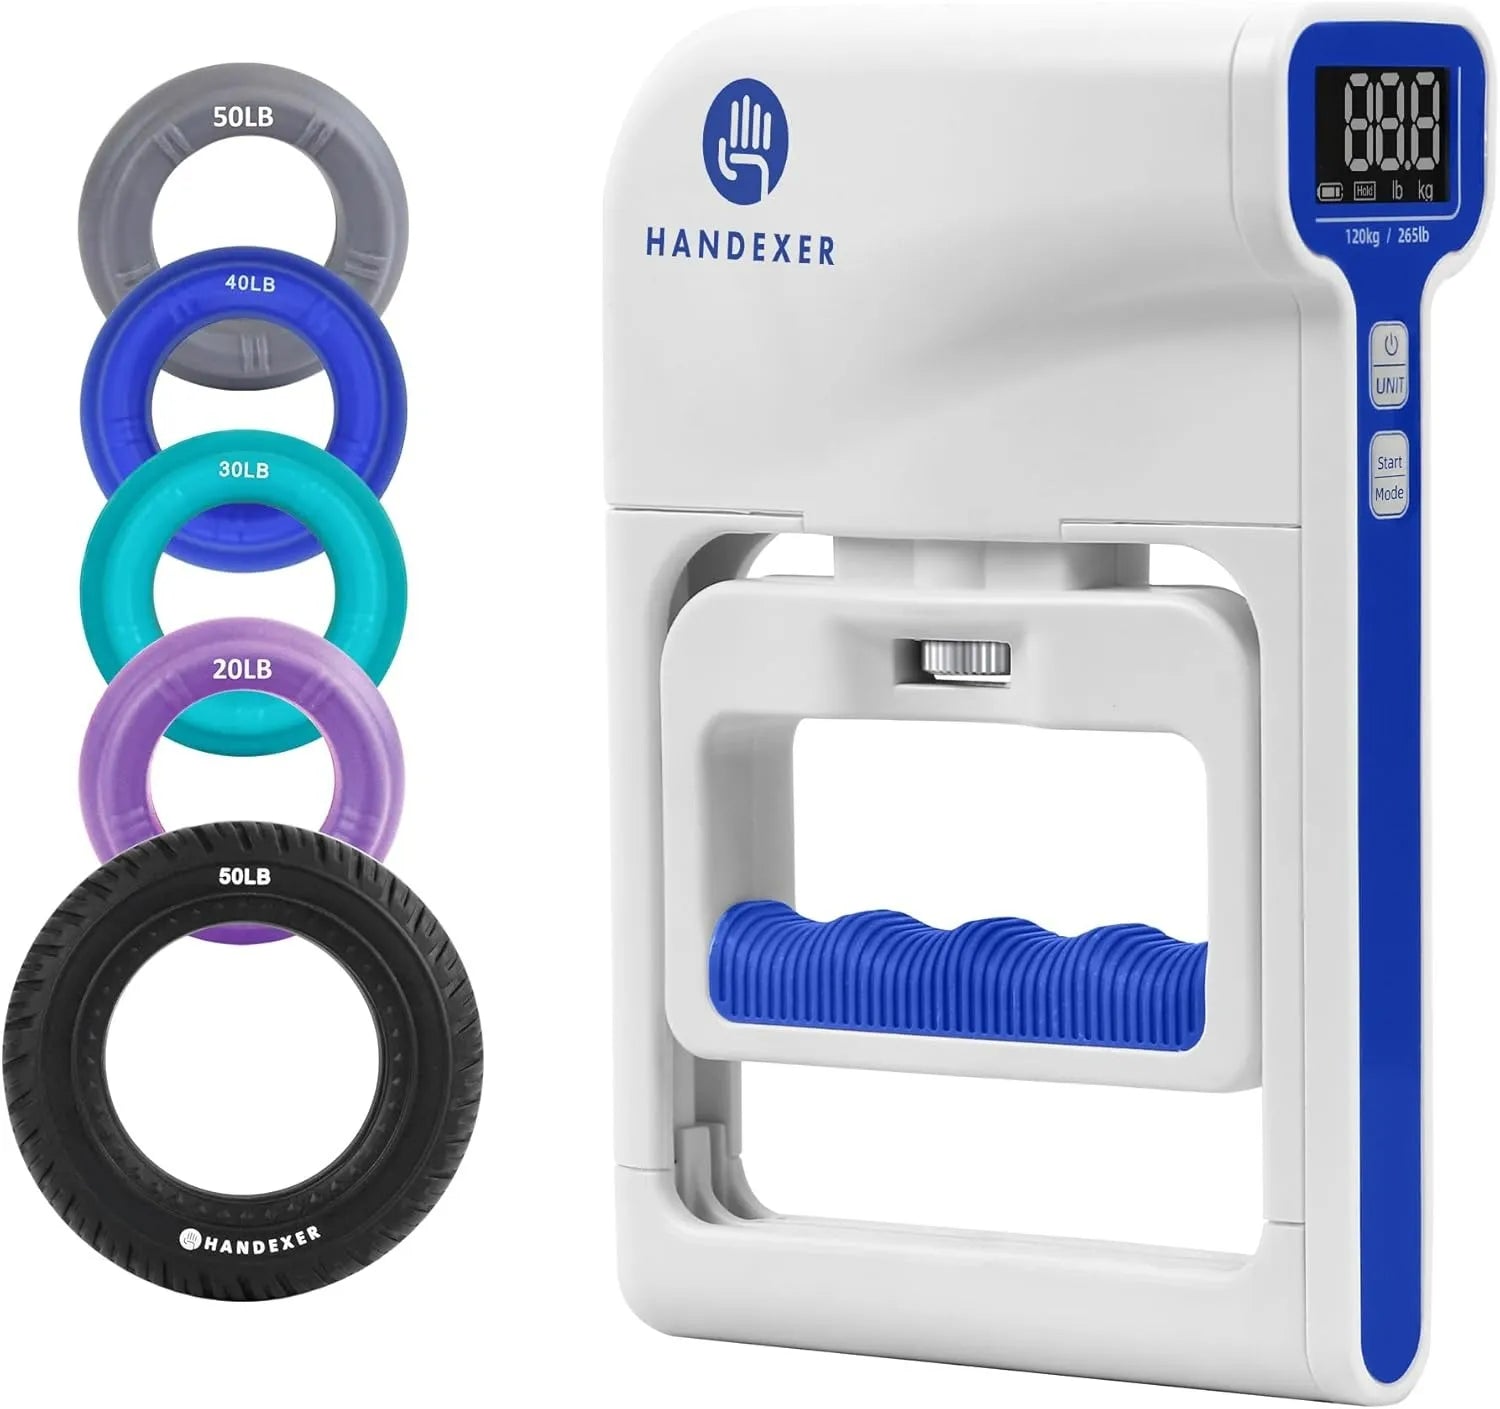
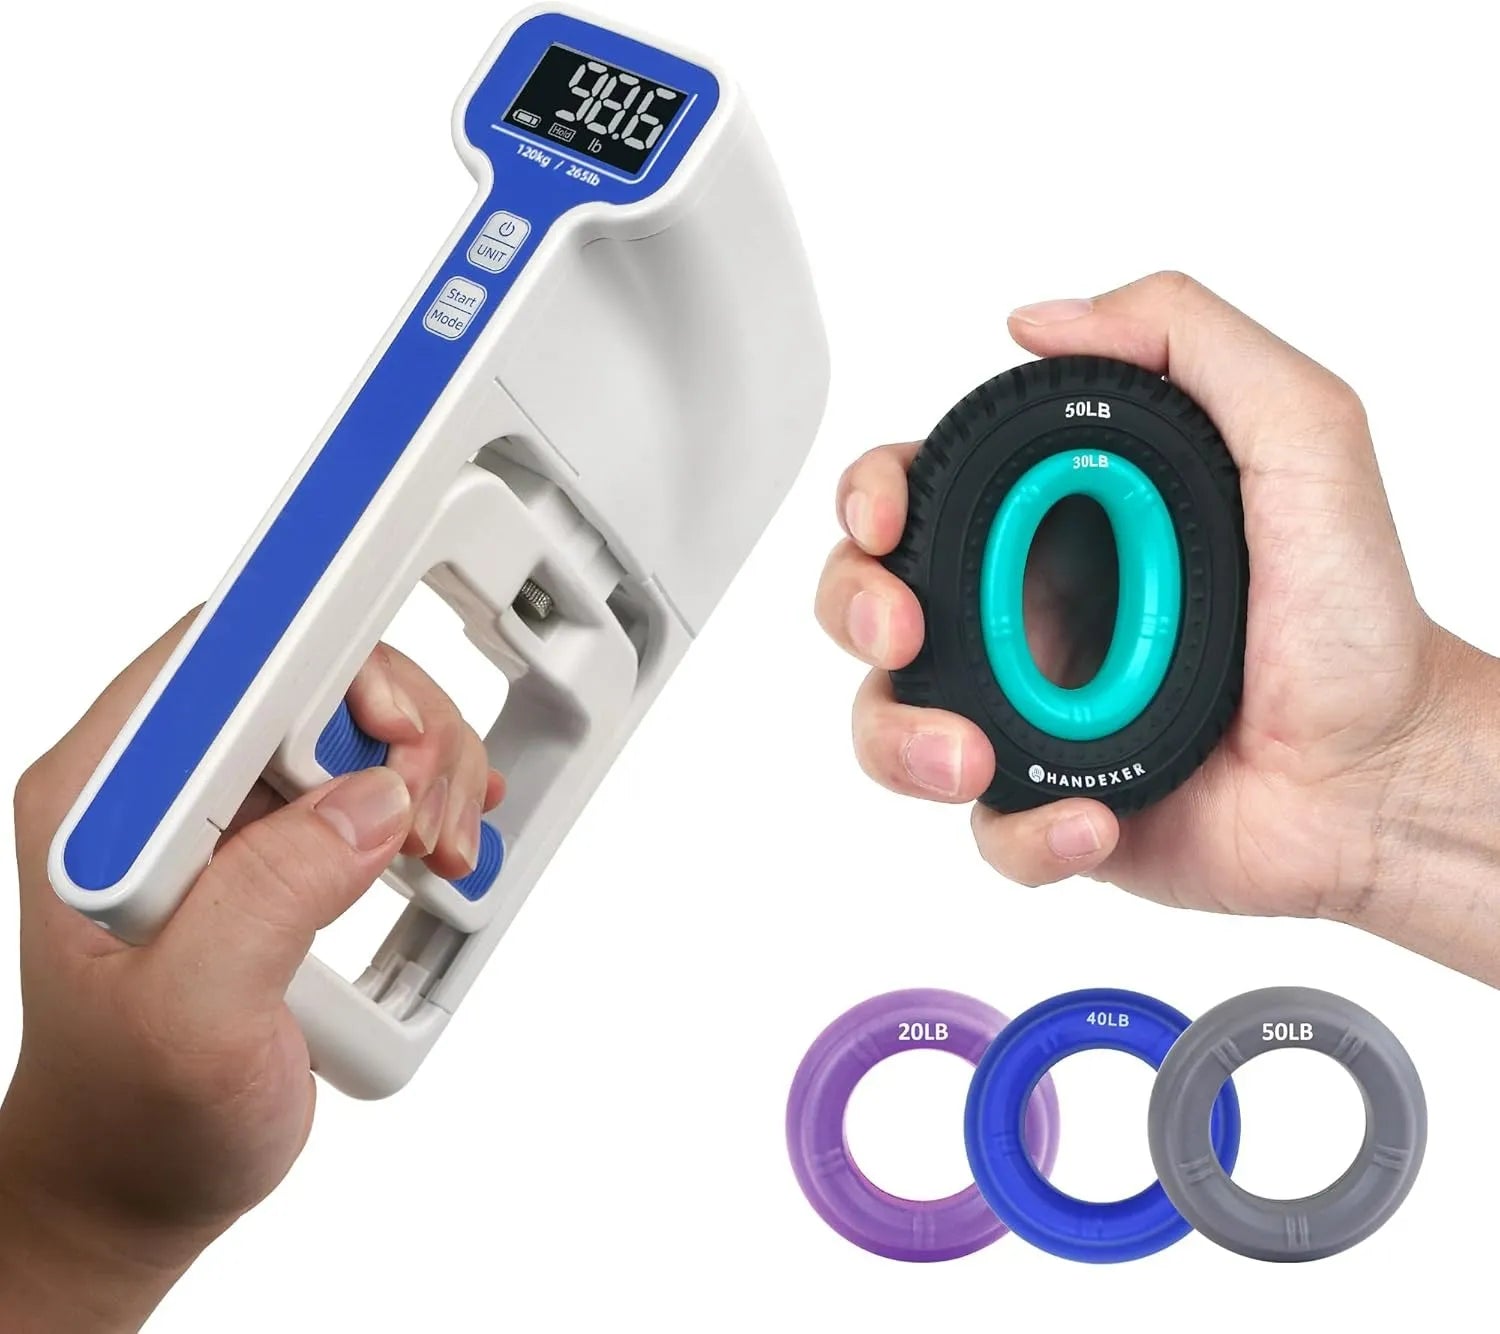
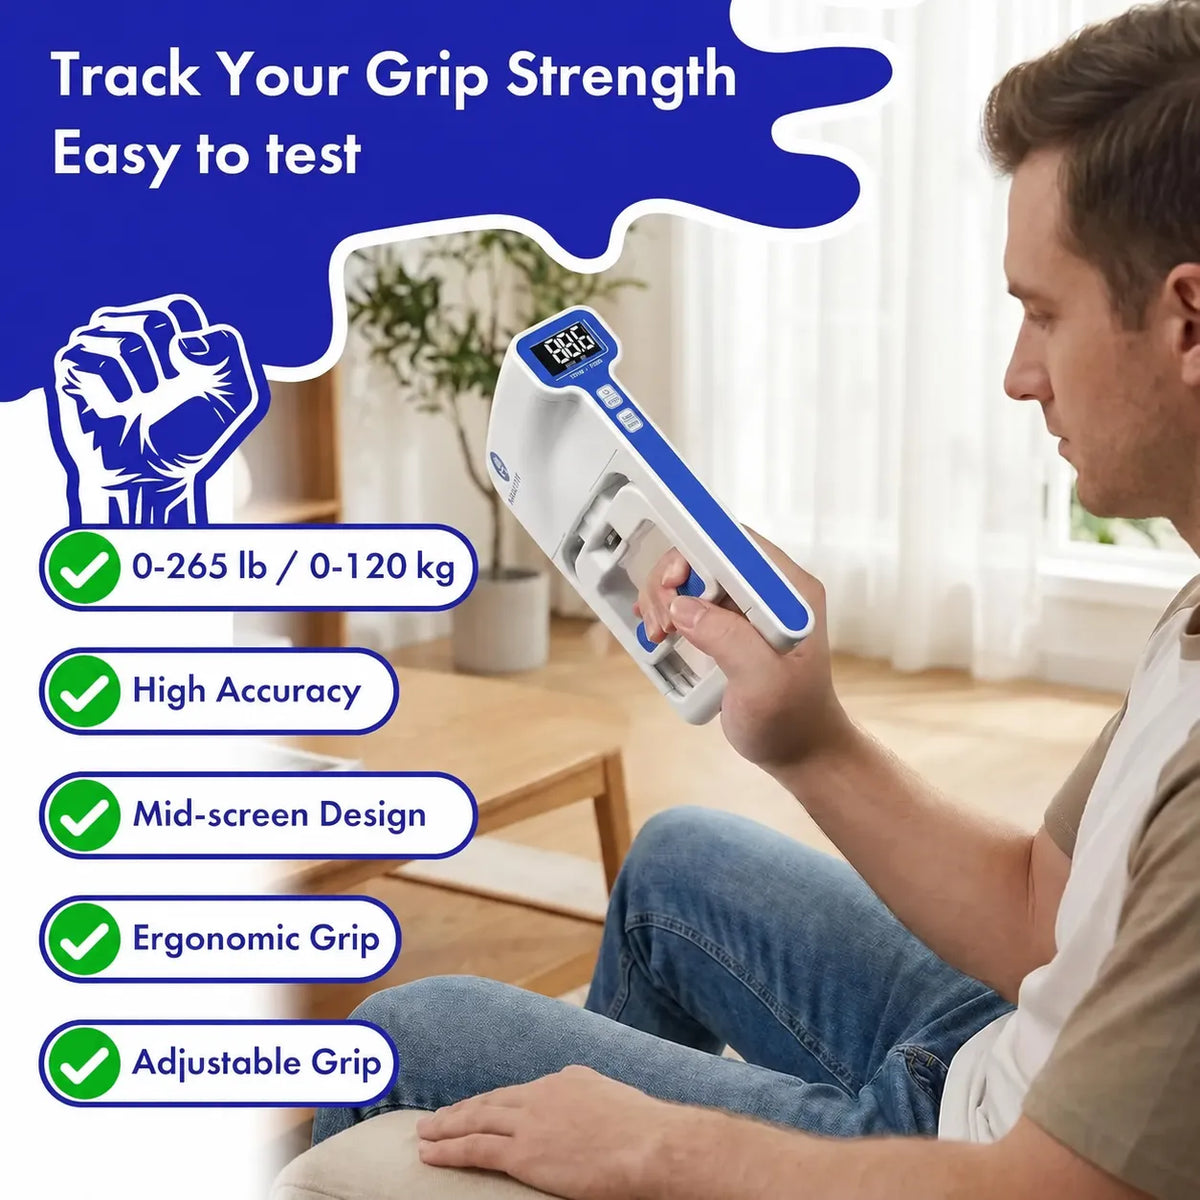
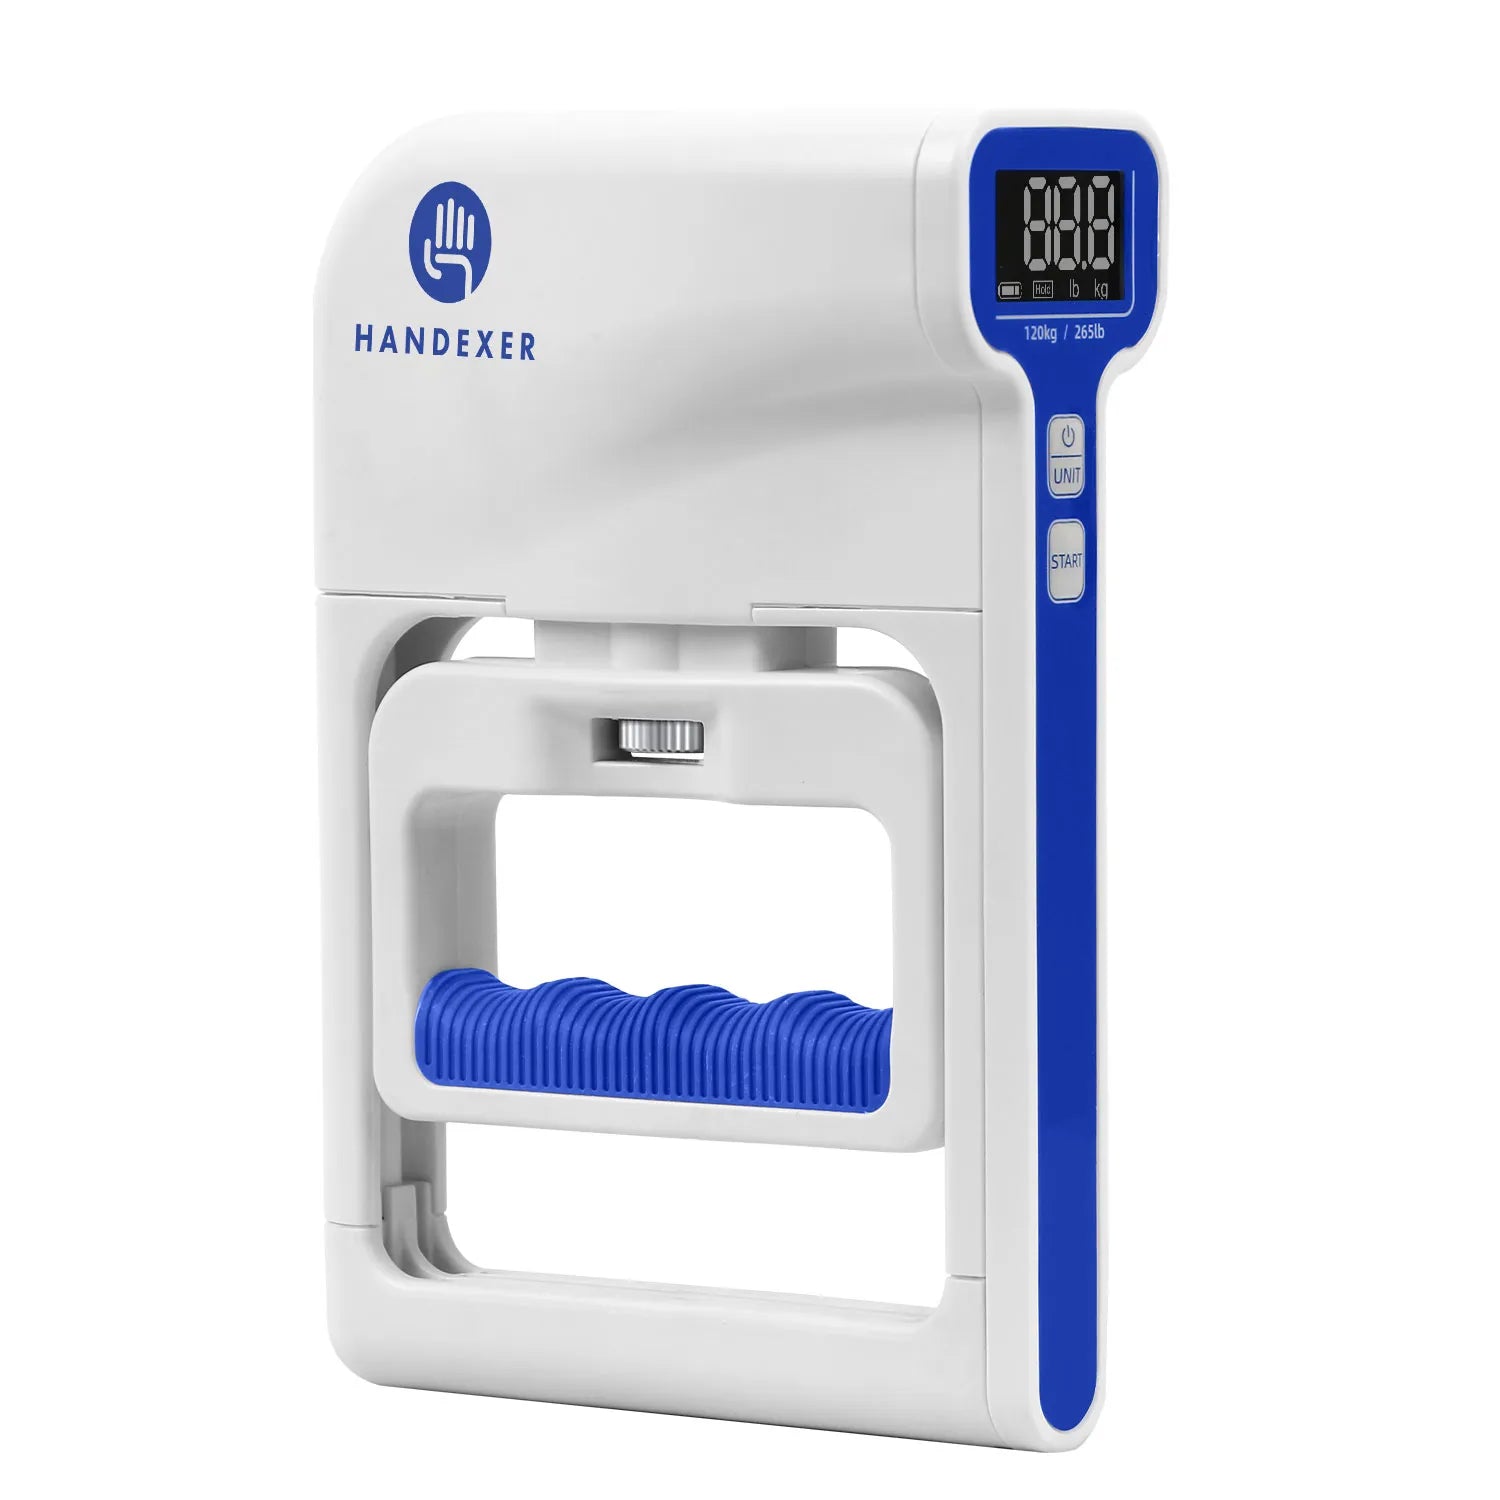
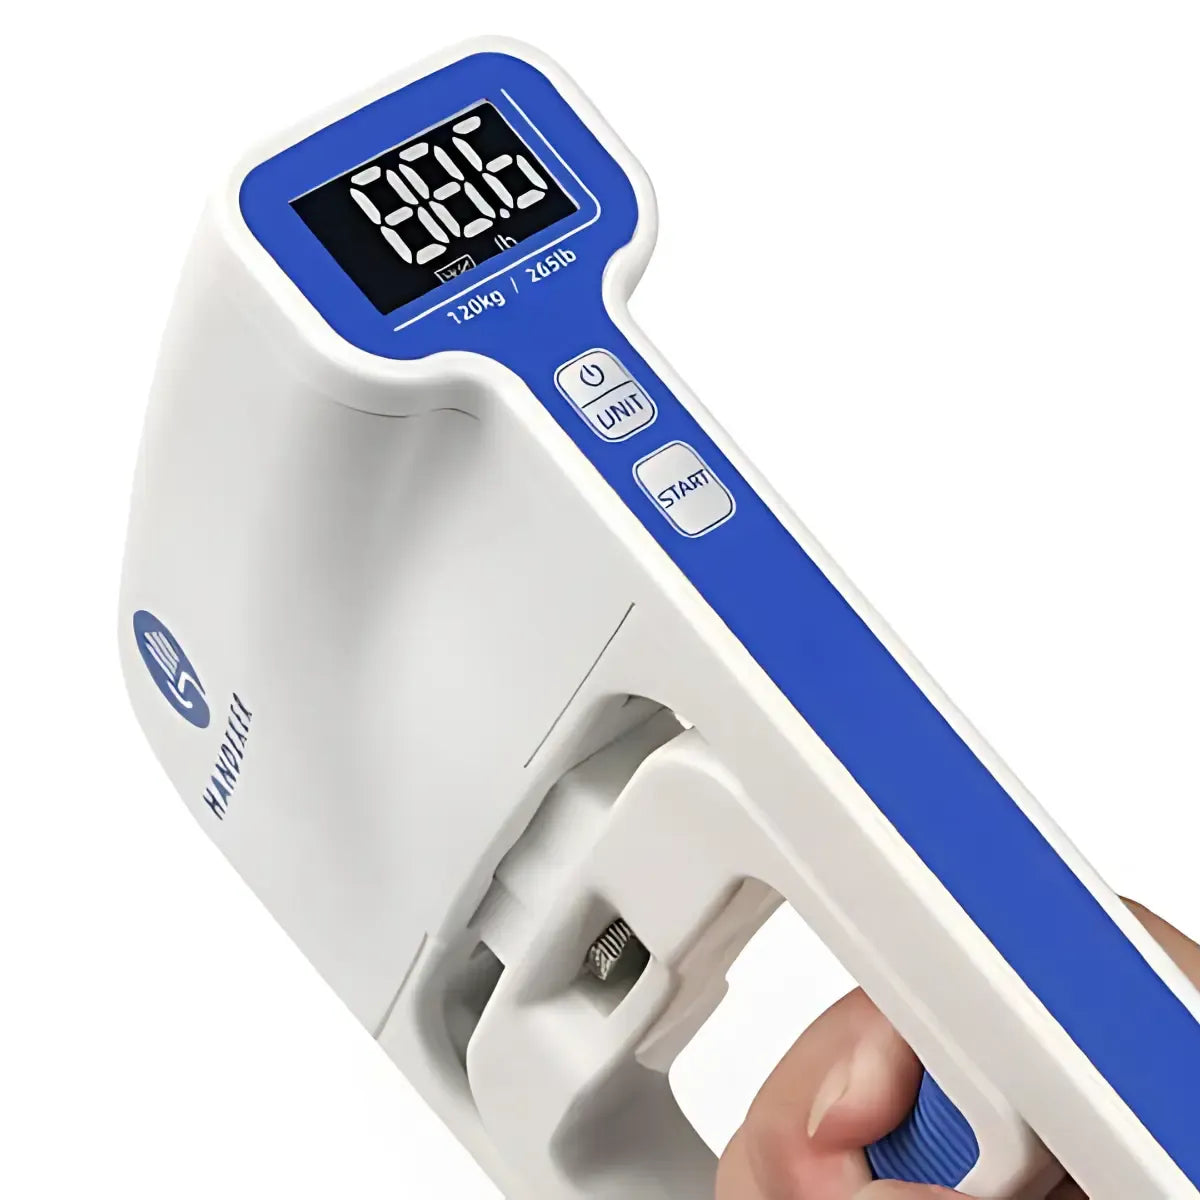
Training gives you a reason to improve. Measurement gives you a numerical grip-strength reading that can be compared over time using a digital hand dynamometer.

SIMPLE TESTING PROTOCOL:
  1. 1. Use same sitting/standing position each time.
  2. 2. Hold dynamometer firmly without resting on body.
  3. 3. Keep wrist in comfortable, neutral position.
  4. 4. Squeeze with max comfortable effort for 3–5 seconds.
  5. 5. Record peak reading, rest 60 seconds, retest other hand.
Loop: Measure Baseline → Train → Retest → Adjust

3 Common Hand Training Mistakes

1. Squeezing Heavy Daily: Loaded grip needs 2–3 rest days to recover. Gentle mobility can be done daily.

2. Training Only Closing Muscles: Squeezing is 1 part. Include extension to balance closing patterns.

3. Bending Wrist During Squeezes: A bent wrist changes leverage and leads to compensation. Keep wrist neutral.

When to Stop Hand Exercises

Stop an exercise immediately if you experience sharp pain, increasing swelling, numbness/tingling, sudden strength loss, or significant joint discomfort. Consult a Certified Hand Therapist (CHT) or physician if symptoms persist.

CLEAR ANSWERS

Frequently Asked Questions

Can these exercises help with stiff fingers?

Gentle movements such as tendon glides, thumb opposition, and finger extensions can help restore comfortable movement after periods of inactivity. Strengthening can be added gradually once movement feels comfortable.

Can I do hand-strengthening exercises every day?

Gentle mobility exercises can be performed regularly. Loaded grip training is generally better limited to 2–3 sessions per week so your hands have time to recover.

Are silicone grip rings better than metal hand grippers?

They serve different purposes. Silicone grip rings are useful for squeezes, holds, and general hand strengthening, while spring grippers focus more specifically on resisted hand closing.

What if one hand is weaker than the other?

Some difference between hands is normal. Track both sides consistently with a digital hand dynamometer. A sudden or significant change accompanied by pain, numbness, or loss of function may warrant professional guidance.

How often should I train my grip?

For dedicated resistance training, 2–3 times per week is a practical starting point. Gentle mobility work can be performed more frequently.
BUILD CAPABLE HANDS

Your 3-Step Hand Strength Plan

Move → Strengthen → Balance → Measure

1. Move

Use the 4-Minute Desk Reset for daily mobility and movement breaks.

2. Strengthen

Perform the 8-Minute Hand Strength Flow 2–3 times per week with controlled resistance.

3. Measure

Establish baseline dynamometer readings and retest monthly to verify progress.

Enlarged Hand Exercise Image


Leave a comment

Please note, comments need to be approved before they are published.

This site is protected by hCaptcha and the hCaptcha Privacy Policy and Terms of Service apply.