
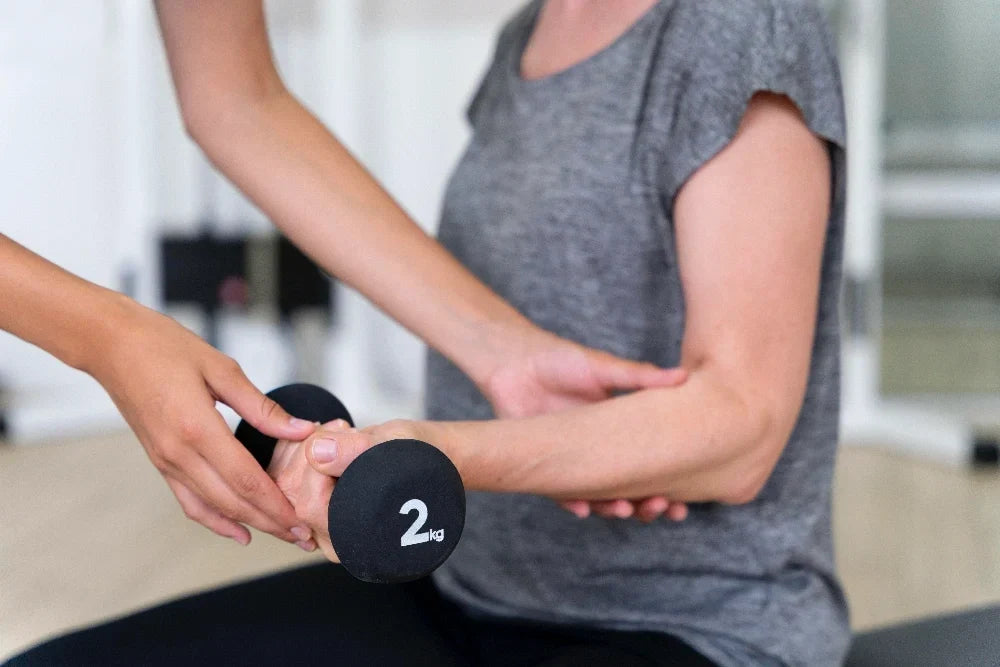
Isometric grip exercises involve producing force against resistance without moving the joint or changing the length of the muscle. Unlike dynamic squeezing, static contractions allow you to train specific joint positions under sustained tension, helping improve holding endurance, grip control, and wrist stability.
This practical guide breaks down three targeted static grip exercises, their biomechanical roles, technique cues, common mistakes, safety guidelines, and a simple 3-step framework to test and track your progress over time.
If you are currently recovering from an acute hand or wrist injury, experiencing unexplained persistent pain, or managing a joint condition, consult a qualified healthcare professional or physical therapist before starting a new exercise program.
What Is Isometric Grip Training?
Isometric grip training occurs when forearm and hand muscles apply force against an immovable object or fixed resistance without flexing or extending the wrist or finger joints.
Dynamic squeezing involves repeatedly flexing and extending fingers through a full range of motion. Isometric training maintains continuous muscle activation at a stationary joint angle.
Research in exercise science indicates that isometric training increases force production and localized endurance primarily around the specific joint angles trained (Kubo et al., 2010; Oranchak et al., 2019). This makes static grip exercises particularly useful for activities requiring sustained holding—such as carrying heavy loads, climbing, or maintaining control over equipment.
Because joint positions remain fixed, static holds minimize repetitive joint movement. However, reduced articulation does not automatically guarantee complete safety for painful or injured tissues, as tendons and muscles still experience significant mechanical tension.
Isometric hand exercises provide practical versatility for various training goals:
- Beginners: Offers a controlled way to introduce mechanical stress to forearm muscles and finger tendons without managing dynamic range of motion.
- Climbers & Athletes: Builds angle-specific holding endurance needed for prolonged hangs, tool handling, or keeping bars stable under fatigue.
- Daily Ergonomic Users: Helps build fatigue resistance in forearm muscles for individuals performing repetitive gripping or typing tasks throughout the day.
Modify load or refrain from static grip training if you experience any of the following:
- Acute hand, finger, or wrist sprains/strains
- Unexplained sharp, stabbing, or radiating hand pain
- Recent hand or forearm surgical procedures
- Symptoms that noticeably worsen during or immediately after a static hold
Understanding Grip Mechanics: Why These 3 Exercises Were Selected
A common misconception is that grip strength relies solely on crushing or flexing the fingers into a tight fist. True functional gripping is a coordinated system depending on three distinct components:
Deep and superficial flexor muscles pulling the fingers inward to clamp or hook objects.
The thumb applying an opposing counter-force to stabilize items against the fingers.
Wrist extensor muscles contracting statically to prevent the wrist from collapsing forward under heavy squeezing loads.
The three exercises below are designed to cover these complementary functions rather than just repeating finger flexion.
| Exercise | Primary Target Area | Key Functional Role |
|---|---|---|
| 1. Wrist Extension | Wrist Extensors (Extensor Carpi Radialis/Ulnaris) | Stabilization Base: Prevents wrist collapse during heavy gripping |
| 2. Thumb Resistance | Thumb Intrinsic Flexors & Thenar Muscles | Pinch Control: Maintains static opposition and pinch stability |
| 3. Finger Hook Pull | Finger Flexors (Flexor Digitorum Profundus/Superficialis) | Holding Endurance: Builds sustained finger-flexor force |
3 Best Isometric Exercises for Grip Strength
Forearm dorsal extensors (including extensor carpi radialis and extensor carpi ulnaris) and upper forearm stabilizers.
Strong wrist anchors anchor the wrist in a neutral or slightly extended position. If your wrist collapses into flexion while squeezing, finger flexors lose mechanical leverage and grip output drops.
- Sit upright at a table and rest your forearm flat on the surface with your palm facing down.
- Position your wrist just past the edge of the table while holding a light dumbbell or block.
- Raise your hand until your wrist is completely straight and parallel to the floor.
- Lock this position, focusing on engaging the top of your forearm.
- Hold this horizontal position statically without allowing your wrist to sag.
Hold for 15–30 seconds per set | 3 sets per arm | Rest 45–60 seconds between sets.
To Regress (Easier): Perform without weight (bodyweight wrist extension) or rest more of your wrist on the table.
To Progress (Harder): Slightly increase dumbbell weight or shift your grip further down the handle to extend the moment arm.
- Wrist Sagging: Allowing the weight to drag the wrist below horizontal as fatigue sets in.
- Over-Gripping: Squeezing the object excessively hard with your fingers instead of letting the wrist extensors hold the load.
- Shoulder Elevation: Shrugging your shoulder upward instead of keeping the elbow relaxed on the surface.
Thumb intrinsic flexors (flexor pollicis brevis), opponens pollicis, and the thenar eminence (thumb pad).
The thumb provides the essential counter-force for all pinch and clamp movements. Static thumb opposition reinforces pinch integrity across daily carrying tasks.
- Rest your elbow on a table and shape your working hand into an open "C" shape.
- Place the thumb pad or fingers of your opposite hand against the inner pad of your working thumb.
- Apply steady outward pressure with your opposite hand, trying to push the working thumb open.
- Resist with your working thumb, keeping the "C" shape completely stationary without letting the joint collapse inward.
- Hold steady, static resistance before releasing.
Hold for 10–15 seconds per rep | 3–5 reps per hand | Rest 30–45 seconds between reps.
To Regress (Easier): Apply lighter pressing force with your opposite hand.
To Progress (Harder): Gradually increase manual pressing force or hold static opposition at wider open-pinch angles.
- Joint Collapse: Allowing thumb joints (MP or IP joints) to bend backward under pressure.
- Pressing on Joints: Applying force directly onto a joint line rather than the fleshy thumb pad.
- Jerking Effort: Applying force in sudden bursts rather than maintaining smooth, continuous pressure.
Deep finger flexors (flexor digitorum profundus) and superficial finger flexors (flexor digitorum superficialis).
This bodyweight exercise applies static tension directly across the finger flexors, building holding endurance for pulling, carrying, and climbing without equipment.
- Form a "hook" with both hands by curling your fingertips inward at the knuckles without closing a full fist.
- Interlock the curled fingertips of both hands at chest height.
- Pull your elbows outward in opposite directions, creating steady static tension across your finger hooks.
- Keep your hands stationary at the center of your chest—neither hand should yield or slip.
- Hold the pull while actively keeping force distributed across all engaged fingers.
Hold for 15–30 seconds per set | 3–4 sets | Rest 45 seconds between sets.
To Regress (Easier): Reduce outward pulling force or perform with all four fingers interlocked under light tension.
To Progress (Harder): Increase outward pulling tension, or isolate specific finger pairs (such as index and middle fingers) with controlled effort.
- Squeezing a Fist: Curling into a tight, closed fist rather than maintaining an open-hook fingertip angle.
- Uneven Finger Load: Allowing outer fingers to slip, shifting all the load onto 1 or 2 finger joints.
- Shrugging Shoulders: Tensing your shoulders up toward your ears instead of keeping them down and relaxed.
Practical Weekly Training Framework
Use these volume and frequency guidelines as a structured starting point, adjusting based on individual recovery capacity:
Aim to breathe continuously and smoothly throughout every static hold. Avoid holding your breath (the Valsalva maneuver), as continuous exertion while breath-holding can transiently elevate thoracic and systemic blood pressure (Hackett & Chow, 2013).
Allow 45 to 60 seconds between sets to give local muscles time to recover baseline force capacity.
Measuring and Tracking Progress
Grip strength is widely recognized in clinical and sport literature as a functional marker associated with overall physical performance (Bohannon, 2019; Leong et al., 2015). To track whether your static training is yielding measurable results, implement this 3-step feedback loop:

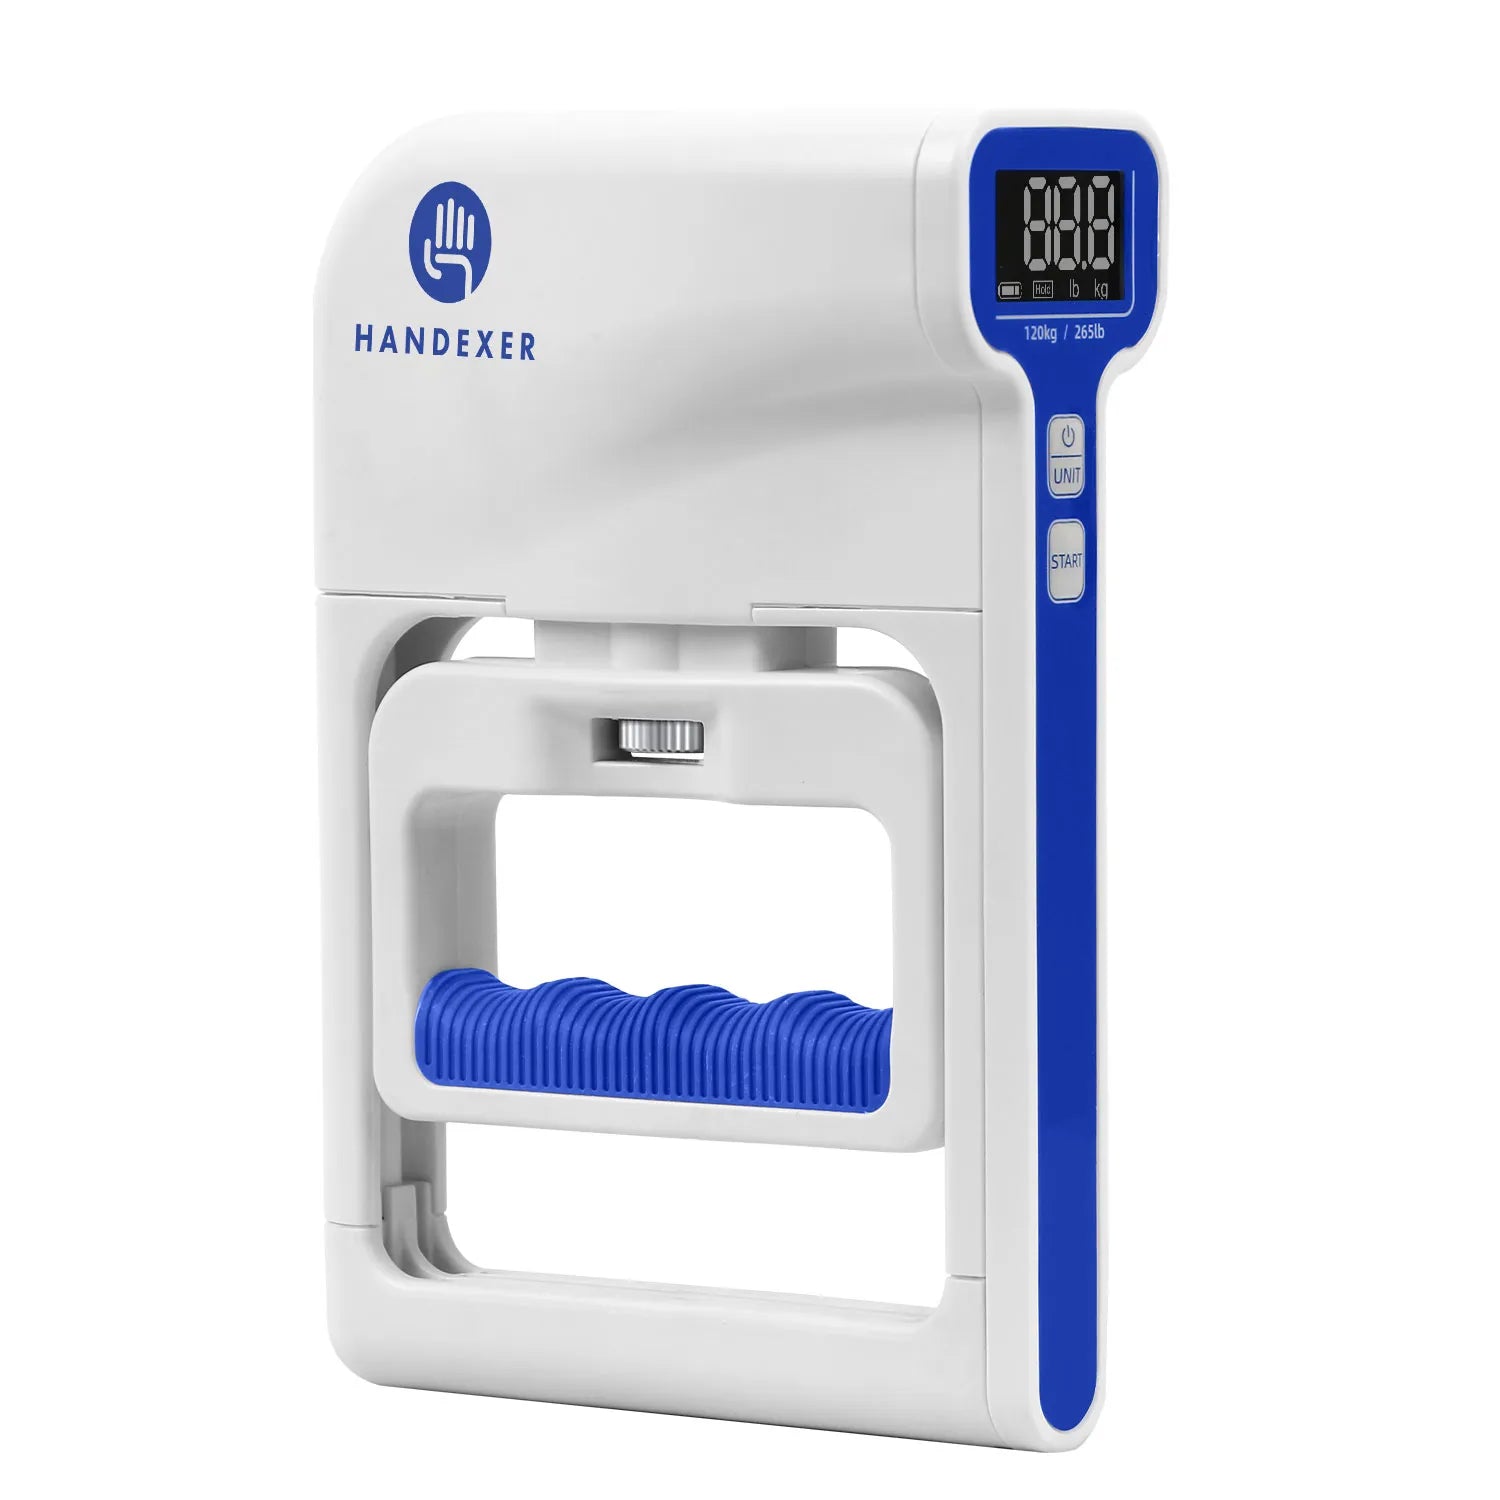
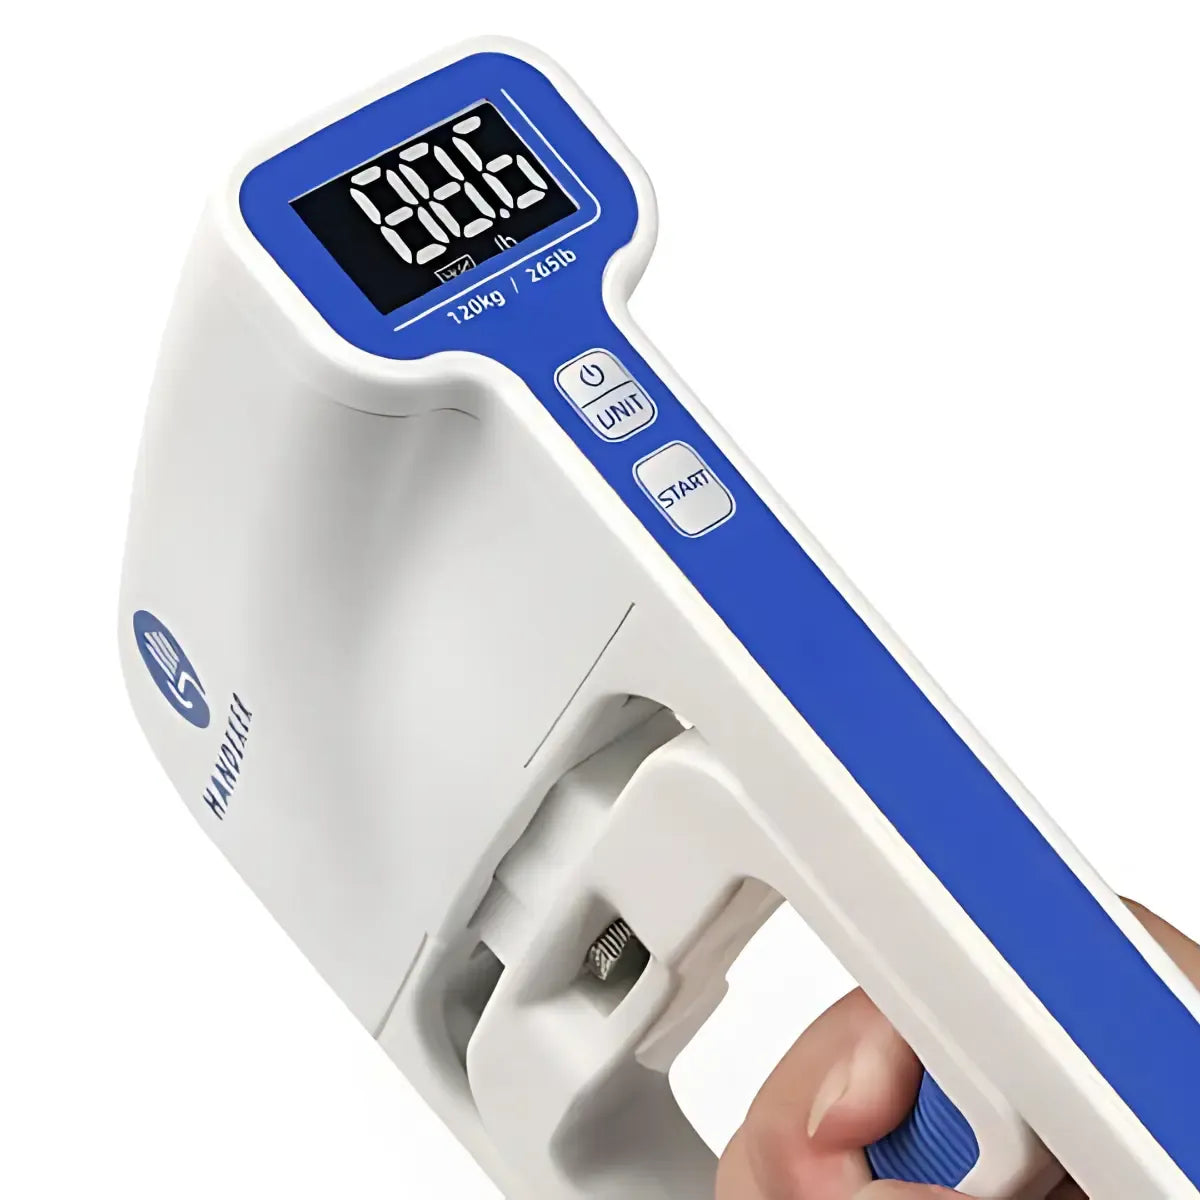
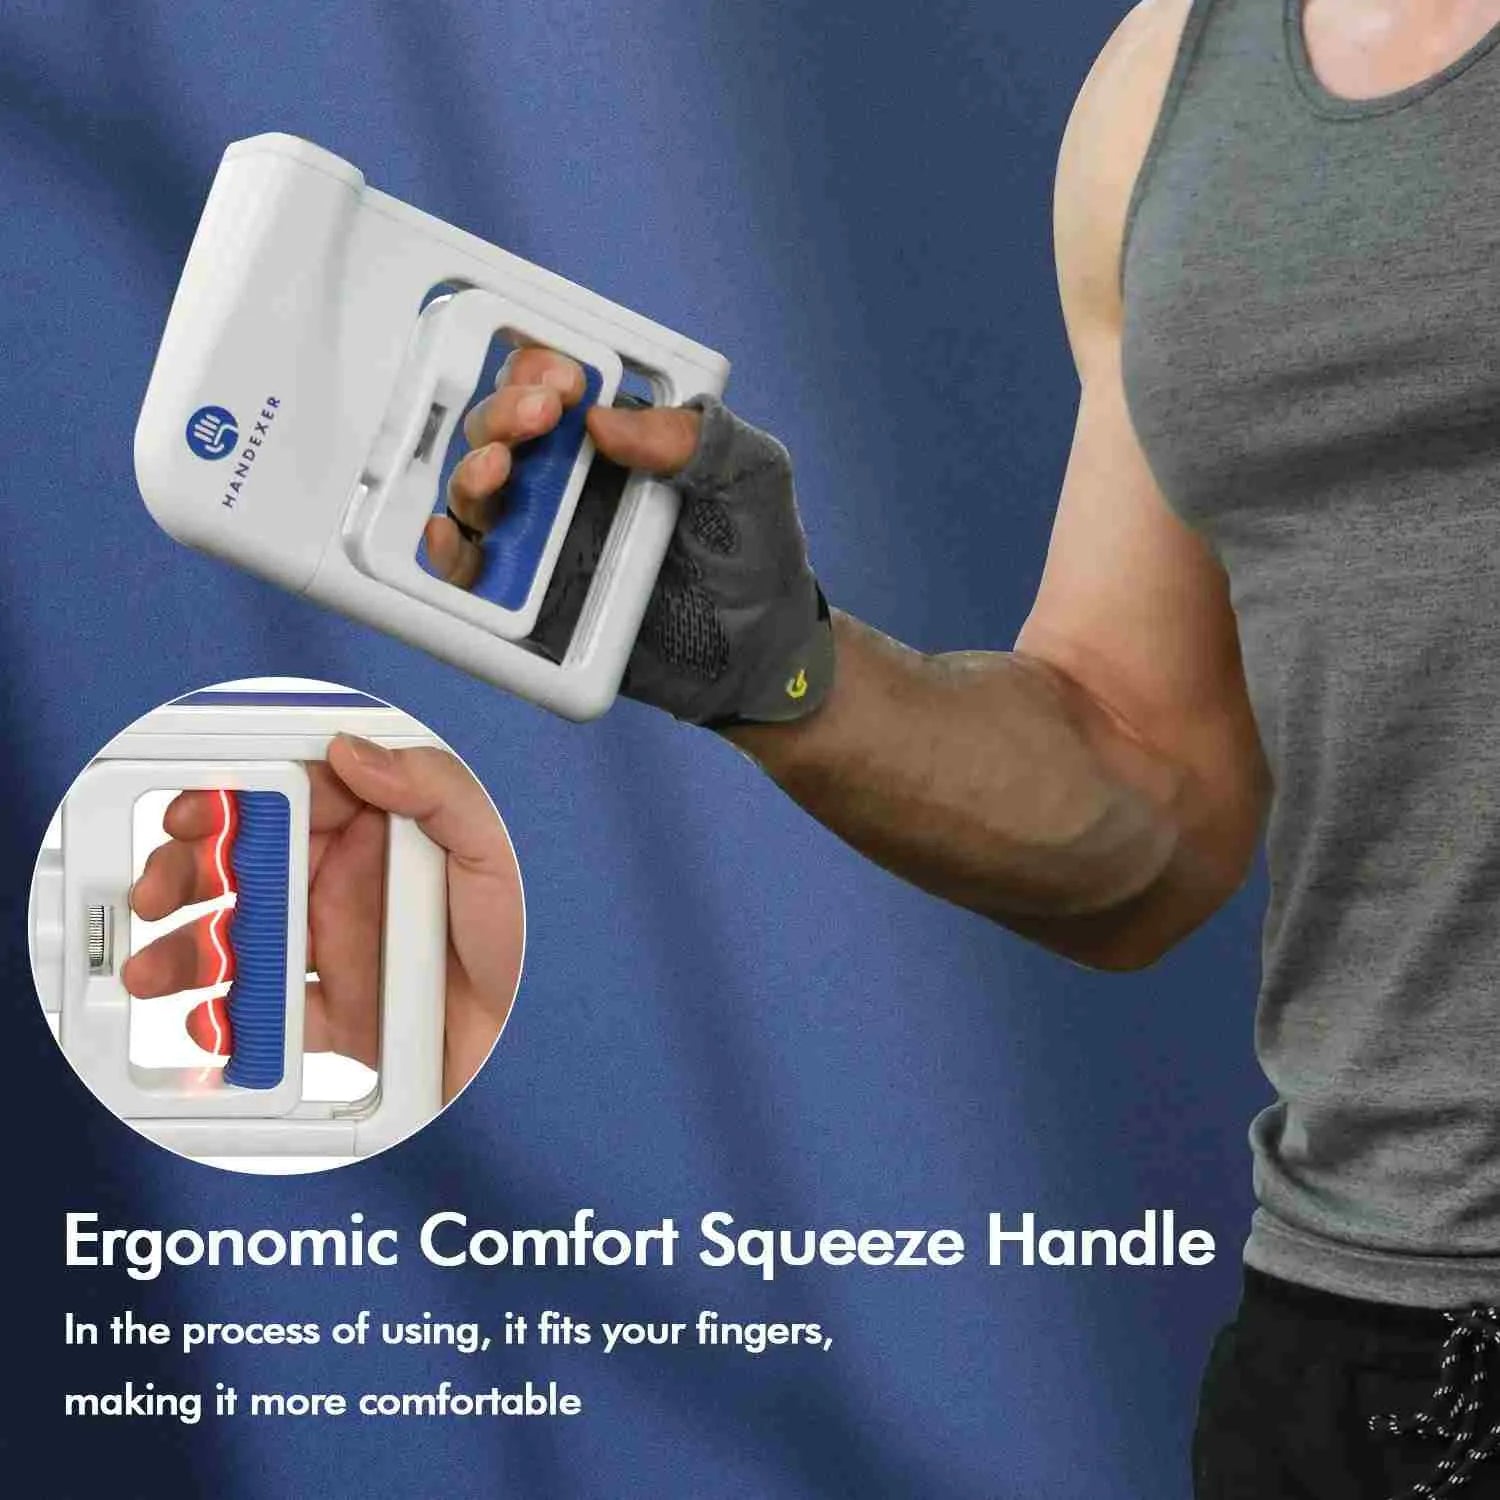
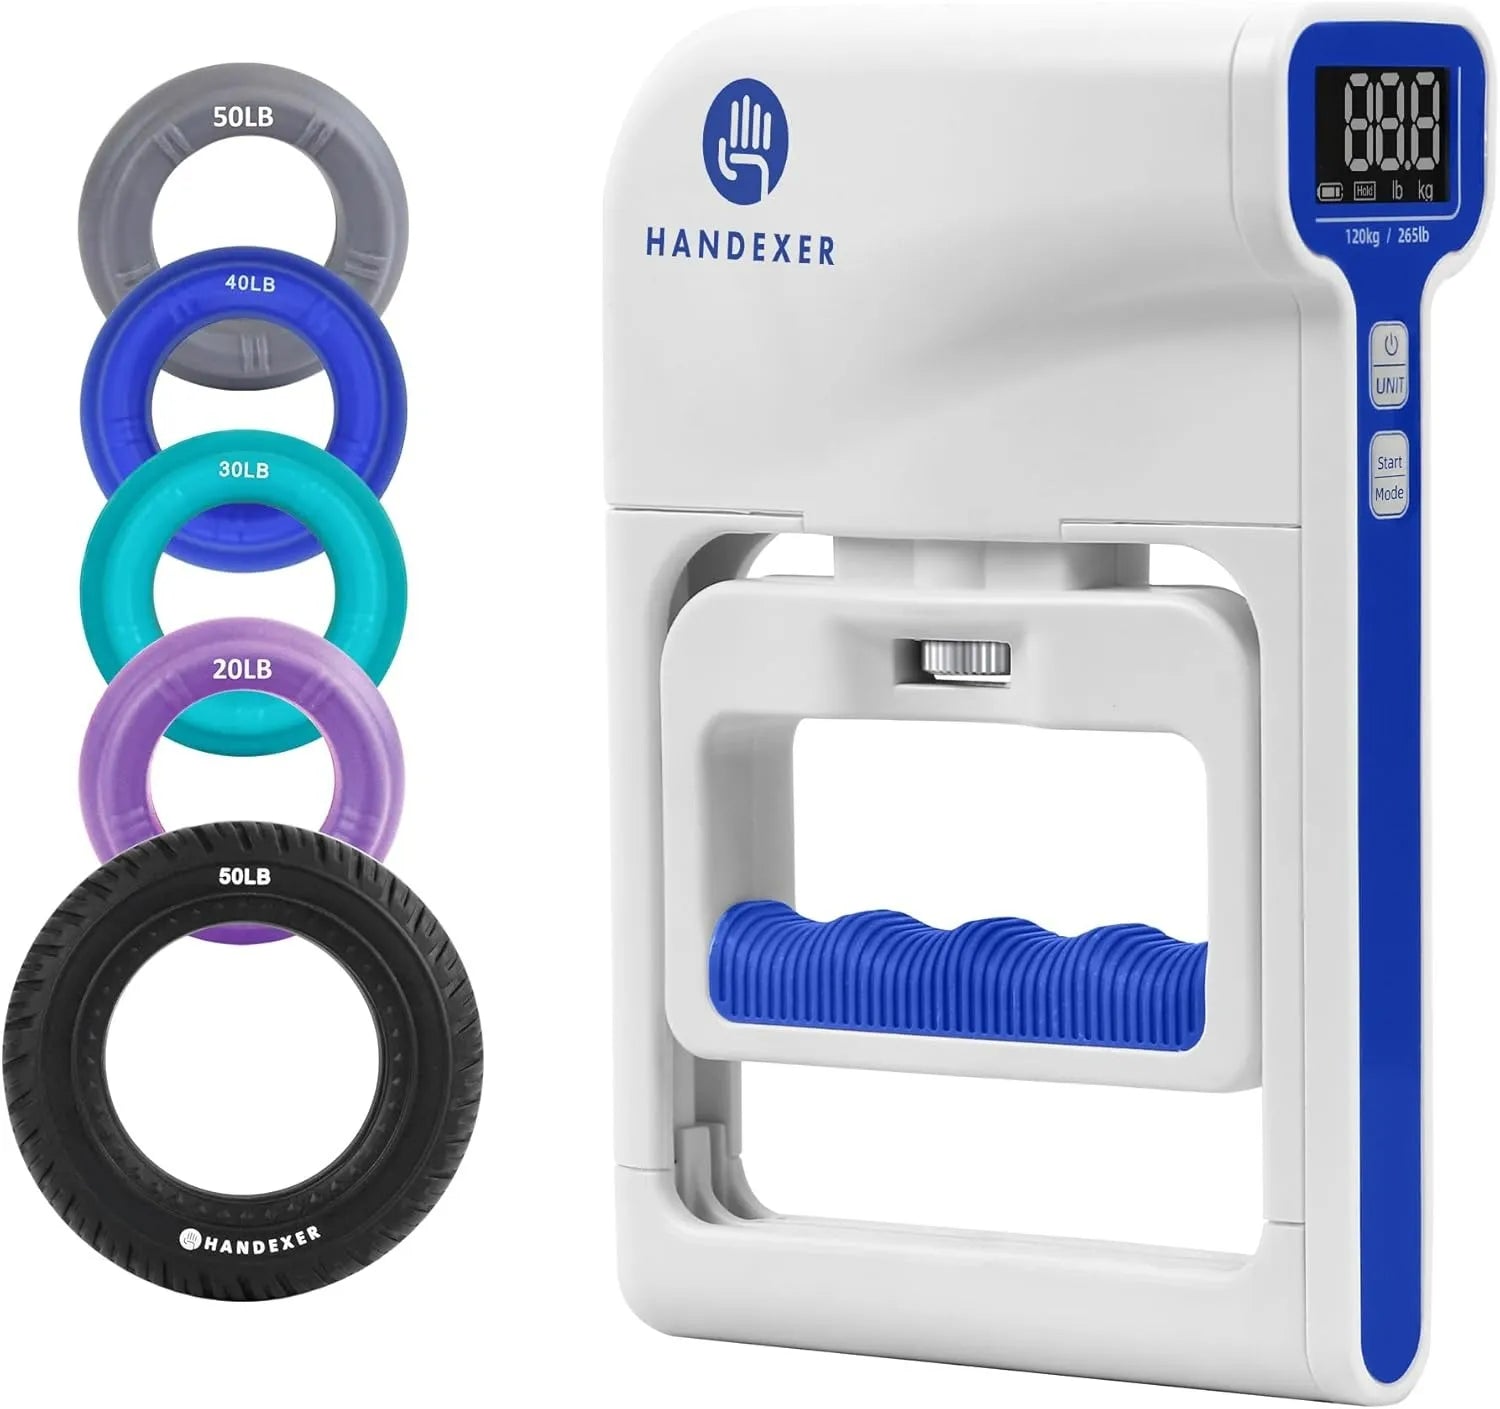
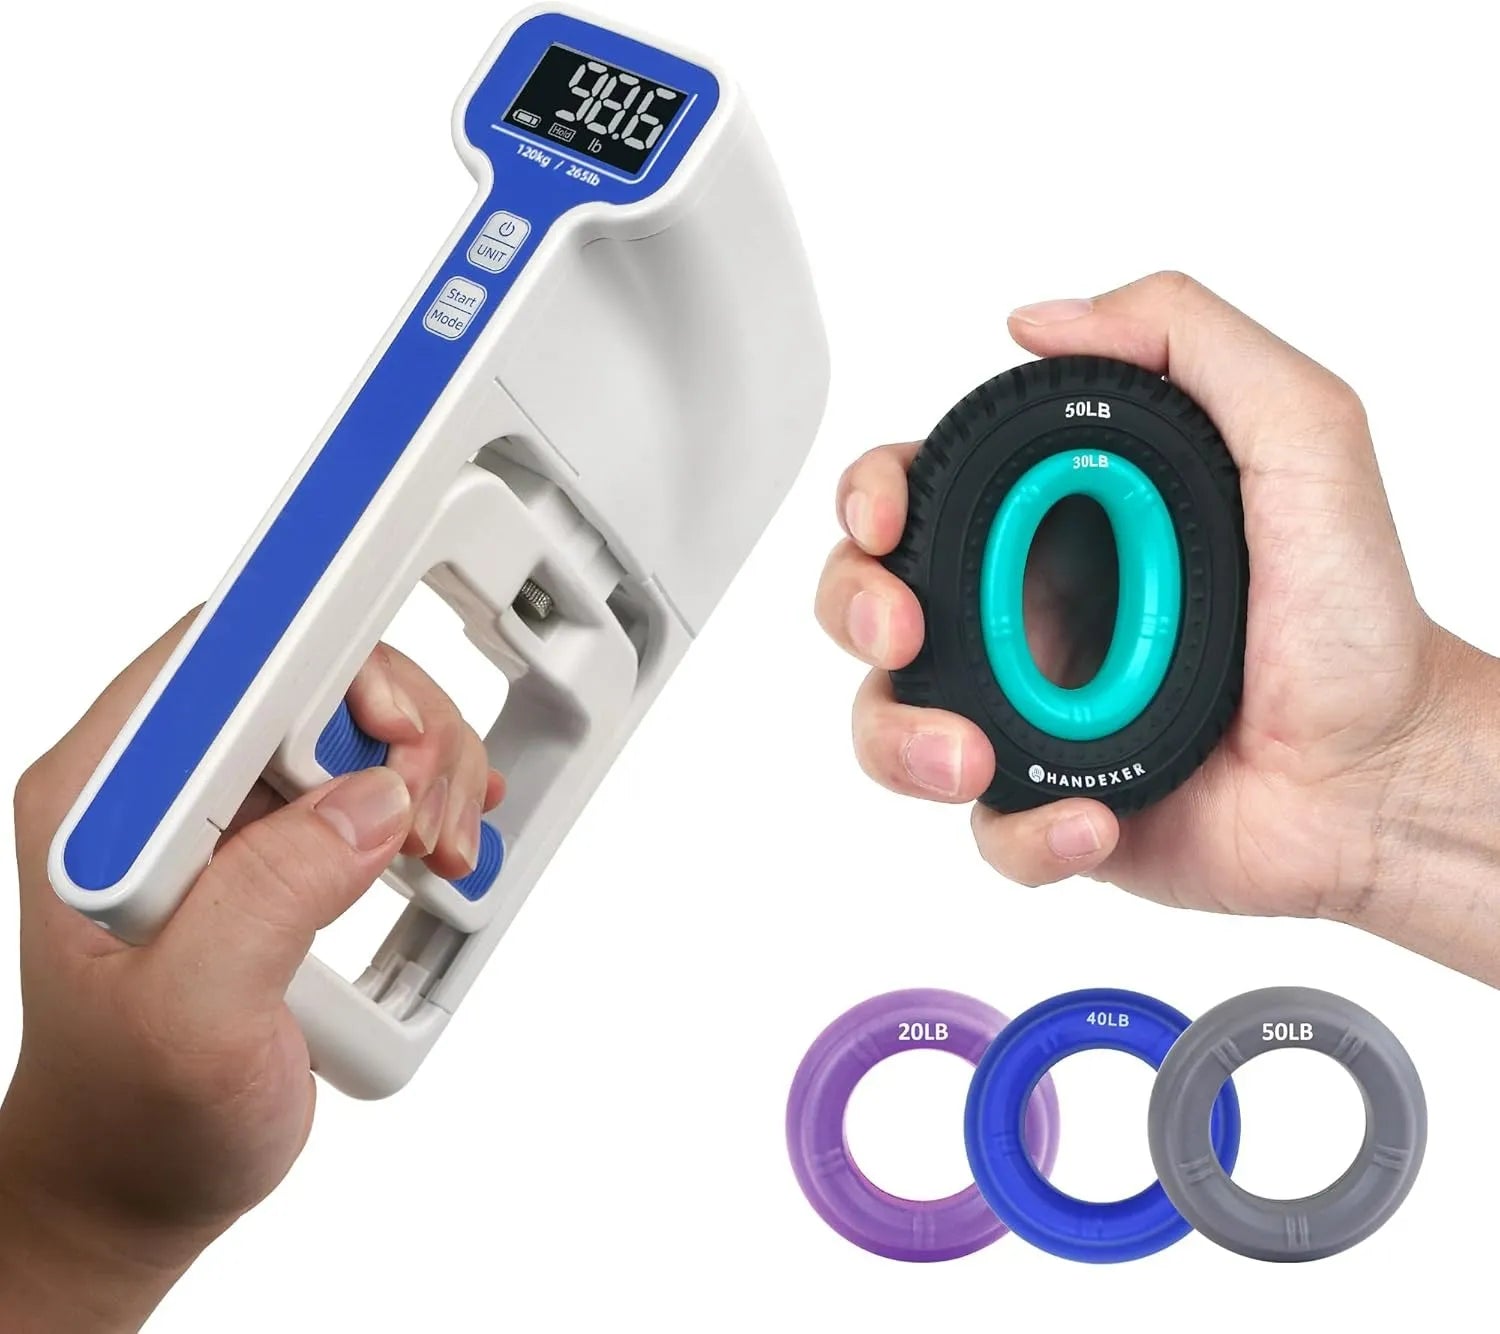
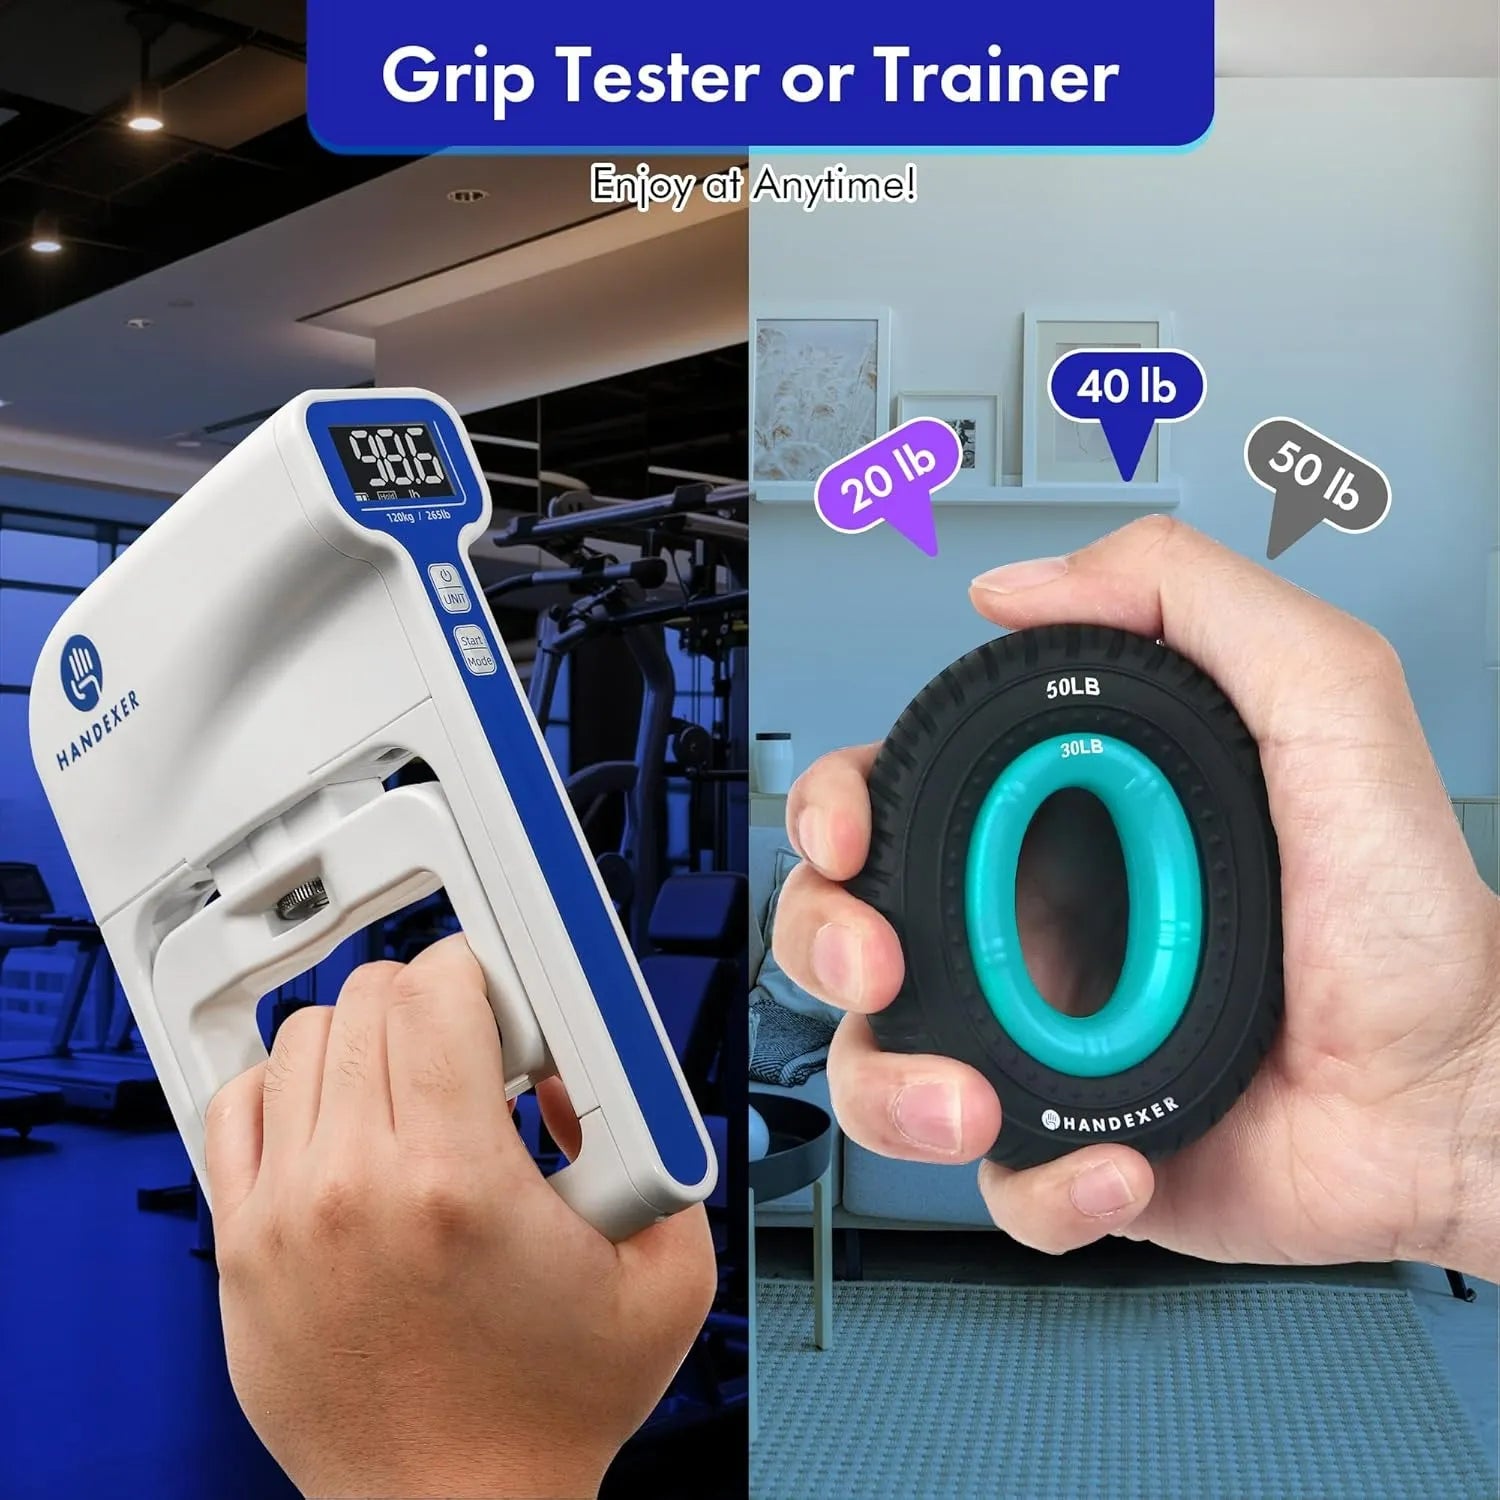
Measure Baseline Peak Force: Establish an objective starting score in a standardized position (seated upright, elbow bent at 90 degrees). Relying on a calibrated digital hand dynamometer provides a precise, numerical force baseline (measured in kg or lbs) that subjective feeling cannot match.
Execute Consistent Training: Perform your isometric exercises 2 to 3 times per week, maintaining strict technique, controlled breathing, and appropriate rest intervals.
Track and Adjust Outcomes: As a practical tracking interval, re-test your peak grip force under identical testing conditions every 2 to 4 weeks. Logging changes in objective force output helps confirm whether your routine is effective or if training volume needs adjustment.






Share:
How to Tell If You Are Overtraining (And How to Track Recovery)
Hand Exercises for Stiff Fingers: 8 Simple Movements for Mobility & Grip Strength